Welcome to our engineer blog, where we share our ongoing learning experiences. This post is part of Unit 0, which focuses on web design. Today, I’d like to introduce an opportunity I had to work with something less commonly encountered: QR code generation.
Preparation
For this implementation, I used Java. Since my development environment is Gradle-based, adding the necessary libraries was as simple as including the following in the build.gradle file. (Isn’t it convenient how accessible things have become these days?)
The library used here is ZXing, an open-source Java library that enables the creation and reading of one-dimensional codes (such as barcodes) and two-dimensional codes (like QR codes).
Implementation
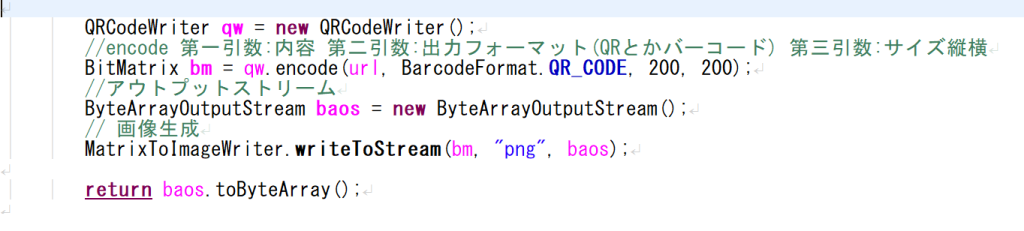
The key element for generating QR codes is the encode method of the QRCodeWriter class. As summarized in the comments, the following parameters can be specified:
The generated data is stored in a variable of type BitMatrix (bm). By specifying the output format in the writeToStream method, you can save the generated QR code in your desired format. In this case, we output the QR code in PNG format.
While the actual implementation involves handling API requests and returning the output result to the screen, I’ll omit those details here.
Summary
Nowadays, if you just want to generate a QR code once for testing purposes, there’s no need to write a program from scratch. You can find many online QR code generators with just a quick search. Some even let you customize the design or offer formats tailored to specific use cases, making them surprisingly fun to explore.
This post covered only the basics, but I hope it gave you an idea of how QR code generation works. If you found this interesting, I’d be delighted.
Stay tuned for the next engineer blog post!
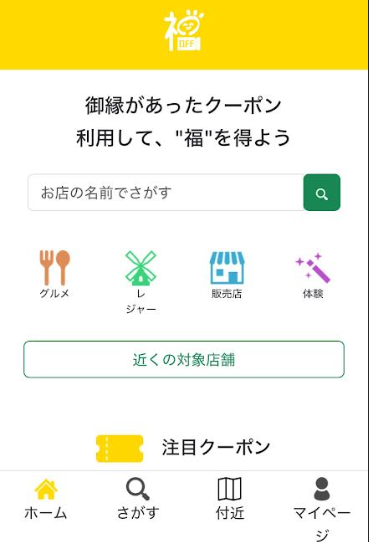
P.S. The content of the QR code includes a closing message!
A Journey to Nachi Falls Thank you for your unwavering support and kindness toward Dandelions over the past year. As we welcome 2025, I’m delighted to share our New Year’s wishes and hopes for the year ahead.
Nachi Shrine
Recently, I had the opportunity to visit Nachi Falls, a UNESCO World Heritage Site. Nestled in the sacred Kumano region, this majestic waterfall, with its 133-meter drop and lush surroundings, left me in awe. Its powerful and endless flow reminded me of nature’s incredible strength and resilience. Standing there, I felt a profound sense of calm and renewal, paired with a determination to keep moving forward with steady, unstoppable energy, just like the falls themselves.
A New Challenge The inspiration drawn from Nachi Falls resonates deeply with our theme for the 8th phase of our journey: Health-Oriented Management and Challenges. To achieve sustainable growth, both individuals and organizations require not intermittent effort but a continuous, ever-flowing strength, much like the falls.To this end, we aim to cultivate a corporate culture that prioritizes the health and fulfillment of every employee, fostering vitality and creativity without interruption. We firmly believe that physical and mental well-being lay the foundation for generating innovative ideas, overcoming challenges, and delivering new value to society.
Nachi Falls
This year marks a significant milestone in our journey of challenges. Since our establishment in 2017, we have expanded into a variety of fields, including IT systems planning, design, and operations; e-commerce; human resource development consulting; staffing services; and job placement. Building on our past accomplishments, we aim to take a bold leap forward in 2025.
Amid the rapid wave of digital transformation, we will not only integrate ICT technologies but also harness uniquely human strengths such as creativity and empathy. By doing so, we are committed to delivering solutions that embody the essence of “Dandelions” more than ever before.
Aiming to be a Contributing Company The name “Dandelions” symbolizes resilience and growth—the ability to thrive anywhere and spread seeds of possibility far and wide. Like the steady flow of Nachi Falls, we aim to keep moving forward no matter the challenges, opening new doors and realizing new dreams.
Together, as a unified team, we’re ready to turn our vision of health and challenges into action, delivering services that bring value to our community and partners.
Nachi Mountain
In Closing Standing before Nachi Falls, I was reminded of the gift of life and the endless energy that surrounds us. Inspired by this, we will continue to grow, creating a workplace where our people can shine and contributing to the success of our customers, partners, and society.
As we step into 2025, I wish you a year filled with growth and opportunity. Thank you for your continued trust and support for Dandelions—we look forward to an exciting year ahead with you.
January 2025 Hideo Takahashi President & CEO Dandelions Co., Ltd.
Hello! I’m Ogi, responsible for this edition of our study session blog. I’m excited to share the highlights of our recent internal training session, “Low-Code Development Experience Using Outsystems Part 2”!
Check out the highlights from our previous study session here!
Building on our last session, the goal of this study meeting was to deepen our understanding of low-code development and Outsystems by gaining hands-on experience with Outsystems development. This time, we had many new members join us, making the session even more vibrant and engaging.
Here’s how the study session unfolded:
Recap of the Previous Session
Watching Educational Videos – Focus on UI Development
Hands-On Development with Outsystems
Summary and Q&A
Watching Educational Videos – Focus on UI Development
We kicked off the session by watching official educational videos provided by Outsystems. This time, the videos focused on UI development, where we learned the basics of screen widgets, variables, and client-side logic.
If you’re interested, you can watch the videos here (an Outsystems account is required).
Hands-On Development with Outsystems
After watching the videos, each participant used their own Outsystems environment to start developing. During this hands-on session, we primarily focused on:
Adding Widgets and Logic to Screen
Utilizing Aggregates ( Learn more about Aggregates here.)
Displaying Data on Screen
We experienced firsthand the unique advantages of developing with Outsystems, such as the simplicity of adding widgets through drag-and-drop and the visual manipulation capabilities provided by Aggregates for data retrieval and sorting.
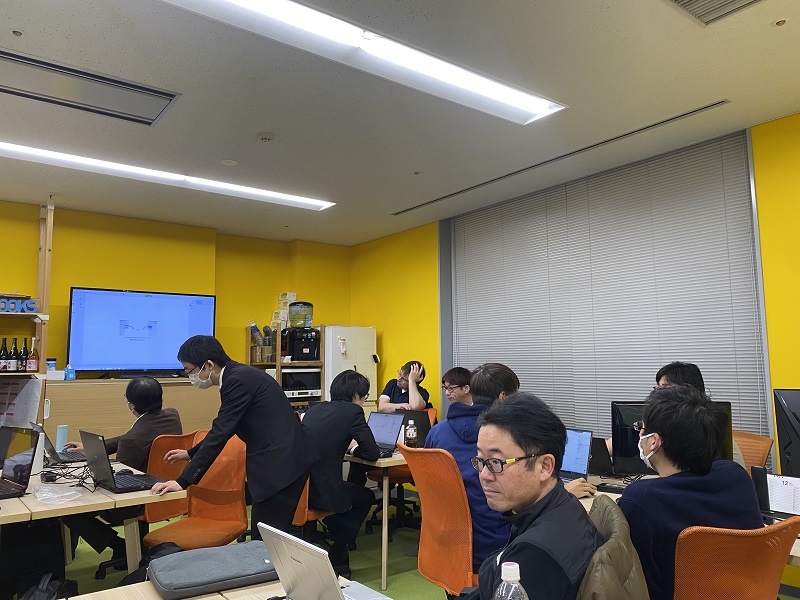
Throughout the development process, we followed the instructor’s explanations and worked on our own projects, enhancing our practical skills.
While listening to the instructor’s explanations, we proceeded with development in our own environments.
Summary
In this study session, we tackled more hands-on content compared to the previous one, successfully conveying the benefits of low-code development and Outsystems. The development experience segment fostered active discussions and Q&A among the participants, further deepening our understanding.
We plan to continue hosting study sessions focused on Outsystems development in the future. Stay tuned for our next article!
Welcome to the engineering blog, where we share what we’re learning and working on daily.
As part of our employee security education efforts, we conducted a training email exercise.
What is a Training Email?
A training email involves sending employees simulated emails that mimic targeted attack emails to strengthen their ability to respond effectively. Targeted attack emails are a sophisticated technique aimed at stealing sensitive information, often directed at specific organizations or individuals.
In this training, pseudo-attack emails resembling work-related communications were sent to selected employees to evaluate whether they would open the email or its attachments.
What We Did
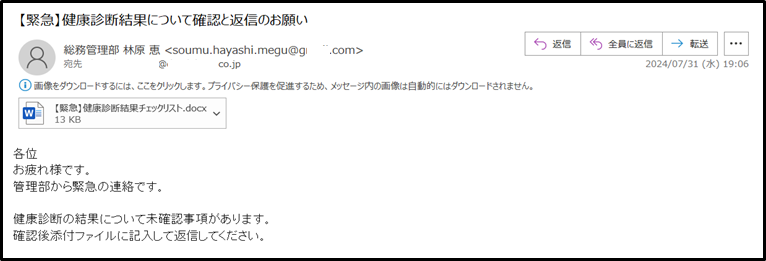
1. Created Realistic and Persuasive Email Content
We designed email content and subject lines that employees might open without thinking twice. The goal was to create emails that seemed plausible during the training period.
Example of training email
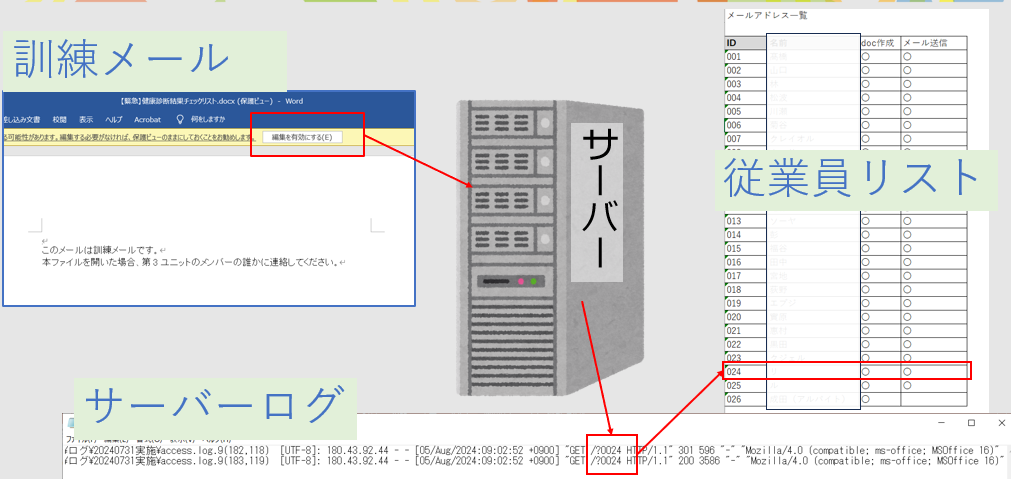
2. Created a Fake Virus File (Word Document)
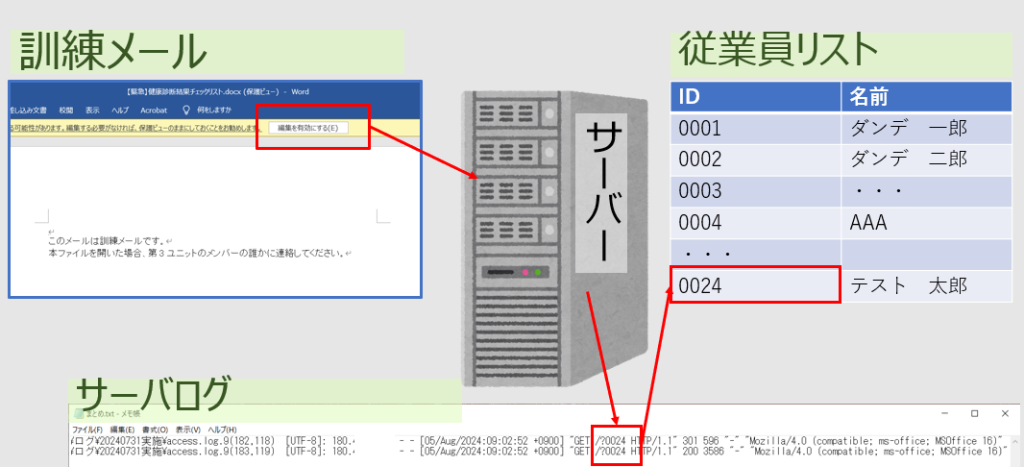
For this exercise, we embedded a mechanism into a Word file that accessed our company-managed server when opened.
If an employee opened the attachment, the file accessed the server and logged a unique ID hidden in the document. By checking the output log, we were able to identify which employees had opened the file.
Unfortunately, a few employees did open the attachment during this exercise.
How training emails work
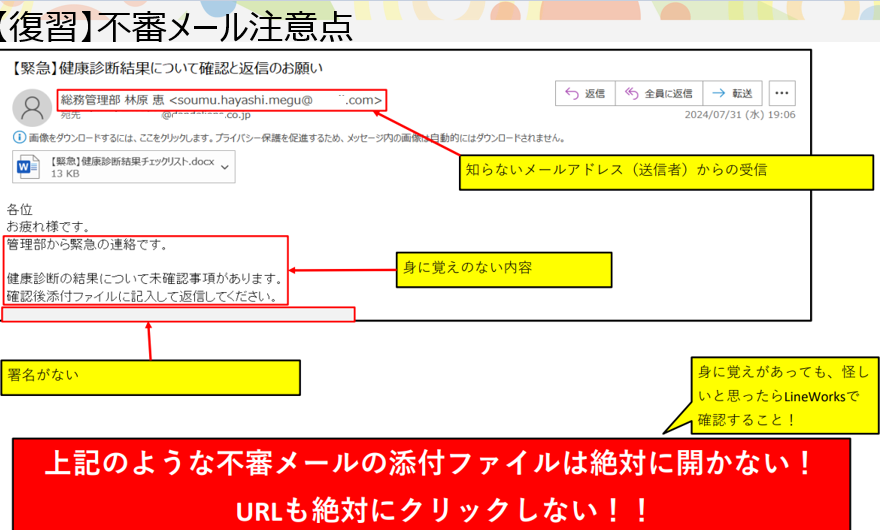
3. Conducted Internal Re-education
We followed up with additional internal training to reinforce measures against targeted emails and raise awareness further.
Refresher materials
Summary
This exercise helped raise employees’ security awareness. We plan to continue these efforts in the future to further improve security measures.
Thank you for reading, and stay tuned for the next edition of the engineering blog!
Thank you for reading! Today’s introduction is brought to you by Junpei, and it’s been a while since my last post.
A Recent Hobby
Lately, I’ve gotten back into Pokémon, thanks to my wife’s influence. It’s been about 20 years since I first fell in love with it back in elementary school, when Pokémon Red/Green debuted on the Game Boy. Now, the nostalgia has kicked in again after all these years.
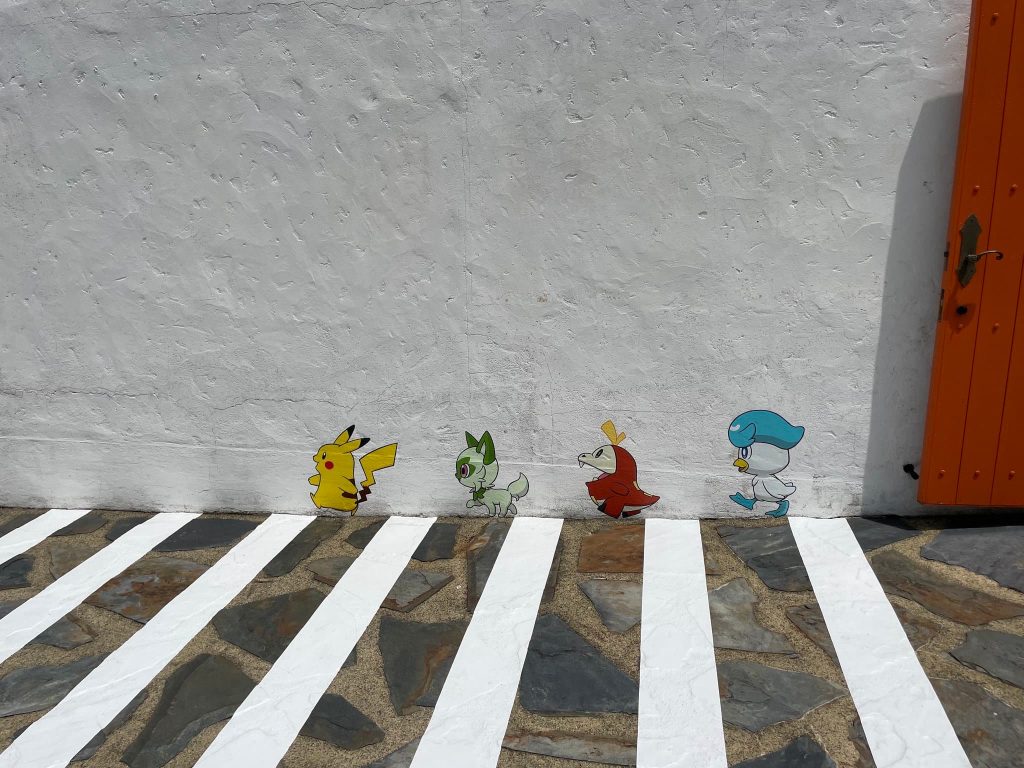
Not long ago, Mie Prefecture’s Shima Spain Village teamed up with Pokémon for a limited-time collaboration. Naturally, I had to check it out. The park was filled with Pokémon displays everywhere, drawing crowds of all ages.
Throughout the area, Pokémon appeared at every turn!There were lines of people waiting to take photos at popular spots.
Pokémon Everywhere!
Every corner of the area featured Pokémon—and for the more popular photo spots, people were even lining up. I rediscovered old favorites I used as a kid and met new Pokémon introduced over the past two decades. Witnessing a franchise that continues to be cherished by so many people for so long made a strong impression on me.
In the IT industry, we work every day to develop systems that make a positive impact. Lately, I’ve been thinking how wonderful it would be if we could create something as universally beloved as Pokémon—something that resonates with both children and adults alike.