Thank you for taking the time to read this!
Nice to meet you. I’m Pudding, and I joined the company in April 2025!
Today, I’d like to share how I came to join Dandelions and what led me here.
Why I Joined the Company
I attended an IT vocational school in Nagoya for four years. Initially, I was in the white-hacker track and focused on studying cybersecurity. However, as I was exposed to various fields through my classes, I started thinking, “I don’t just want to study security — I want to be able to build systems and design as well!”
From there, my interests expanded to web system development and web design. I chose additional classes and began studying those areas.
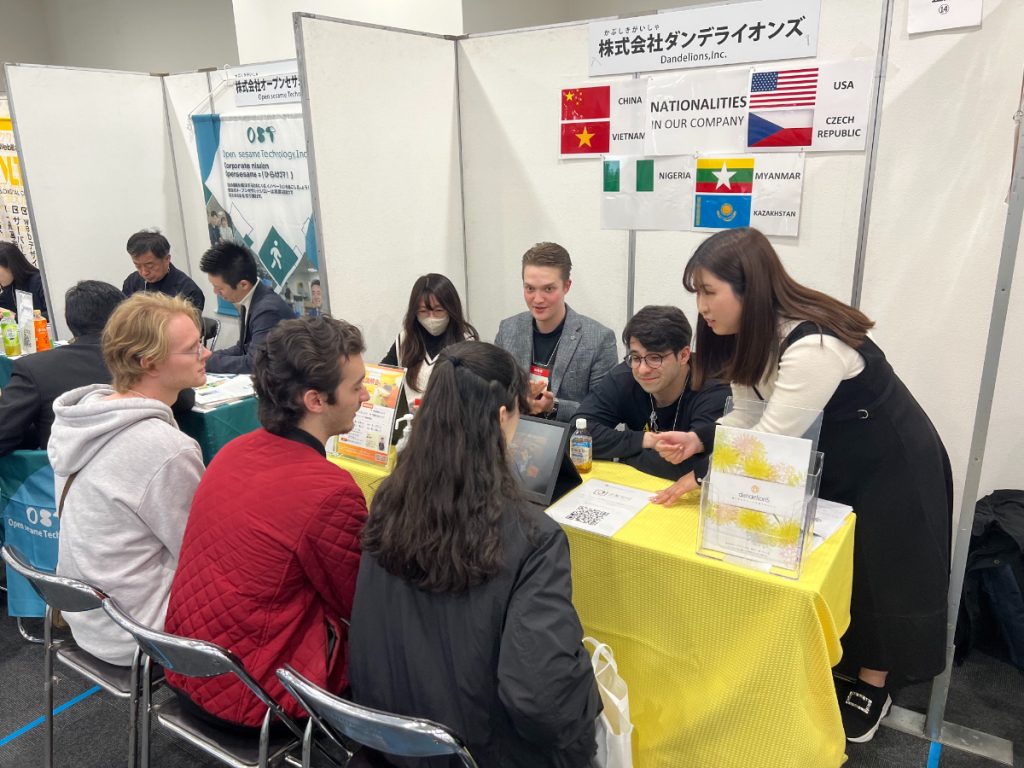
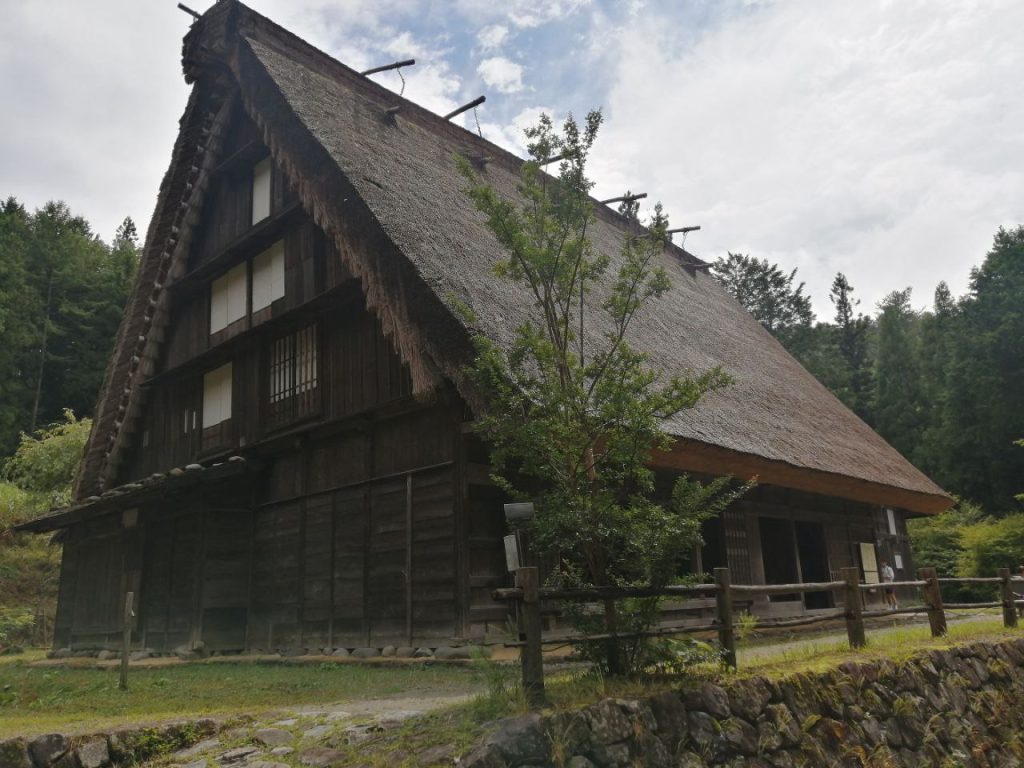
When I started my job search, I wanted to put what I had learned into practice, so I focused on companies related to web systems. With help from my school, I joined an internship at Dandelions. The company had a warm and welcoming atmosphere, and since there were many employees from overseas, I found the different cultures and perspectives very interesting. That’s when I thought, “I definitely want to work here!” — and that was the turning point.
My Impressions After Joining
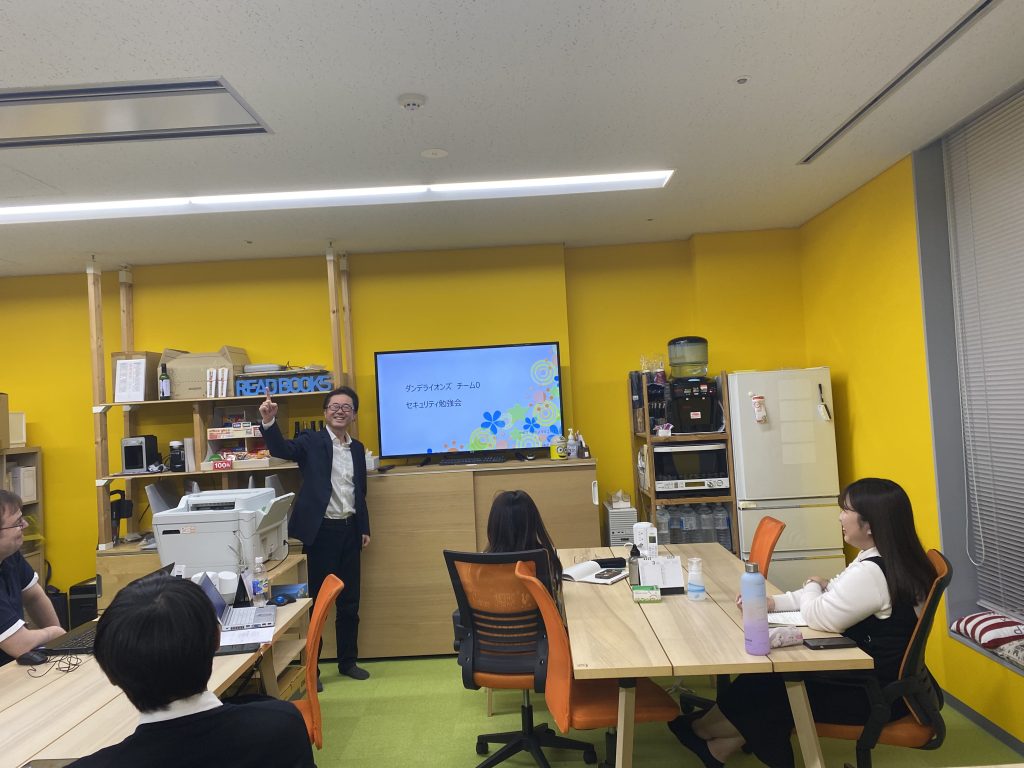
I’ve just joined and am currently in training. We’re not only learning technical skills and preparing for IT certifications, but also receiving thorough guidance on business manners and how to communicate across cultures.
That said, as a new graduate, I still struggle with things like manners and often make mistakes. I’m doing my best every day to get used to everything quickly.
There are many people from different countries at the company, and since I’ve never been in such an environment before, it all feels very new. It’s fun discovering different cultures and ways of communicating every day. I hope to continue interacting with everyone and learning as much as I can!
About Me
I’m from Tajimi City in Gifu Prefecture. Some of you may know it’s famous for being a very hot town. Have you heard of “Unagappa,” the city’s mascot?
Tajimi is known for its eel dishes, and Unagappa is a character that combines an eel and a kappa (a mythical river creature). The character was actually designed by none other than Takashi Yanase, the creator of the famous “Anpanman” series! It’s quite cute and I’ve grown fond of it, so please look it up if you’re interested.
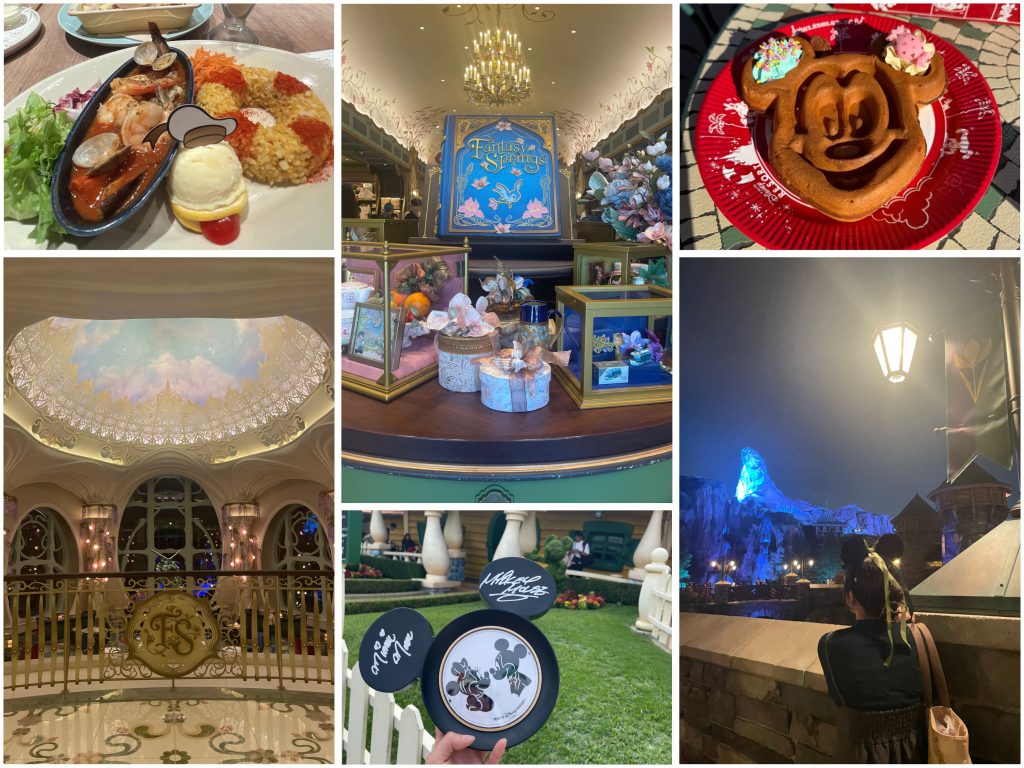
Also, I absolutely love Disney! Whenever I have time, I like to visit the parks, watch movies, or buy Disney merchandise. I haven’t had a chance to visit since joining the company, so I’m hoping to go sometime around autumn.
Thank you so much for reading this far!
That’s all for now.
Please look forward to the next employee introduction!