As an engineer blog, I would like to introduce the learning content that I am working on.
This time, I will introduce how to create app icons using CLIP STUDIO PAINT, a software specialized for illustration and manga production.
About “CLIP STUDIO PAINT”
CLIP STUDIO PAINT is a paid software, and there are mainly three types.
・CLIP STUDIO PAINT EX: For those who want to use it not only for illustrations and web design, but also for manga production.
・CLIP STUDIO PAINT PRO: For those who want to use it not only for illustrations and graphic art, but also for web design, etc., and for those who do not create manga.
・CLIP STUDIO PAINT DEBUT: For those who want to use it only for illustration and graphic art production.
If you would like to know more, please click the link below:
https://www.clipstudio.net/ja/lineup/
The one I use is CLIP STUDIO PAINT EX, so this time I will introduce the functions installed in CLIP STUDIO PAINT EX.
How to create an “app icon”
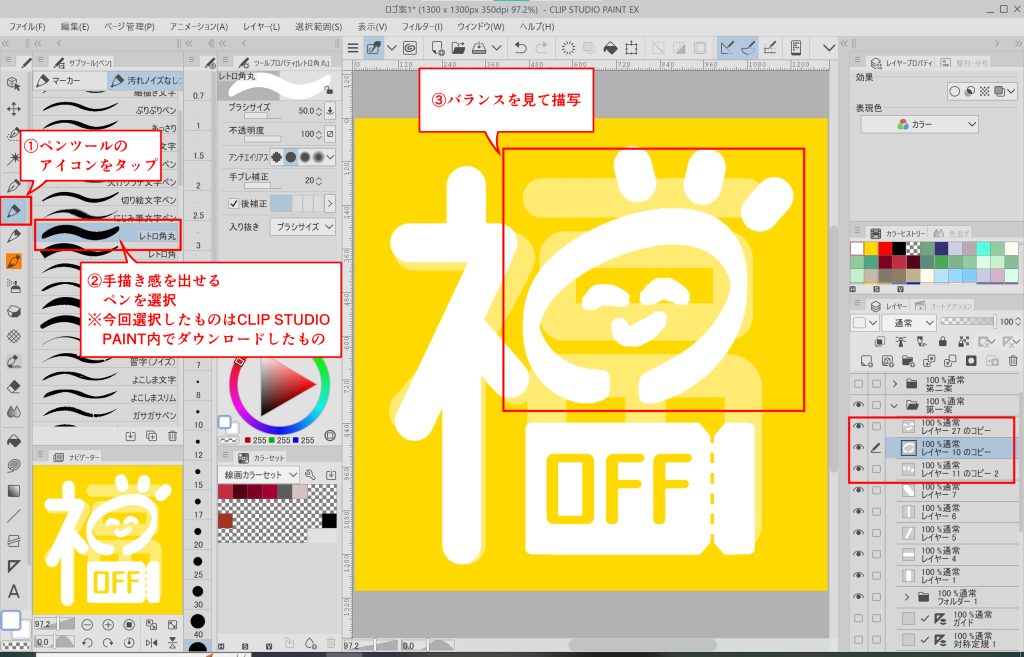
The icon I created this time is as follows.

I will now introduce the specific production steps.
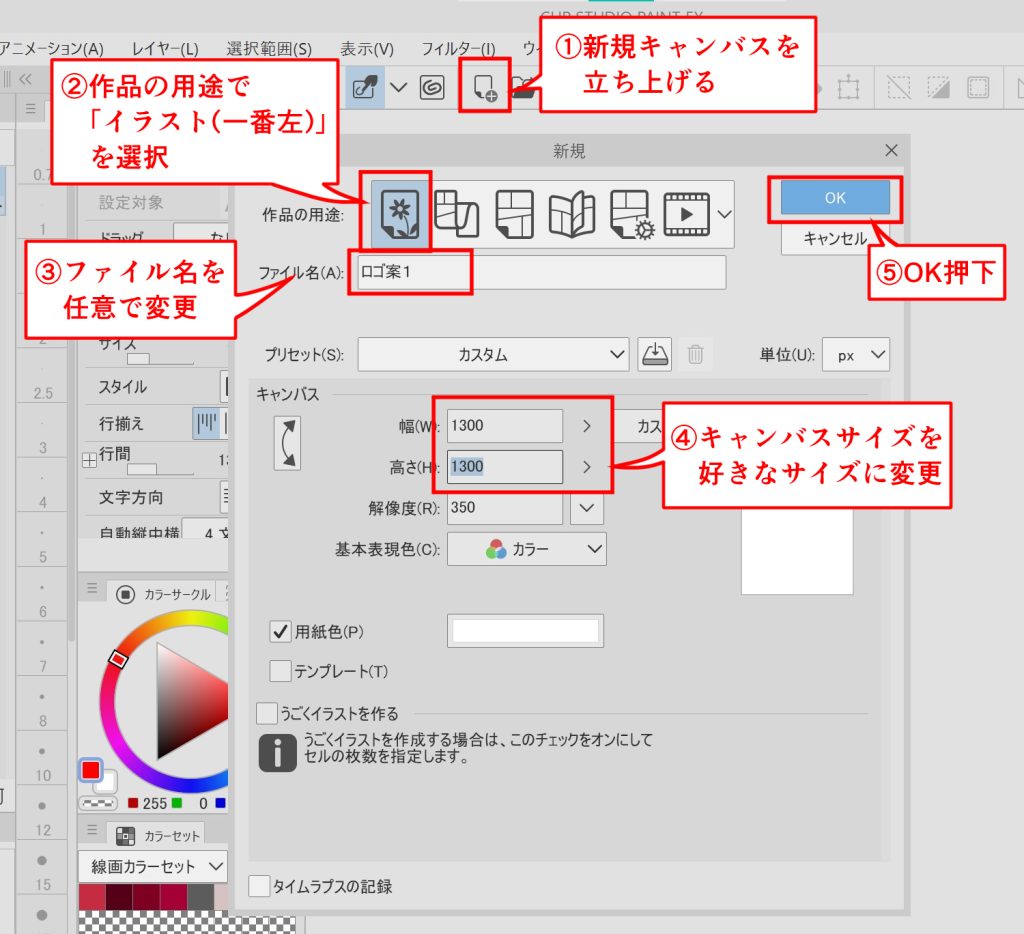
1. Launching a new canvas
This time, after creating the icon, I was told that I would be resizing it to various sizes and using it, so I prepared it a little larger and with a 1:1 ratio.
2. Design
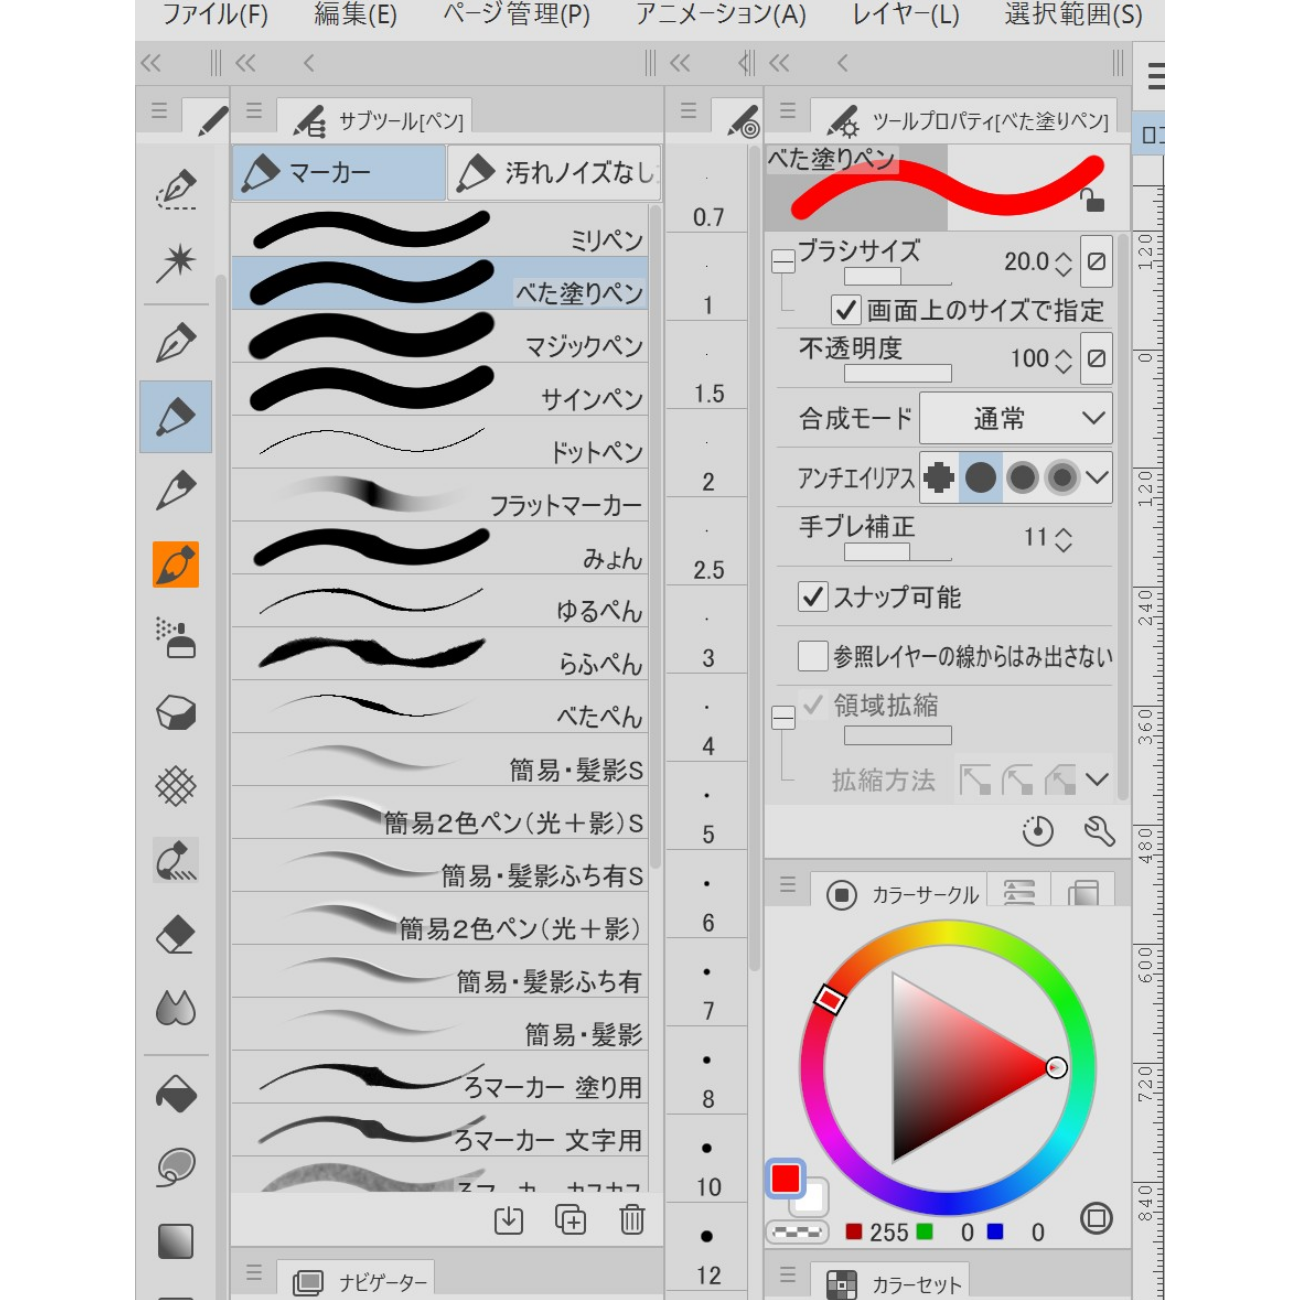
I used the following tools to create the design.
① Fill in the background with the fill tool
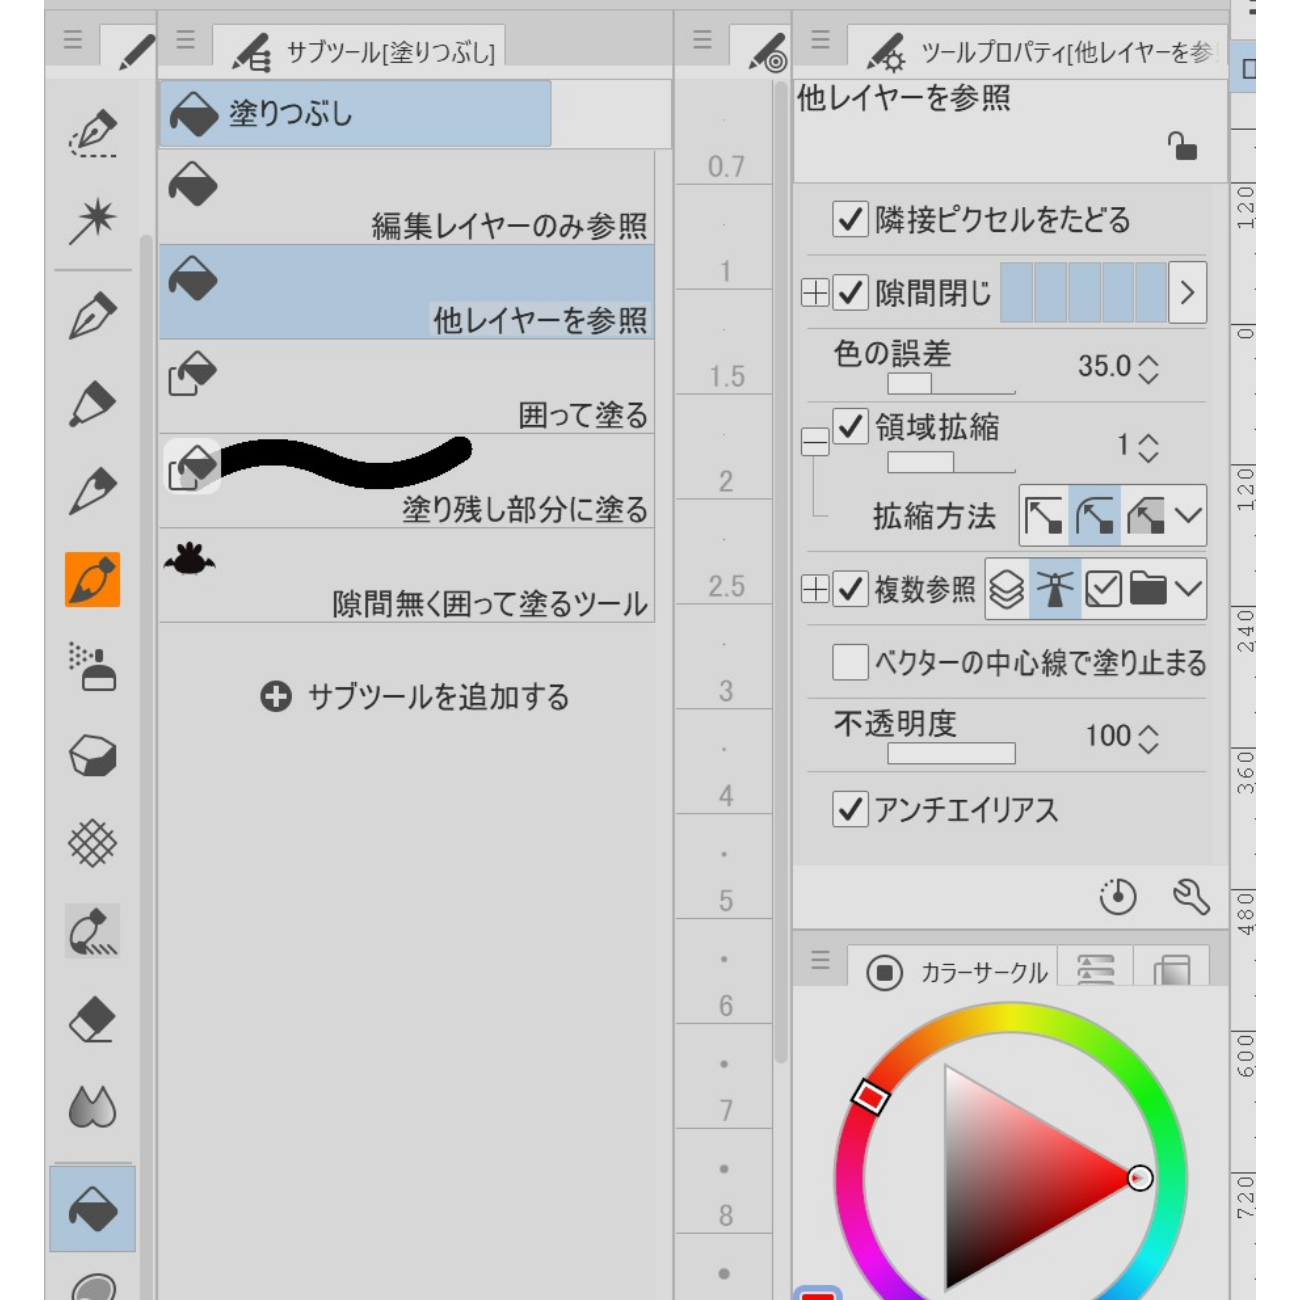
Personally, I wanted to design with the base color + white logo, so I used the background color fill tool to fill the entire canvas with color.
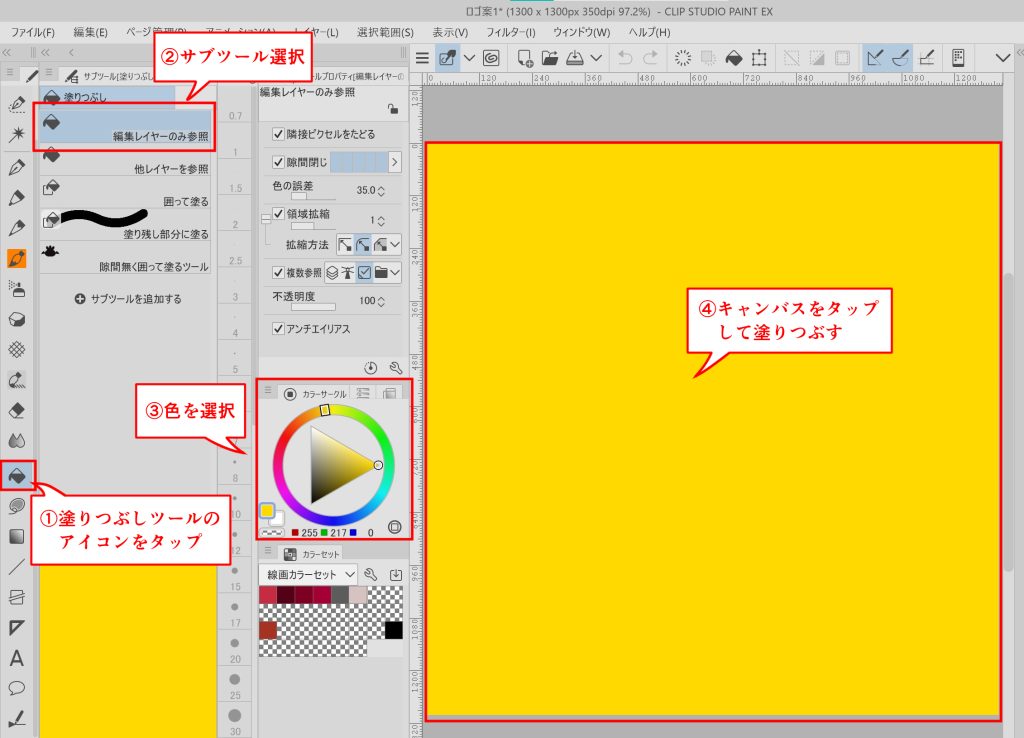
With this fill tool, if something is drawn on the canvas, you may not be able to fill it in the way you want unless you specify settings such as “Refer only to editing layer” or “Refer to other layers”.
This time, since the canvas was blank, this specification was not necessary, so I will omit it.
② Prepare the text that will become the foundation of the design using the text tool
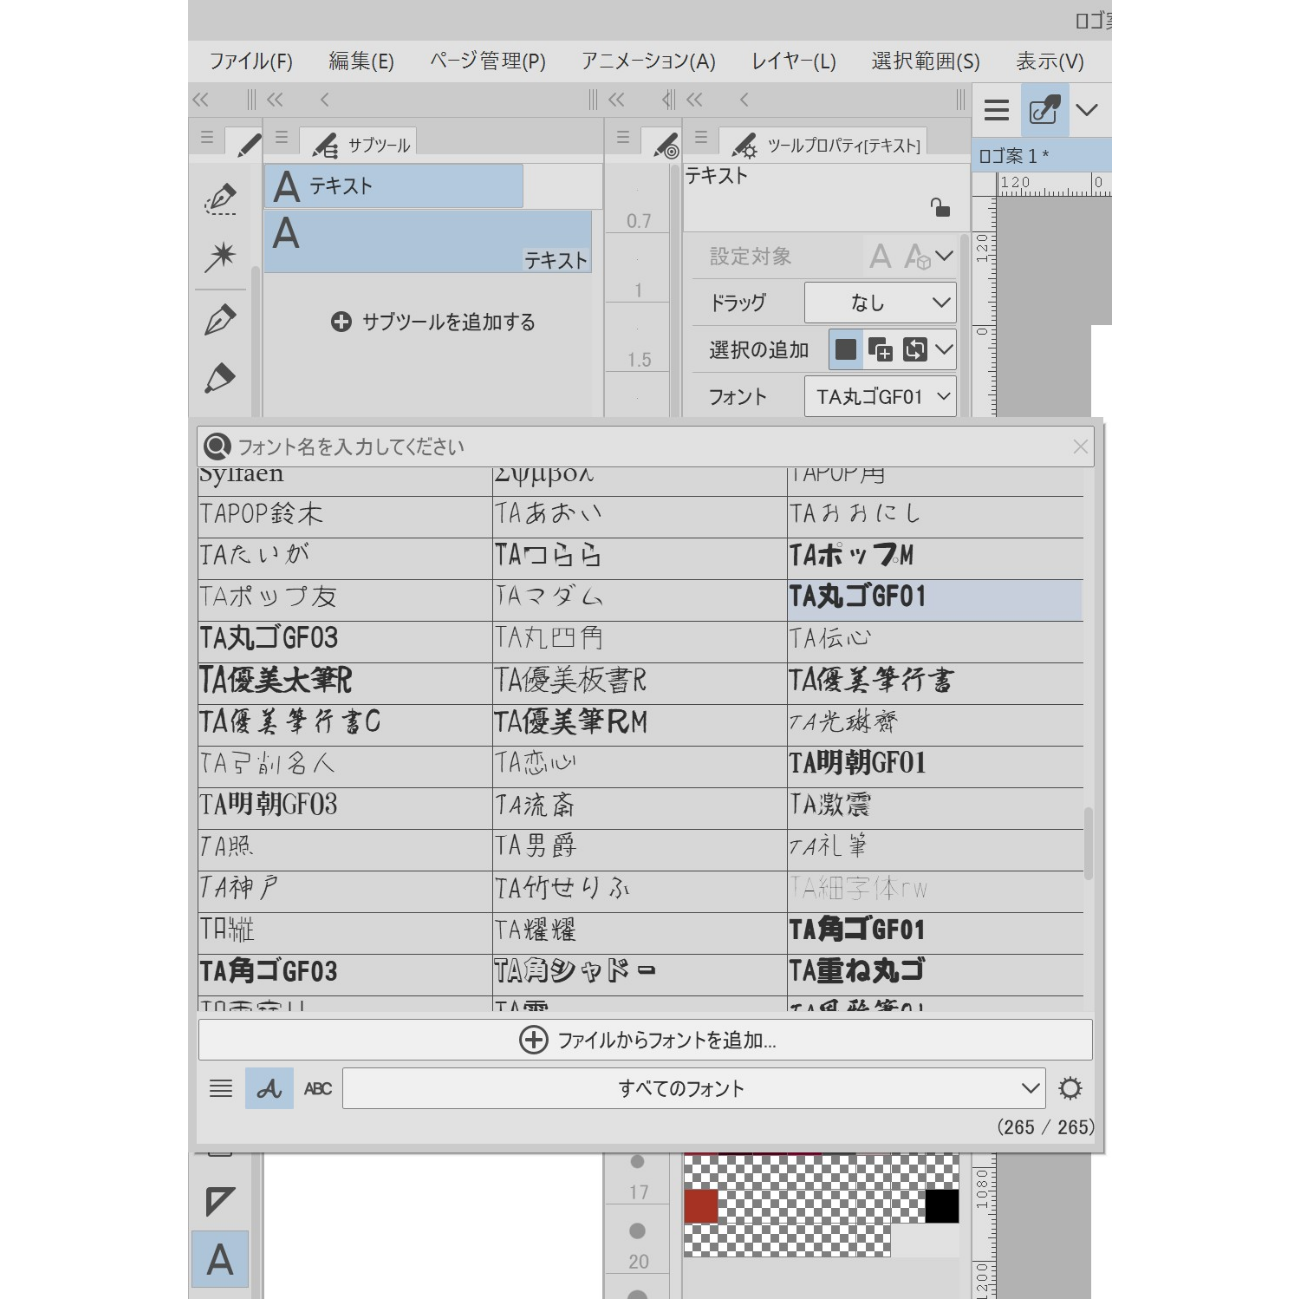
This time, I used the TA Maru Gothic GF03 font, which is provided by default in CLIP STUDIO PAINT.
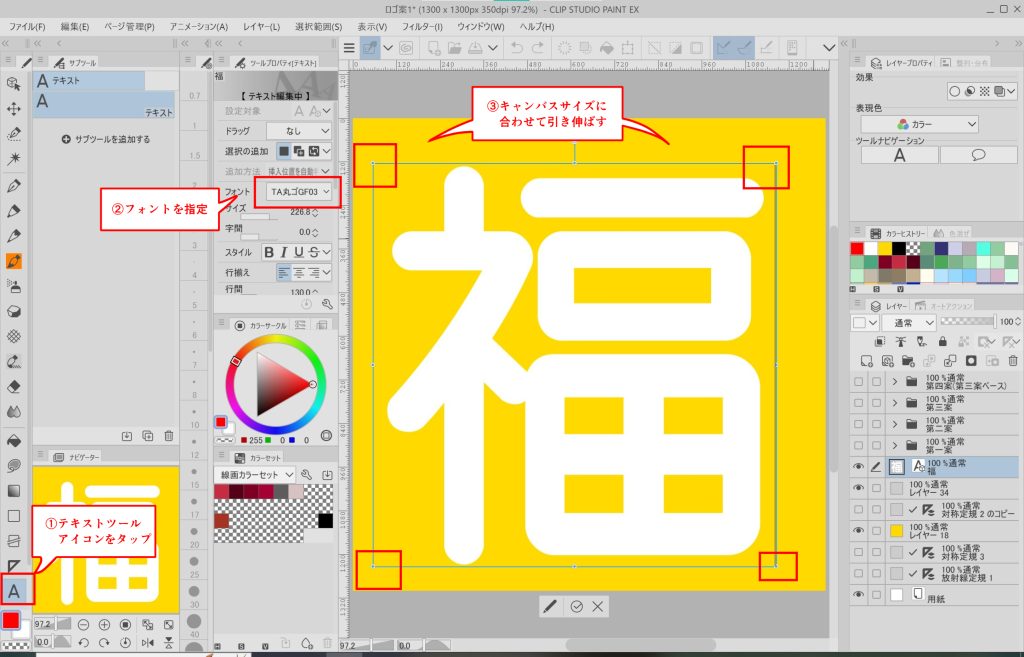
Fonts downloaded from external sites can also be used within CLIP STUDIO PAINT by clicking [Add font from file] from [Tool properties] under [Text] and selecting the font file you want to add.
*When downloading from external sites, please check if the font can be used commercially before downloading and using it.
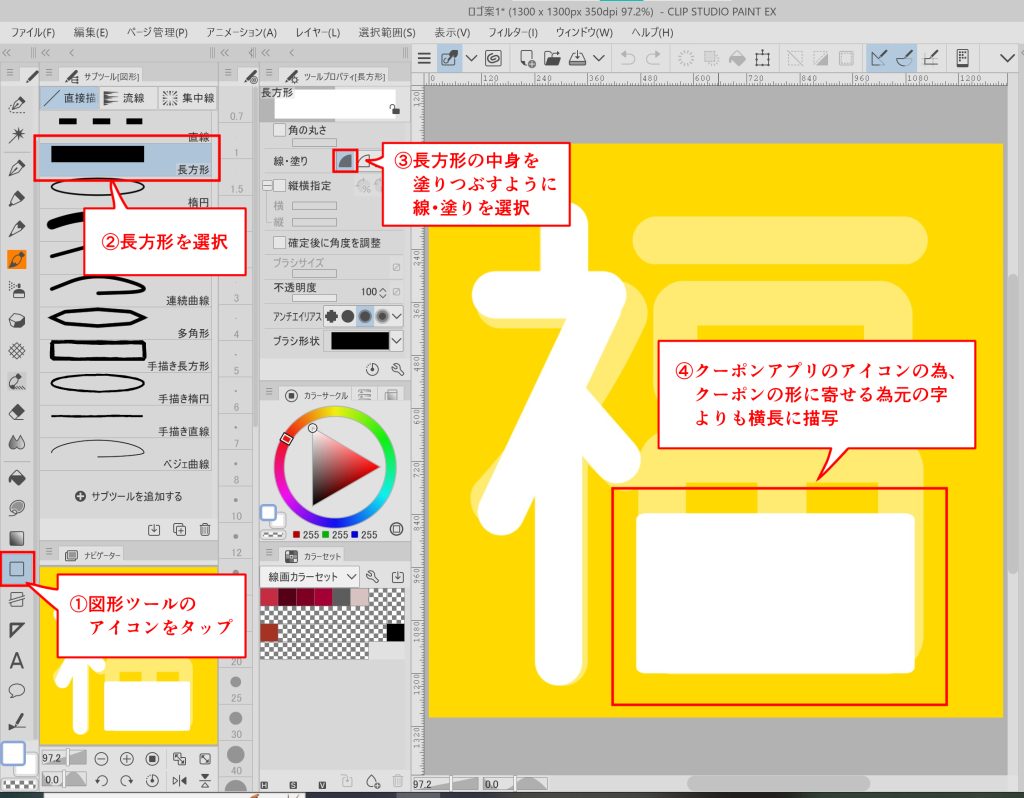
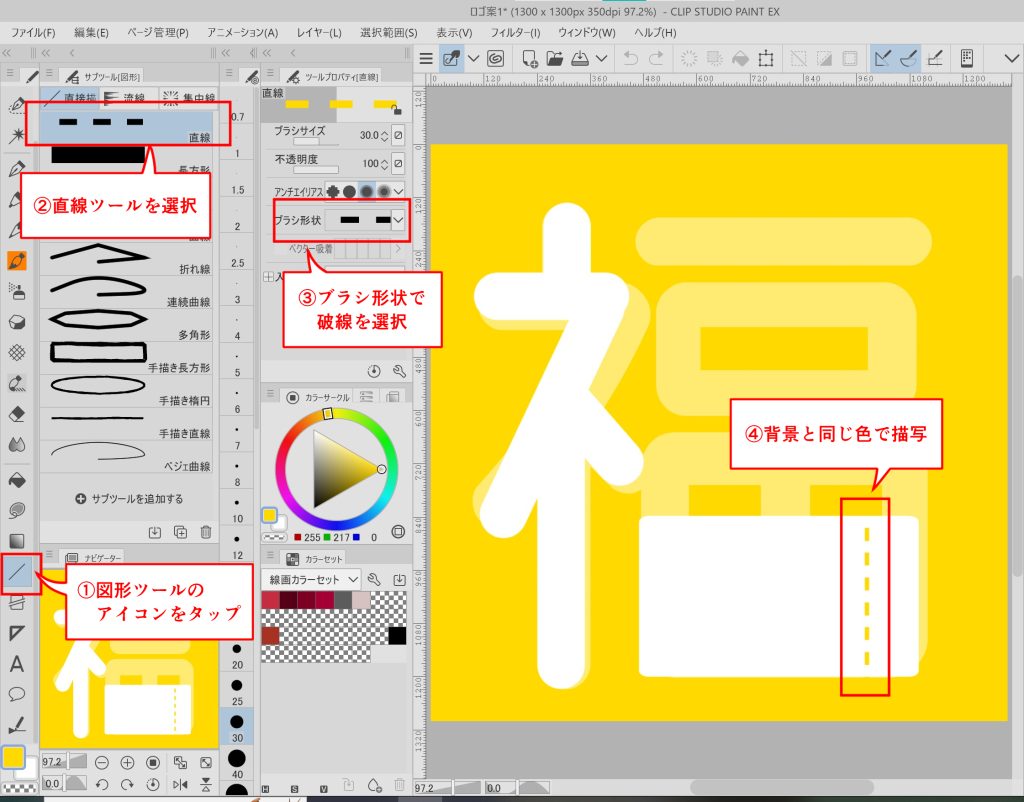
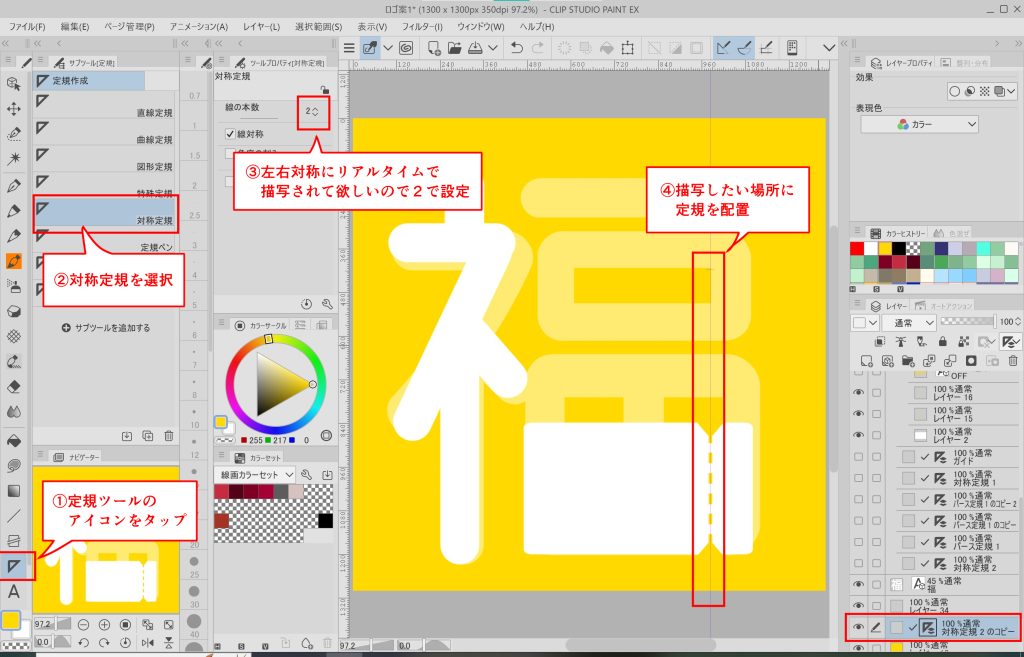
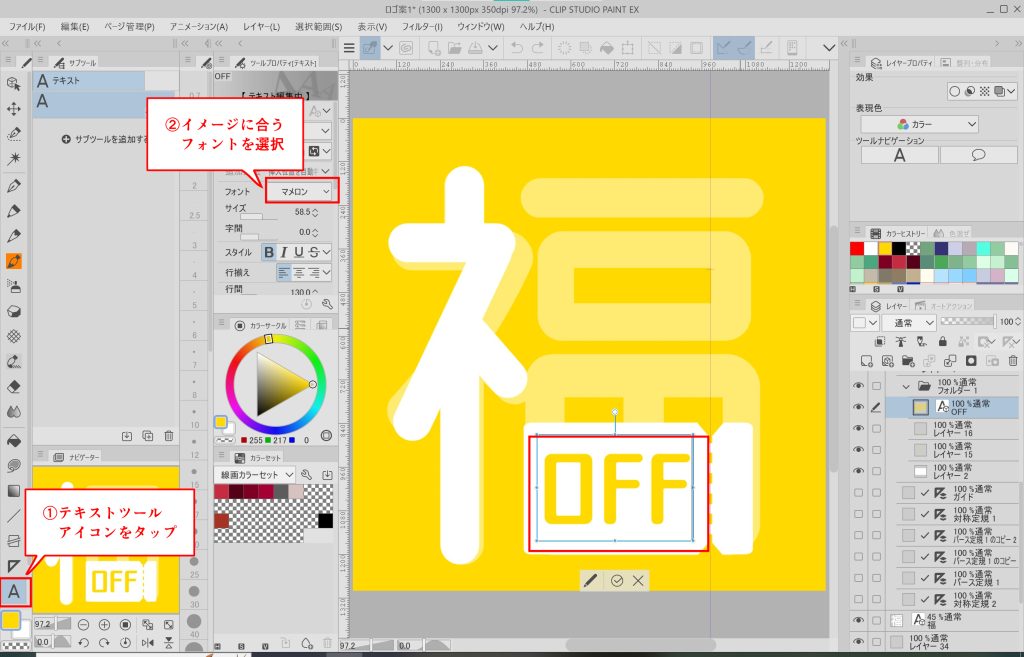
➂ Do modifications based on the font prepared in ②
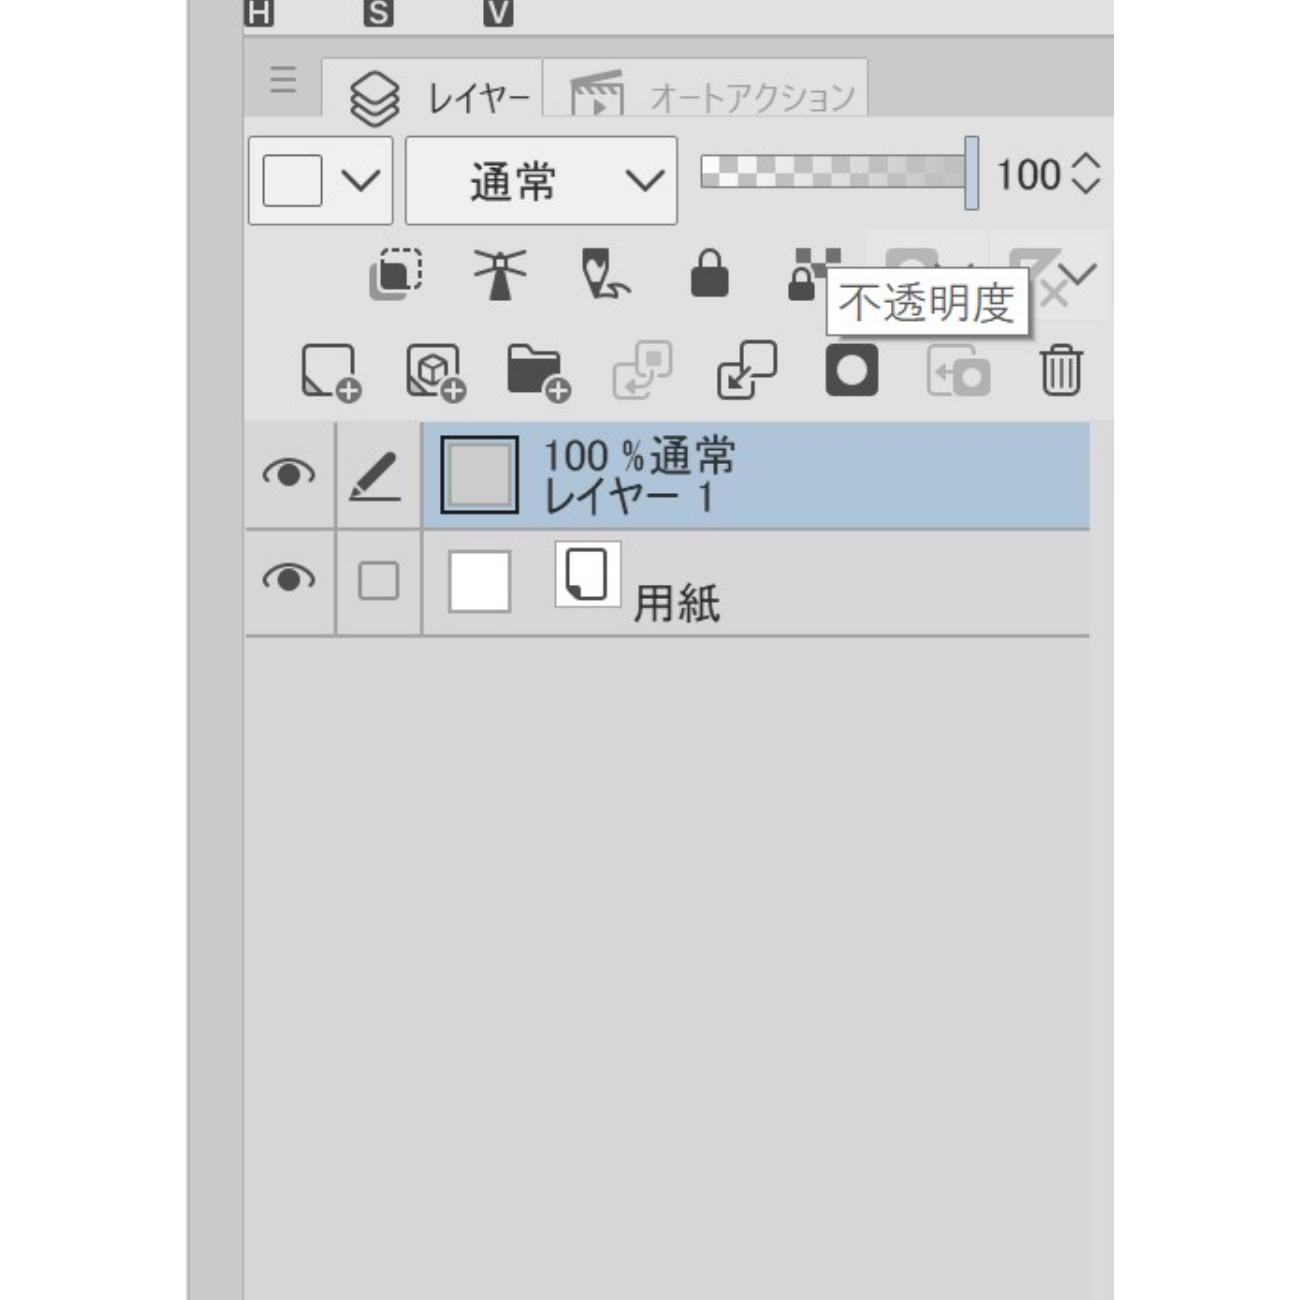
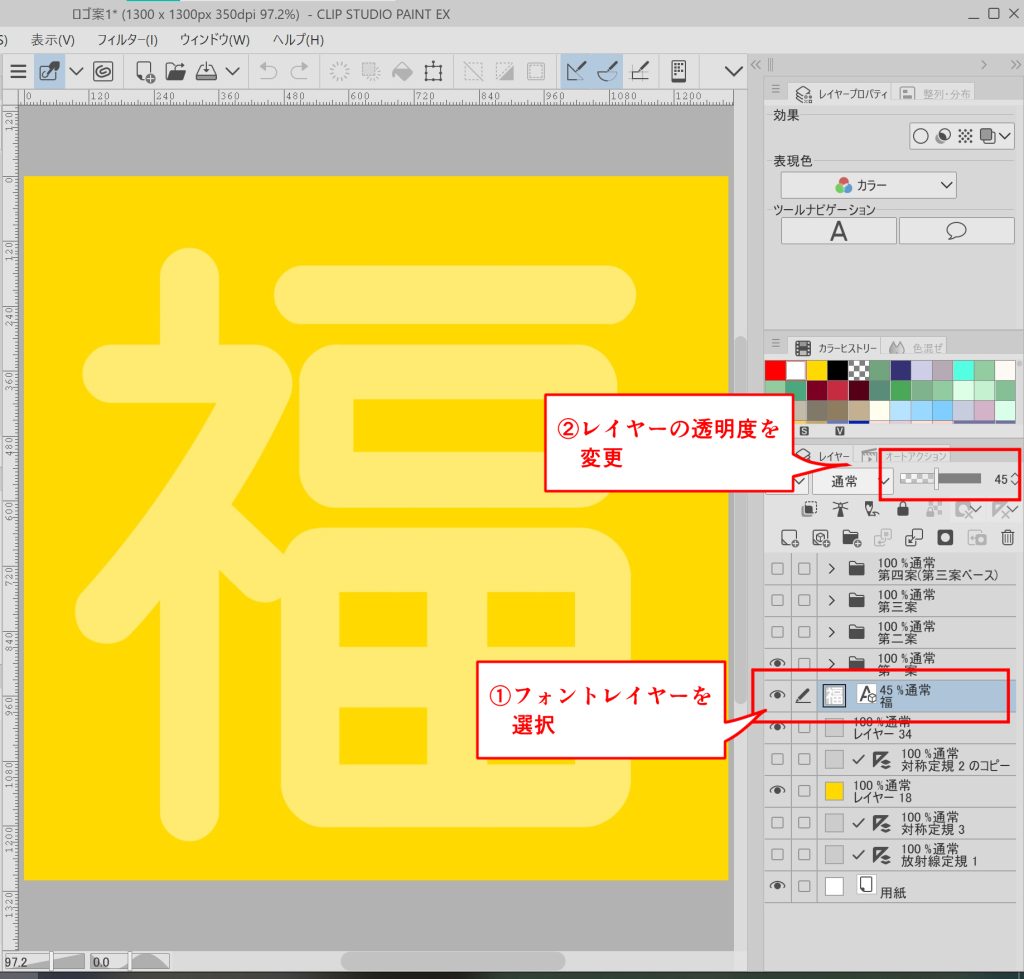
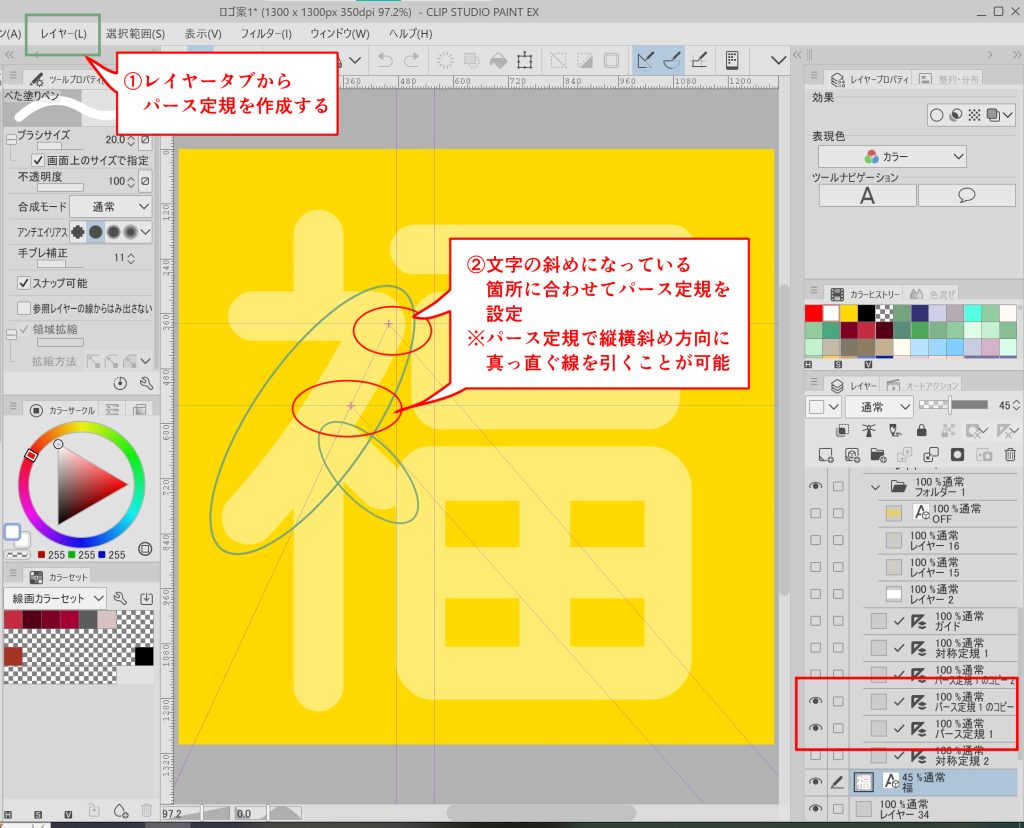
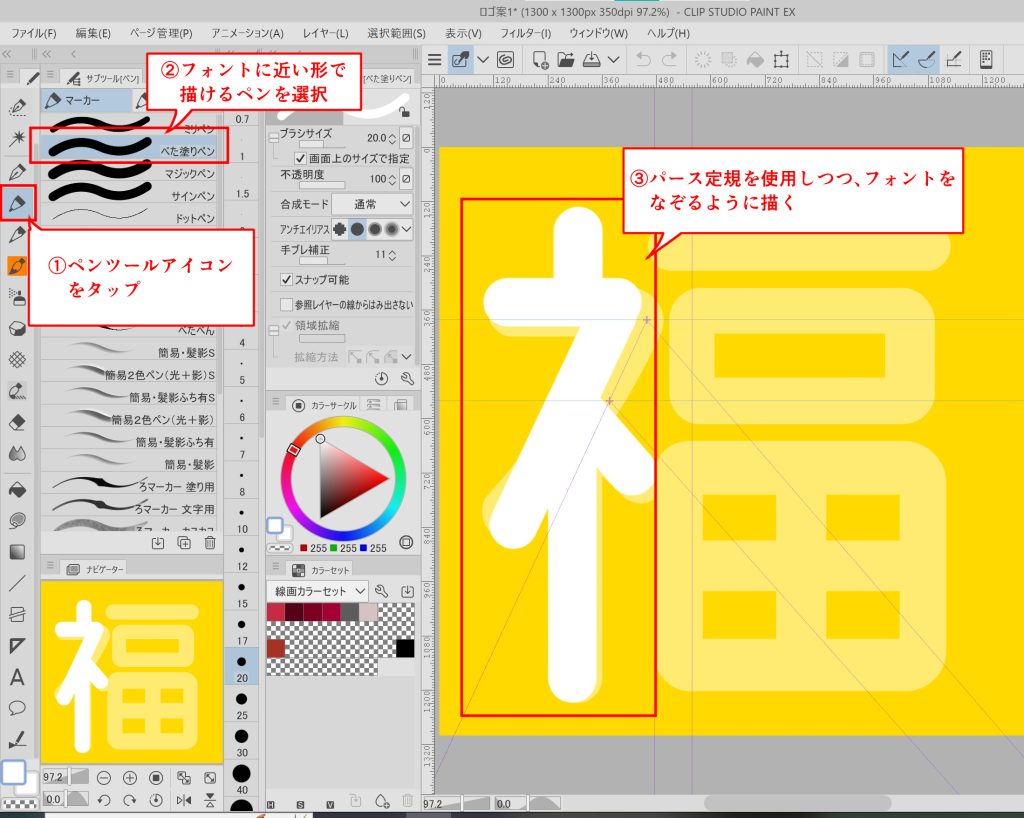
Lower the opacity of the font layer prepared in ② and make changes as shown below.
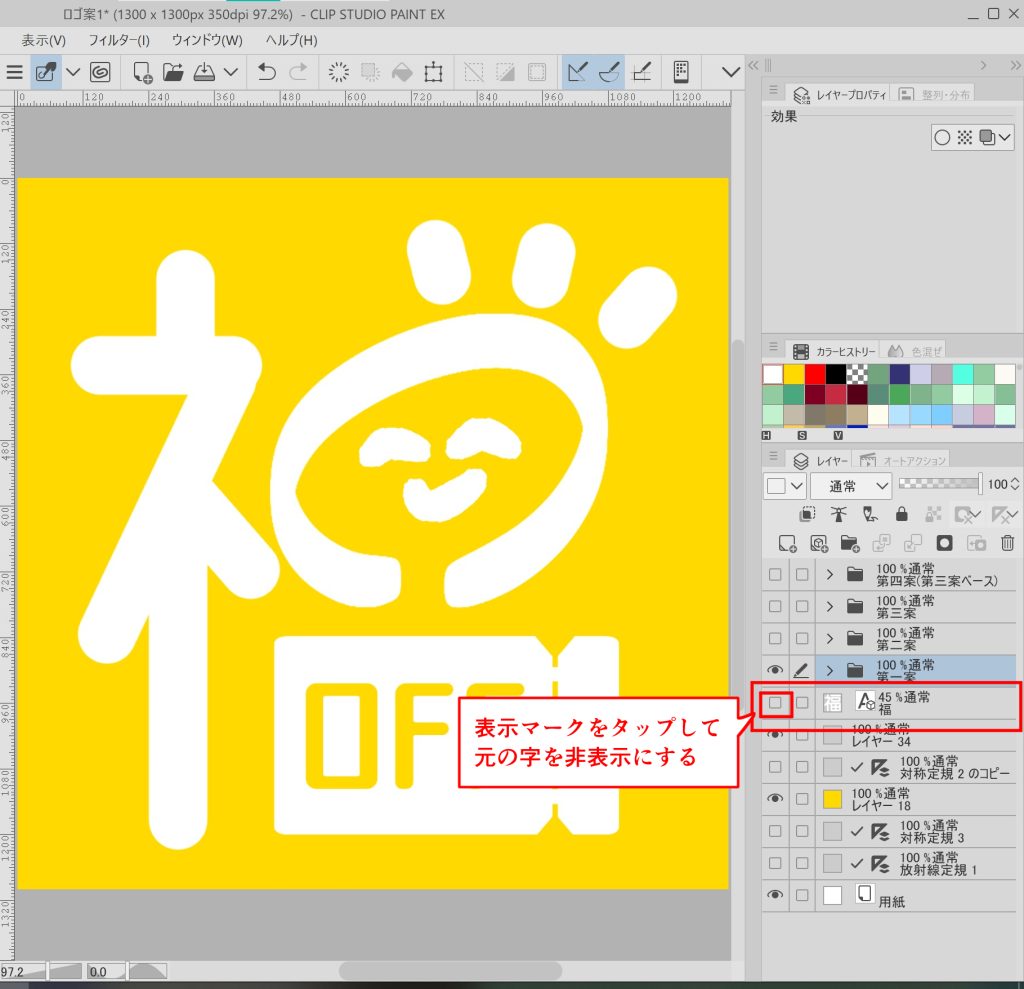
④ Hide the original font layer
Once the design is complete, hide the original font.
You can delete the layer, but it is useful to have it hidden when changing or retaking the design, so it is convenient to leave it hidden.
3. Save
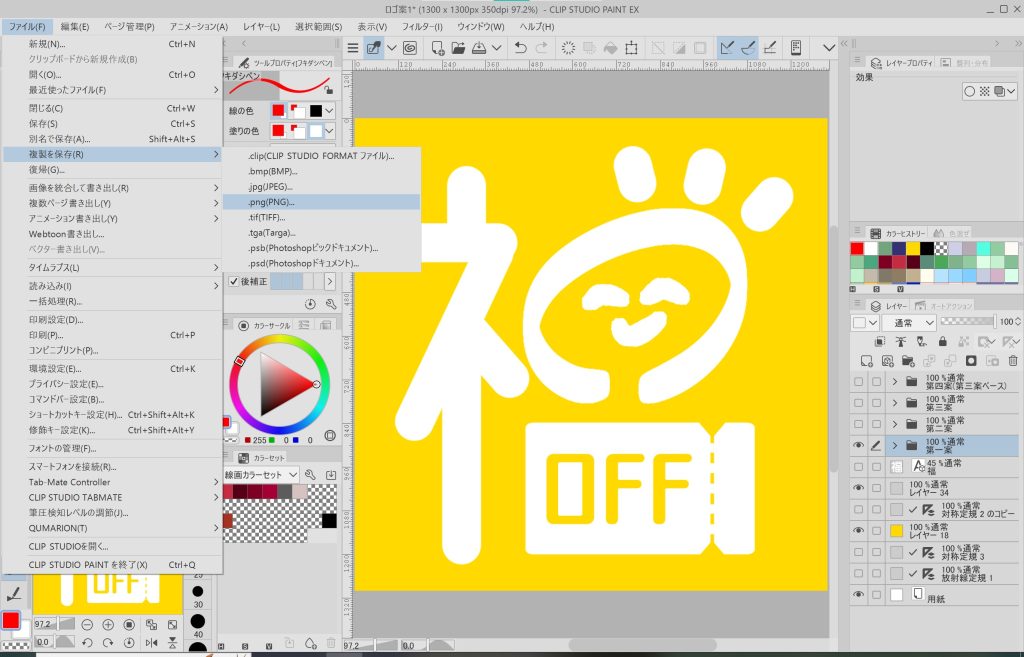
Even if you save it as is, it will be saved as a CLIP STUDIO PAINT file, so use Save a Copy (or Save As) to change the extension and save it as an image.
That’s all!
Look forward to the next engineer’s blog!

