As a technical blog, I would like to introduce the learning content that I am working on on a daily basis.
This time, it is the second unit, which is themed on low-code development.
Theme of this time: “About Outsystems Developer Cloud”
We, the second unit, are currently conducting low-code development using OutSystems 11, and in this blog we introduce the development method and other aspects.
This time, we will introduce “OutSystems Developer Cloud”, which was released in Japan by OutSystems in April 2023.
What is an Outsystems Developer Cloud?
Outsystems Developer Cloud (hereinafter referred to as ODC) is a cloud-native (created to run on the cloud) low-code application development platform provided by OutSystems.
It is based on the native cloud service of Amazon Web Service (AWS) and supports Kubernetes, Linux containers, microservices, etc.
Technologies used in ODC
As a cloud-native platform, ODC uses technologies to provide benefits such as agility, availability, and fault tolerance, and is used to support the above services. Here are some of those technologies.
Microservices
Microservices is a technique for building one large application by combining multiple independent small services through communication via APIs and web services. Since the correlation between individual functions is low, failures or increased load in one function are less likely to affect other functions. In addition, since changes and expansions of functions can be made only to the target service, agility in changes and expansions is high.
However, since it is more difficult to maintain consistency as a whole system than creating a single application, attention must be paid to the design of the whole system, data management, and API management.
Containerization
Containerization is a technology in virtualization technology that combines the elements required to run in any computing environment (from the execution environment to the application) into one package. It enables rapid development without having to worry about the underlying environment.
Autoscaling
Autoscaling is a function that monitors the CPU and RAM usage of each application and automatically increases or decreases the capacity of the application according to the load. Autoscaling allows the build service and other services to be used simultaneously without degrading the performance of the platform.
Advantages of ODC
Usually, building a cloud-native application platform requires huge costs and time. With ODC, OutSystems handles the tedious work involved in building it, so you can introduce cloud-native services with less effort than building it from scratch.
Although there are some differences from OutSystems’ existing low-code development platform, OutSystems 11, there are no major differences in basic functions.
With ODC, you can design, develop, and deploy by taking advantage of the high productivity of OutSystems 11 and the advantages of cloud-native services.
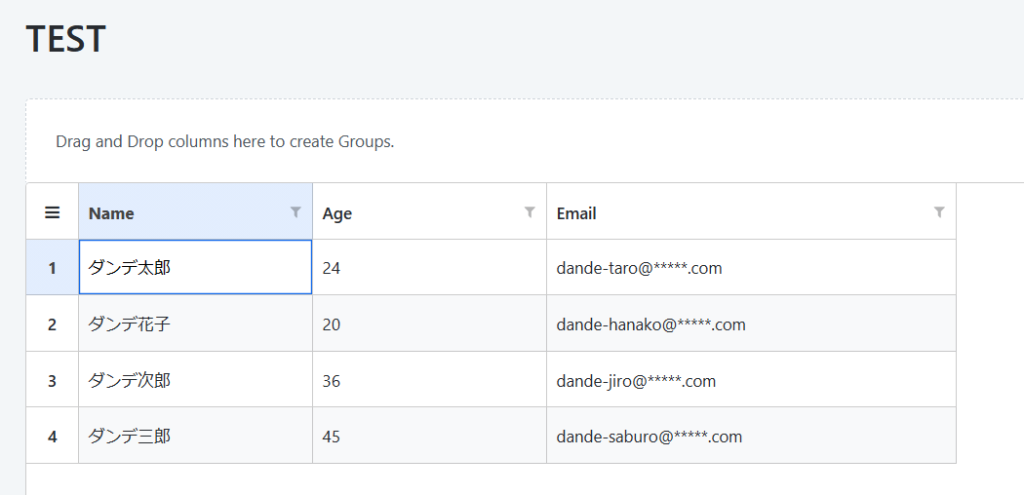
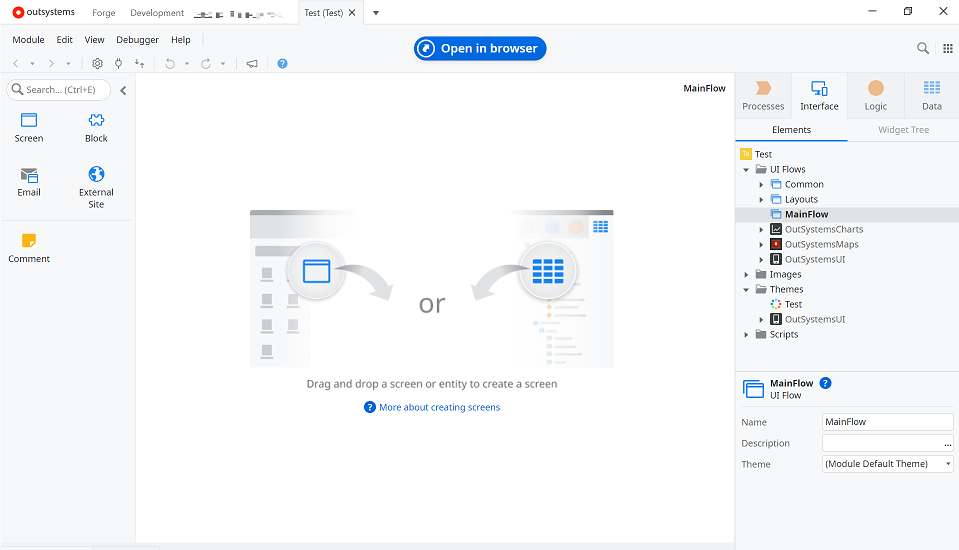
Currently, ODC does not have a free trial that you can immediately install like Outsystems 11, but UI images of the development screen are posted on the Outsystems website.
If you have not tried Outsystems products, try installing a trial of Outsystems 11 first and compare it with the ODC screen.
About the trial installation of Outsystems 11:
Engineer blog: Introducing Outsystems and creating sample screens – dandelionS Blog
About the ODC UI:
UI overview of ODC Portal and ODC Studio – ODC Documentation (outsystems.com)
Summary
This time, we introduced “Outsystems Developer Cloud”.
Our company is currently using OutSystems 11, so in the future I would like to delve deeper into the differences between OutSystems 11 and ODC, how to use them for development purposes, and what to do if you want to migrate to ODC!
In the second unit, we will continue to publish blogs for engineers using low-code tools such as OutSystems, so stay tuned.