
技術者ブログと題して社員が日ごろ取り組んでいる学習内容を紹介します。
今回はWEBデザインをテーマにしている第0ユニットです。
本記事ではGoogle Maps Platformを使ってみたので紹介していきます。
Google Maps Platformとは
Google Maps Platformを使用することで、Google Mapの機能をウェブサイトやアプリに埋め込むことができます。
Google Maps Platformの詳細は公式ページで紹介されています。
https://mapsplatform.google.com
事前準備
Google Maps Platformを使うためには事前に、Googleアカウントを作成し支払いの設定をしておく必要があります。
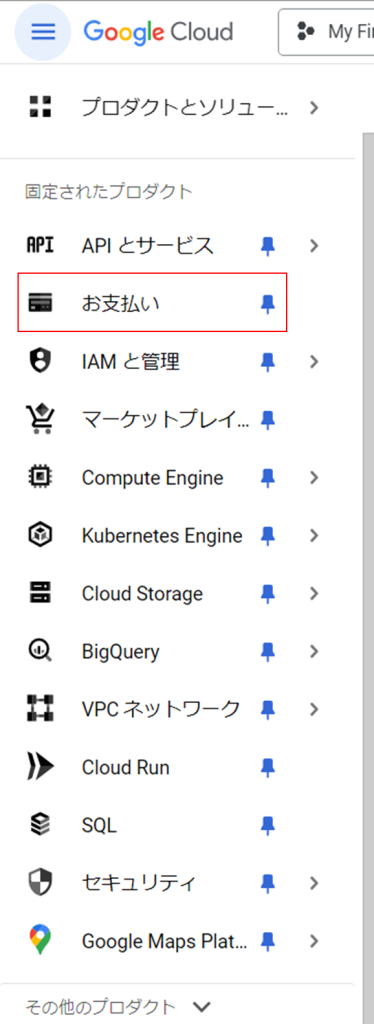
支払いの設定はGoogle Cloudから設定することができます。
https://cloud.google.com/
APIキー取得
Google Maps APIを使用するには、APIキーを取得を取得しておく必要があります。
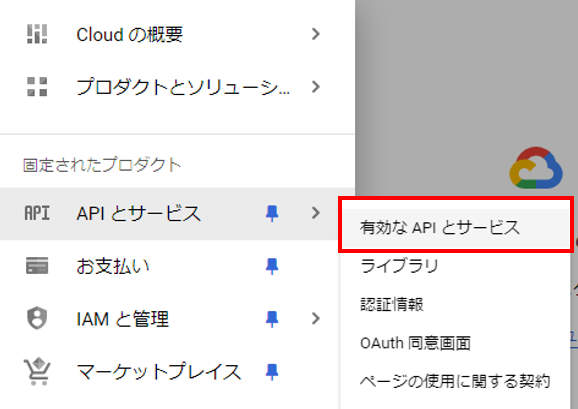
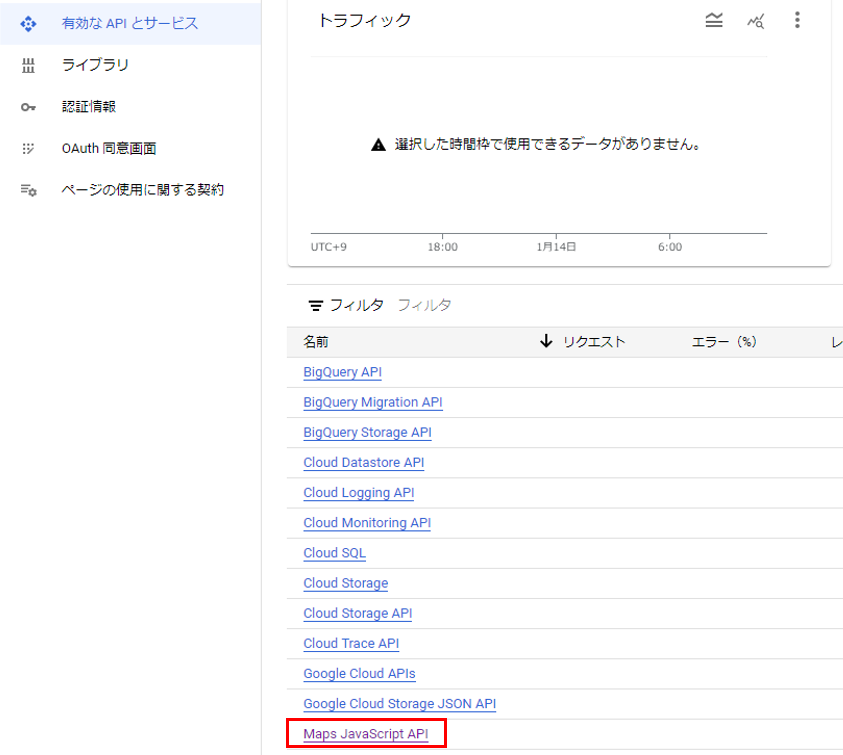
APIキーの取得は「有効なAPIとサービス」から行います。
「Maps JavaScript API」を選択します。
「鍵と認証情報」APIキーからAPIキーを取得することができます。

MAPの表示
地図の表示
APIは「Dynamic Library Import」、「NPM js-api-loader パッケージ」の方法で利用することができます。
利用方法の詳細は公式のガイド参照してください
Maps JavaScript API を読み込む
下記は地図を出すサンプルソースです。
<!DOCTYPE html>
<!--
 @license
 Copyright 2019 Google LLC. All Rights Reserved.
 SPDX-License-Identifier: Apache-2.0
-->
<html>
  <head>
    <title>Add Map</title>

    <link rel="stylesheet" type="text/css" href="./style.css" />
    http://js/map.js
  </head>
  <body>
    <h3>My Google Maps Demo</h3>
    <!--The div element for the map -->
    <div id="map"></div>

    <!-- prettier-ignore -->
    <script>(g=>{var h,a,k,p="The Google Maps JavaScript API",c="google",l="importLibrary",q="__ib__",m=document,b=window;b=b[c]||(b[c]={});var d=b.maps||(b.maps={}),r=new Set,e=new URLSearchParams,u=()=>h||(h=new Promise(async(f,n)=>{await (a=m.createElement("script"));e.set("libraries",[...r]+"");for(k in g)e.set(k.replace(/[A-Z]/g,t=>"_"+t[0].toLowerCase()),g[k]);e.set("callback",c+".maps."+q);a.src=`https://maps.${c}apis.com/maps/api/js?`+e;d[q]=f;a.onerror=()=>h=n(Error(p+" could not load."));a.nonce=m.querySelector("script[nonce]")?.nonce||"";m.head.append(a)}));d[l]?console.warn(p+" only loads once. Ignoring:",g):d[l]=(f,...n)=>r.add(f)&&u().then(()=>d[l](f,...n))})
        ({key: "{APIキー}", v: "beta"});</script>

    <script>
      // Initialize and add the map
      let map;

      async function initMap() {

          // Request needed libraries.
          //@ts-ignore
          const { Map } = await google.maps.importLibrary("maps");
          const { AdvancedMarkerElement } = await google.maps.importLibrary("marker")


          // 地図の初期設定
          map = new Map(document.getElementById("map"), {
              zoom: 18,
              center: position1,
              mapId: "DEMO_MAP_ID",
          });

          // ピンの地点を設定
          const position1 = { lat: 35.165455654239224, lng: 136.90517107048055 };
          const position2 = { lat: 35.16480168326663, lng: 136.90544465580453 };

          // 地図にピンを設定する
          const marker = new AdvancedMarkerElement({
              map: map,
              position: position1,
              title: "ナディアパーク",
          });

          const marker2 = new AdvancedMarkerElement({
              map: map,
              position: position2,
              title: "矢場公園",
          });
      }

      initMap();
    </script>
  </body>
</html>
地図のAPIは下記の部分で読み込んでいます。
サンプルでは「Dynamic Library Import」でAPIを読み込んでいます。script>(g=>{var h,a,k,p="The Google Maps JavaScript API",c="google",l="importLibrary",q="__ib__",m=document,b=window;b=b[c]||(b[c]={});var d=b.maps||(b.maps={}),r=new Set,e=new URLSearchParams,u=()=>h||(h=new Promise(async(f,n)=>{await (a=m.createElement("script"));e.set("libraries",[...r]+"");for(k in g)e.set(k.replace(/[A-Z]/g,t=>"_"+t[0].toLowerCase()),g[k]);e.set("callback",c+".maps."+q);a.src=`https://maps.${c}apis.com/maps/api/js?`+e;d[q]=f;a.onerror=()=>h=n(Error(p+" could not load."));a.nonce=m.querySelector("script[nonce]")?.nonce||"";m.head.append(a)}));d[l]?console.warn(p+" only loads once. Ignoring:",g):d[l]=(f,...n)=>r.add(f)&&u().then(()=>d[l](f,...n))}) ({key: "{APIキー}", v: "beta"});</script>
地図の表示は下記の部分で表示を行っています
      // GoogleMapの読み込み
         const { Map } = await google.maps.importLibrary("maps");
          const { AdvancedMarkerElement } = await google.maps.importLibrary("marker")


          // 地図の初期設定
          map = new Map(document.getElementById("map"), {
              zoom: 18,
              center: position1,
              mapId: "DEMO_MAP_ID",
          });
また、下記のようにピンを複数設定することで、地図に複数のピンを立てることもできます。
// ピンの地点を設定
          const position1 = { lat: 35.165455654239224, lng: 136.90517107048055 };
          const position2 = { lat: 35.16480168326663, lng: 136.90544465580453 };

          // 地図にピンを設定する
          const marker = new AdvancedMarkerElement({
              map: map,
              position: position1,
              title: "ナディアパーク",
          });

          const marker2 = new AdvancedMarkerElement({
              map: map,
              position: position2,
              title: "矢場公園",
          });
今回はGoogle Maps Platformを使って地図を表示したり、
地図にピンを立てる方法をまとめました。
次回の第0ユニットの技術者ブログもお楽しみに!