Thank you for viewing.
I’m “Em,” from the Business Development Department, and I’ll be handling this employee introduction article.
I’ll share why I joined Dandelions and my thoughts on joining the company.
What Prompted Me to Join the Company
In my previous role, I began my career as a systems engineer (SE) after joining the company as a new graduate and spent ten years in that position. I gained extensive technical knowledge and experienced significant growth, finding the work deeply rewarding.
However, following a shift in company policy, I embarked on a new career path as a sales professional for the next ten years. Although it was a completely different field, it proved to be invaluable experience. I honed my skills in directly listening to and proposing solutions for customer needs while leveraging the IT knowledge I had cultivated in the field.
My experience in sales was also highly valuable, but I always harbored a strong desire to return to the forefront of technical development as an IT specialist once again.
Around that time, I was introduced to an opportunity by someone I had worked with during my stint as a systems engineer. I became convinced that I could once again pour my passion into the IT work I truly wanted to do, and thus decided to change jobs.
After my employment was confirmed, as I listened to the details, I discovered an even more surprising fact.
Actually, during my time in sales, I had already met you as a client and conducted business with you. The connection formed during my days as a systems engineer, through my relationship with you as a client during my sales period, ultimately led to my joining the company. I feel it was a truly valuable connection.
I possess two distinct perspectives: technical expertise as a systems engineer and the ability to deeply understand customer challenges cultivated through sales experience.
I believe this unique background is my greatest strength, one that sets me apart from others.
Life After Joining
Following my reasons for joining the company, I’d like to share my honest impressions since joining.
It’s been about seven years since I joined. When I decided to change jobs and took the leap into this new environment, what struck me most immediately was how every single employee radiated a passion to “make this company better with our own hands” and was filled with positive energy.
What particularly impressed me was how everyone opened their hearts and listened to my opinions and suggestions, even though I was a new member.
The kindness in your hearts at that time and your attitude of respecting my opinions gave me a great sense of security and joy as I worked in this new environment.
It was precisely because I felt accepted that I was able to quickly become an active member of the company and engage enthusiastically in my work.
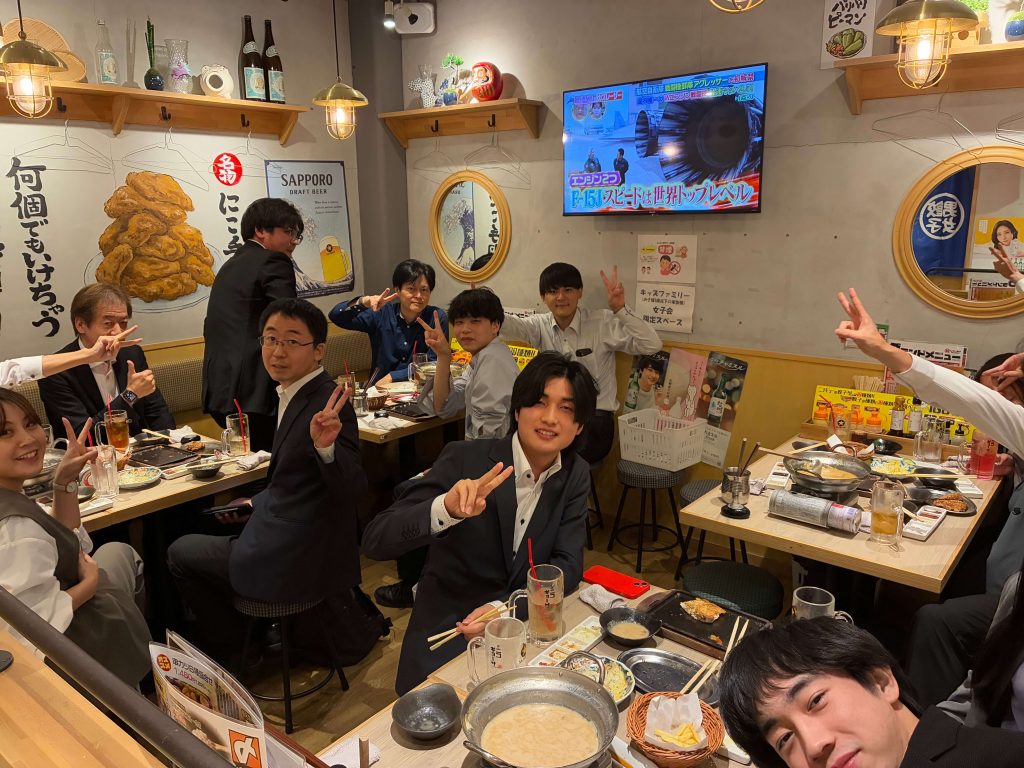
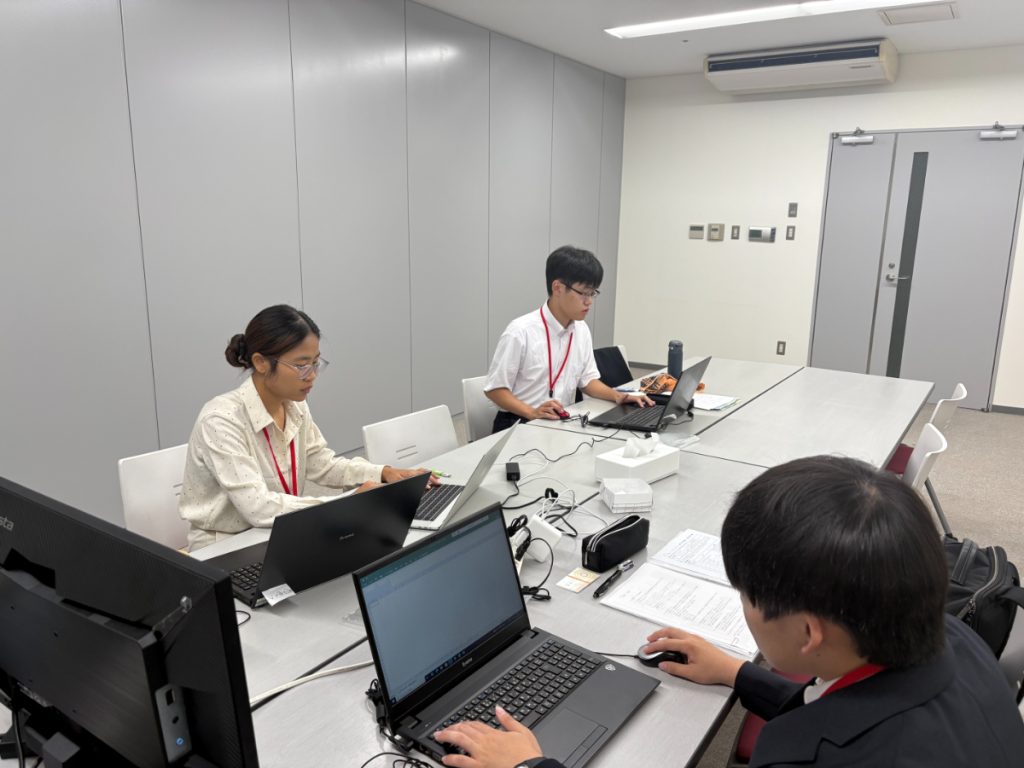
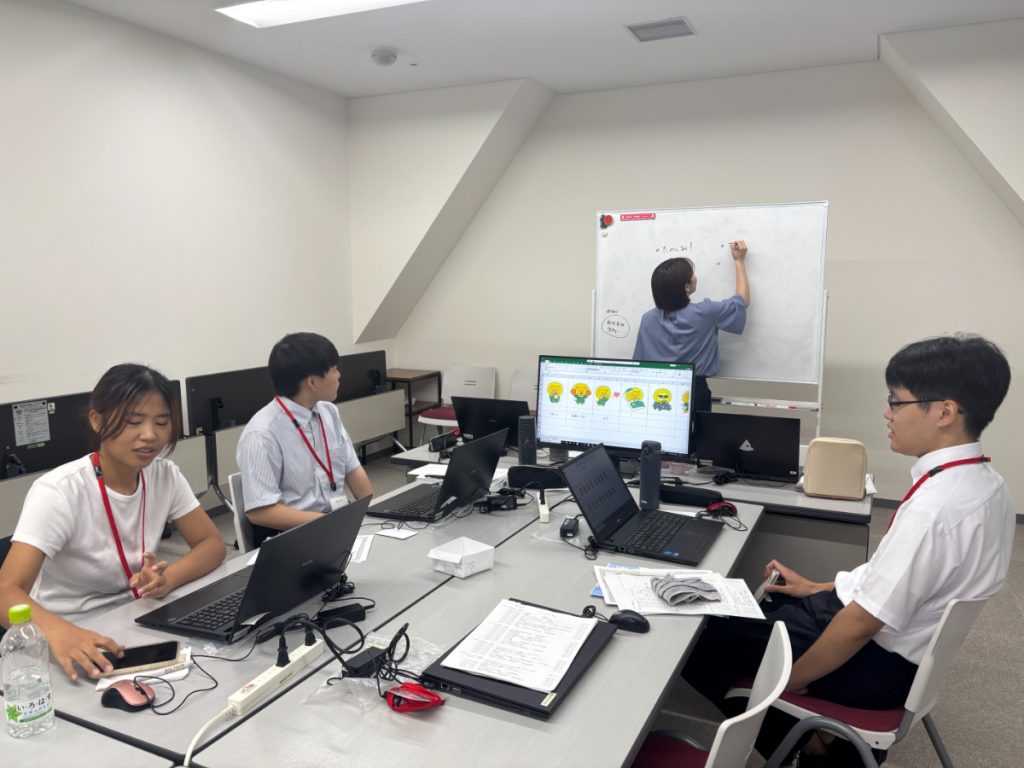
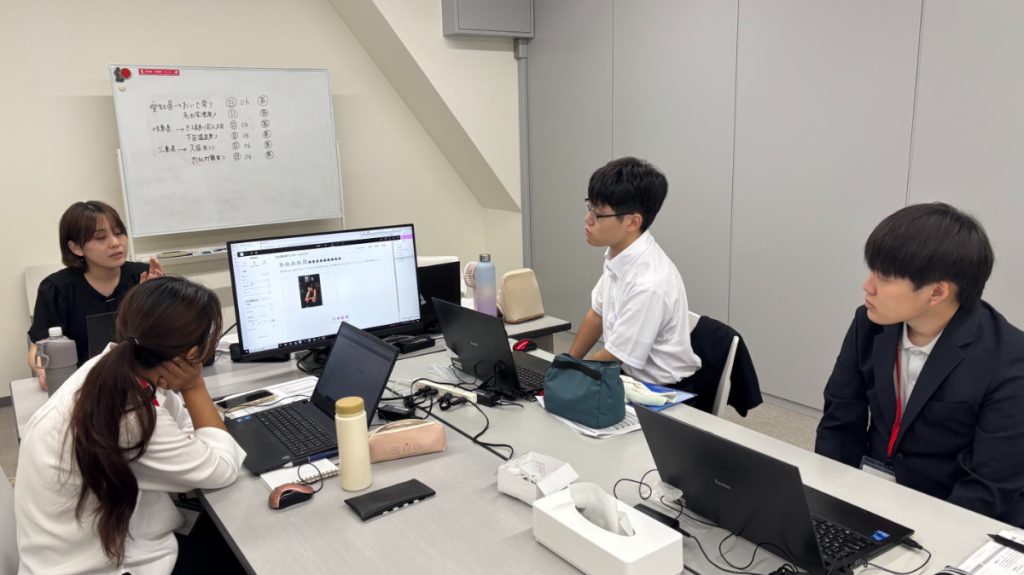
Recently, with the addition of many foreign members and young employees from the new generation, the company has become even more vibrant. Currently, regardless of nationality or age, we are able to work together in a truly “harmonious and friendly” atmosphere, respecting one another.
Being able to experience this process of change and growth as a member of the organization is also a source of joy.

That’s all for this time.
Stay tuned for the next employee spotlight!