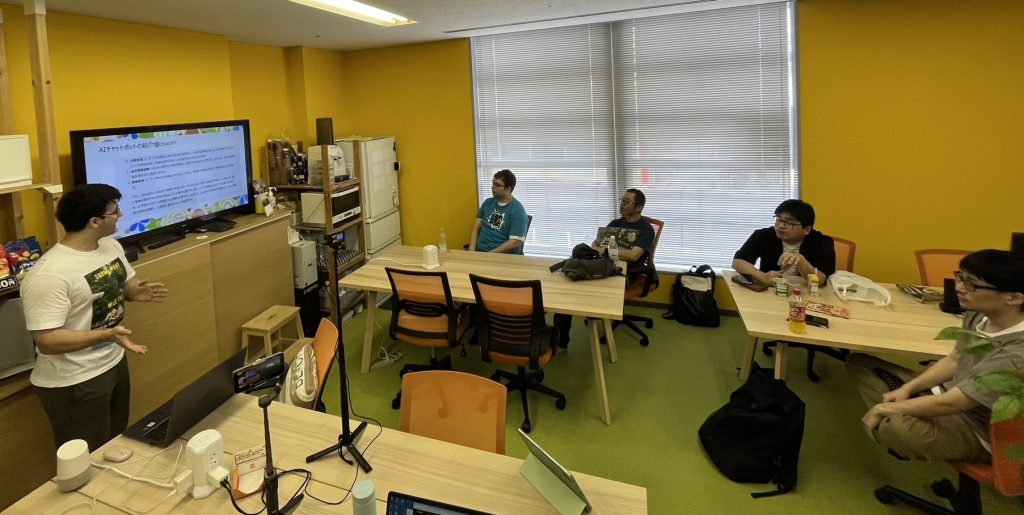
In August 2023, we held an internship with two Japanese students and four international students. In this article, we will introduce the experiences of the participants.
French international student (woman)
During the internship, I was able to experience a lot of new things. On the first day, I was able to translate Dandelions’ Japanese LINE stamps into French and English, which was a very useful activity. On the second day, we tasted the Japanese sweets we had purchased the day before and I translated our impressions into English. Although it was an interesting activity, I was a little bit stressed as I had little time to translate everything.
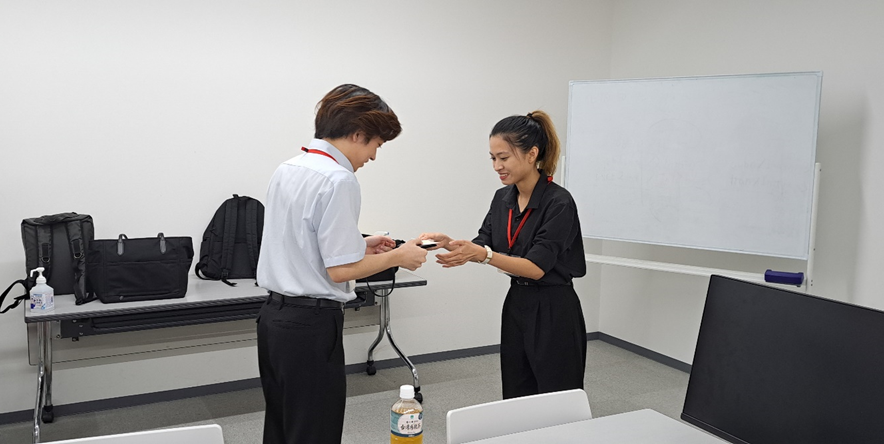
On the third day, I experienced exchanging business cards for the first time. Exchanging business cards is a part of the Japanese culture, so I was excited to experience it. I learned how to give and receive business cards, which I think will be useful in the future.
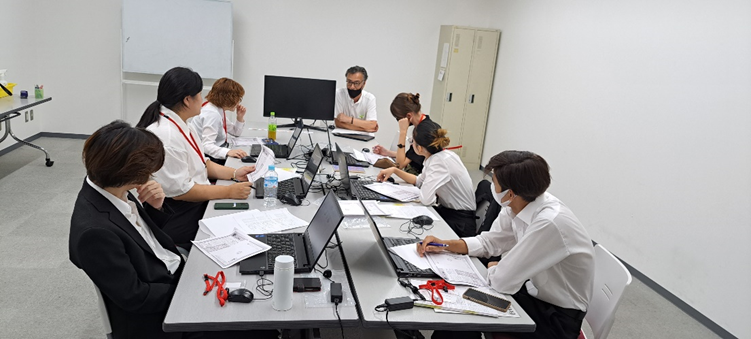
I also learned a lot about web design. For example, when creating a web design, you need to think about who you are creating the site for and consider the concept of “persona”.
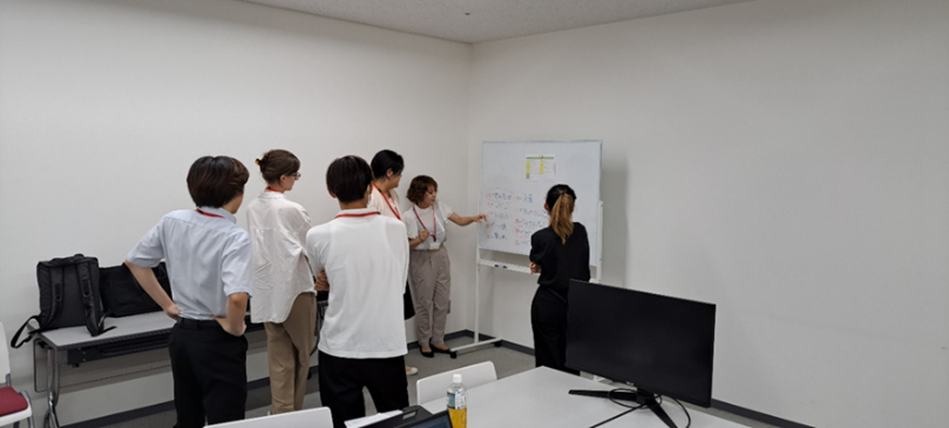
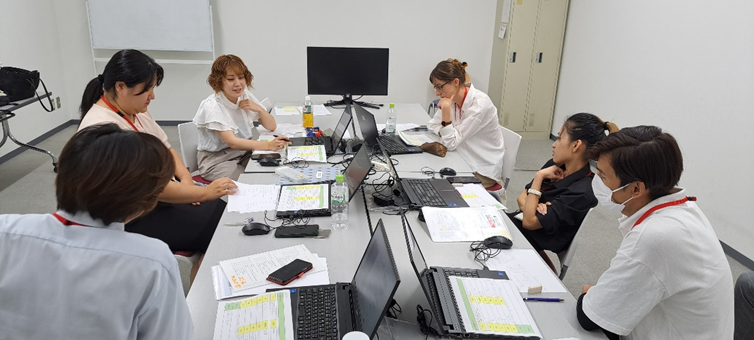
Deciding on a “persona” with everyone
From these various activities, I was able to learn how Japanese companies are organized, and I acquired new skills and gained new experiences.
Japanese student (woman)
I am interested in web design and would like to pursue it as a career. For this reason, I decided to participate to this internship as I wanted to experience how a website is created.
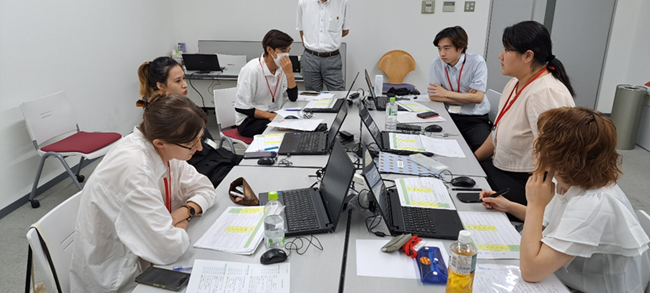
On the first day, we decided on captions for LINE stamps. At first, everyone was nervous about meeting each other for the first time, so it was difficult to formulate opinions. Gradually, various opinions came out, and in the end, we were able to choose the captions with everyone’s approval.
On the second day, we ate sweets we had bought the day before and discussed our impressions. I was surprised that my impressions as a Japanese person were completely different from others. There were some sweets that were not known by everyone, so it was difficult to elicit positive feedback.
Then, we did a test experience. The test consisted on checking on various files whether things that should be specifically displayed are actually being displayed or not. This was a very detailed work, and I felt like I was going to give up in the middle of it. However, I learned that if I do not do it properly, I will not be able to find computer or informatic bugs, and afterwards, I felt that it was a very rewarding work.
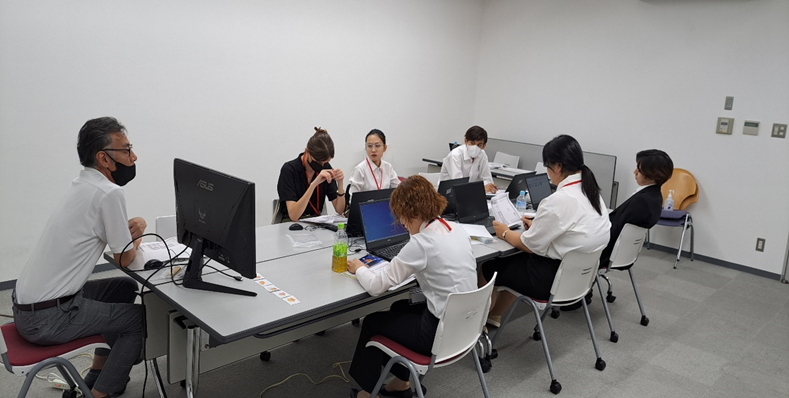
On the third day, everyone created their own “persona” and after compiling and comparing them, we created a common one. When I was creating mine, it was difficult because I had to think about various detailed settings, but when it came to putting it all together, I had to figure out how to summarize everyone’s opinions and make sure that there were no gaps in everyone’s understanding. I strongly felt the difficulty of group discussions and the importance of communication. Also, while listening to everyone’s opinion, I found it interesting that we had different views and ways of thinking.
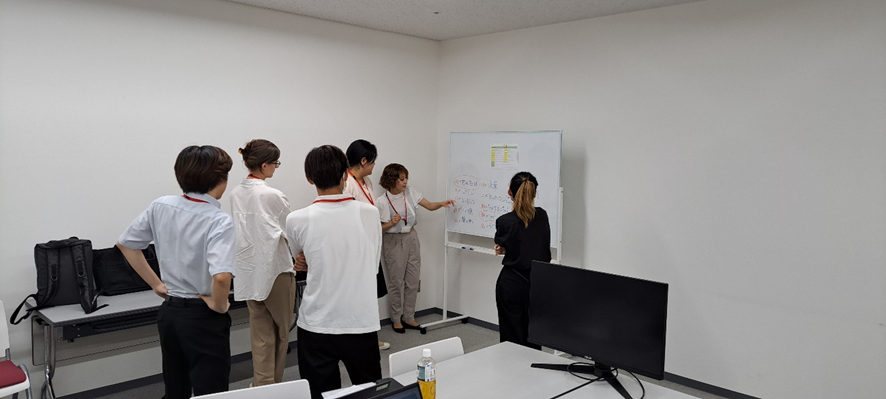
Organizing our common “persona”
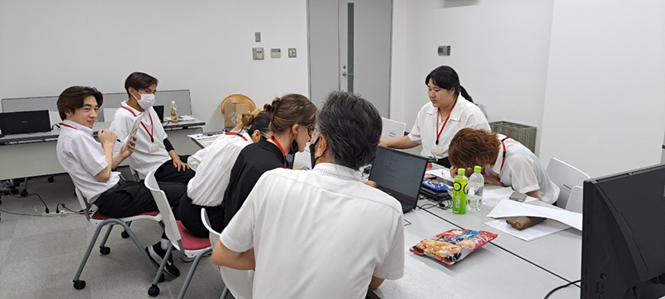
Then, we moved on to creating a website. We determined the roles of each person and worked to ensure that the work progressed smoothly. While creating the site, I was able to feel the joy of creating something. In the future, I would like to acquire more knowledge and skills and grow to the point where I can make everything from scratch.
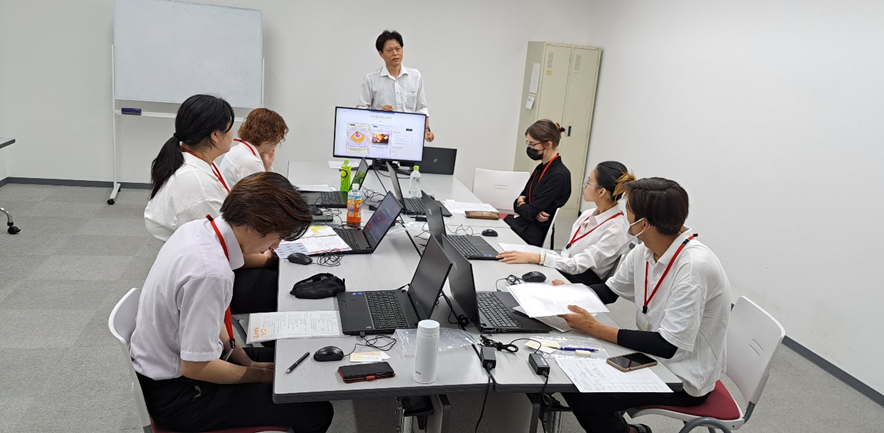
Deciding on the animes to integrate into our website
I had a very fulfilling time by gaining a lot of knowledge from everyone at Dandelions. I am really thankful for this experience.
Japanese student (man)
As it was my first internship, I was nervous, but the employees in charge of the internship were kind and thorough, so I quickly got used to the place and eased my nerves.
On the first day of the internship, we first introduced ourselves. Then, we worked on creating captions for LINE stamps. We worked together to decide on the appropriate words for each stamp’s caption, and translated them into other languages. We also purchased sweets in order to write our impressions and to post them on our e-commerce site.
Translating the stamps’ captions
On the second day, in order to compile on the e-commerce site the impressions of the sweets we bought the day before, we sampled the sweets and summarized everyone’s impressions. Once we finished, we checked on the e-commerce site if the posts were not displayed incorrectly.
Tasting sweets
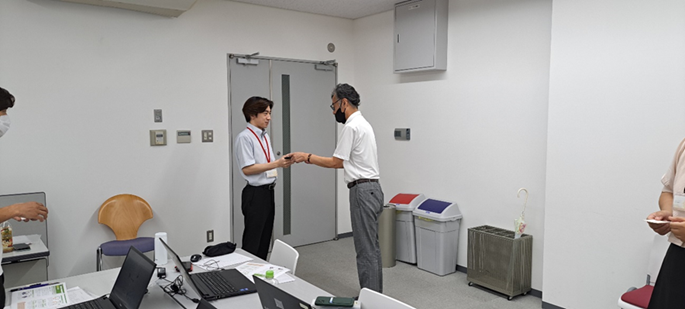
On the third day, we practiced exchanging business cards. I was so nervous! Then we started creating a website. We first had to decide on a persona in order to know for whom we will create it for. The design of the website was decided by a majority vote, and based on that design, we discussed which photos to include.
Exchanging business cards
On the fourth day, I wrote my impressions of the internship. I was able to write them quickly, but since there was so much to write, it was difficult to summarize everything. Then, we continued on creating our website.
On the last day, we had a presentation summarizing the creation of our website. I was so nervous when giving the presentation, but I gave my best!
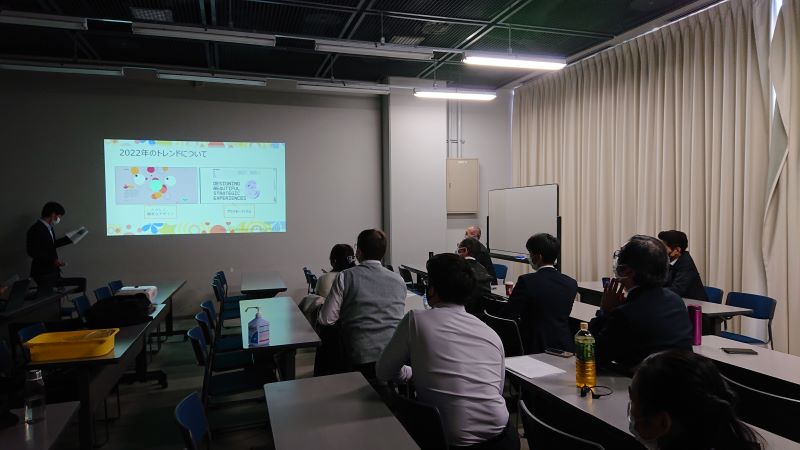
Every year in November, each unit from DandelionS holds a report meeting on the annual activities. We set evaluation items for each unit, and each unit member and representative scores the results. The goals for each unit are as follows:
0th Unit
・Web trends investigation ・Corporate site, recruitment site operation ・About internally developed apps (jointly with the 3rd unit)
1st Unit
・Luckybox Blog ・Hello World Web version ・Sweets authentication app ・Attendance input API (jointly with 2nd unit)
2nd Unit
・Building an internal attendance management system using OutSystems ・Building a simple attendance registration function using a smartphone app
3rd Unit
・Internal server construction ・Security support
How last year’s presentation looked like
This is a great opportunity to showcase this year’s activities to all members. Please make sure to prepare well your presentation within each unit! The details of the report will be provided later.
For this engineer’s blog, I would like to introduce the learning content that I am working on on a daily basis. I am from the first unit working with themes such as AI and big data. This time, I will introduce a simple model for classifying images using TensorFlow.
TensorFlow is an open-source machine learning library widely used for machine learning and deep learning. It can be used for various tasks such as image classification.
To classify images with TensorFlow using the Python language, follow these steps:
1. Install TensorFlow
2. Load the dataset
This example uses the MNIST dataset. The MNIST dataset contains 60,000 training images and 10,000 test images of handwritten digits.
To load the MNIST dataset, use the following code:
This code reads the MNIST dataset and splits it into training and test images.
3. Preprocess the data
MNIST images are grayscale images and are all 28×28 pixels in size. Before training the model, we need to normalize the images.
To normalize the image, use the following code:
This code normalizes the value of each pixel in the image to a range of 0 to 1.
4. Define the model
This example uses a simple model. The model has two layers: a convolutional layer and a fully connected layer.
The convolutional layer extracts features from images. The fully connected layer classifies the image based on the features extracted by the convolutional layer.
Use the following code to define the model:
This code defines a model with four layers:
The first layer is a convolutional layer. This layer extracts a 28x28x32 feature map from the image.
The second layer is the max pooling layer. This layer reduces the size of the feature map by half.
The third layer is a planarization layer. This layer converts the feature map into a one-dimensional vector.
The fourth layer is a fully connected layer. This layer classifies images based on feature vectors.
5. Compile the model
To compile the model, you need to specify the loss function, the optimizer, and metrics.
The loss function is used to measure how well the model performs on the training data. The optimizer is used to update the weights of the model to minimize the loss function. Metrics are used to evaluate model performance on training and testing data.
Use the following code to compile the model:
This code uses “sparse_categorical_crossentropy” for the loss function, “adam” for the optimizer, and “accuracy” for the metric.
6. Train the model
To train the model, run the code below:
This code trains the model for 10 epochs (iterations).
7. Evaluate the model
To evaluate the model, run the code below:
This code calculates the model’s accuracy on the test data.
8. Make predictions
To make predictions on a new image, run the code below:
This code outputs the predictions the model made on the test image.
This was the first step toward image recognition. In this blog, I introduced the basic steps for training a model for image classification using TensorFlow.
Hi, I am “Jitsuharan” who belongs to the 2nd unit. I joined Dandelions in April of this year!
Career History
I am from Nagano Prefecture and I attended a science related university in Nagoya. Before joining the company, I had very little knowledge and no experience in the field of IT, but after joining Dandelions, I received an IT training and I was able to obtain the “IT Passport” qualification. Currently, I am studying hard to obtain other qualifications!
Current work
After doing a 3 months IT training, I started in July working on my current project. I am creating a design document for an application management system using Outsystems. At first, they were a lot of things that I did not understand and it was quite difficult. However, and thanks to the support of my senior colleagues and fellow project members, I gradually got used to the work. I think it is important to ask my seniors about things I do not understand or have questions about, and it helps me take actions and progress. I will continue to learn a lot from my seniors!
Now I will introduce my daily schedule. 8:40 AM: I go to work 9:00 AM: I start working 9:30 AM: Morning meeting (with my coworkers, we confirm the day’s work and share information) 12:15 PM: Lunch break (I often eat lunch with my project members at the cafeteria) 13:15 PM: I restart working 16:00 PM: I write on my “progress report” today’s work 18:00 PM: I leave work
Self-introduction
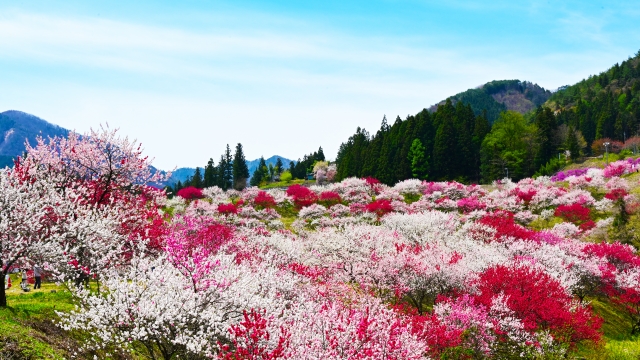
I grew up in a small town called Achimura in Nagano Prefecture. Compared to Nagoya, it is very rural and empty! I still have fond memories when I was in high school of walking an hour to the closest bus stop to hang out with friends. They are not many things to do here, but Achimura also has some famous tourist spots! It is becoming a hot topic lately, but it is the place with the most beautiful starry sky in Japan! You cannot see many stars in Nagoya, but every time I step outside my family’s house, the starry sky is as beautiful as if it was a planetarium! I love this starry sky and I often go back to my hometown to look at the stars. (There is a high probability that it will be cloudy on the day I return home.)
Starry sky☆
The flowers of the peach trees of Achimura are also famous. During the blossom season, many tourists come to Achimura to see them. I went to see them this spring too and it was so beautiful! As you can see on the picture, the entire area is colored with red, white, and pink flowers, which is amazing! The day this place will become an Instagrammable spot is near… The place where you can see the peach flowers is close to the place where you can take a starry sky tour, so I think it is a good idea to visit both places! There are also various tourist spots such as hot springs and glamping facilities, as well as delicious food, so please come and visit my hometown, Achimura!
“Hanamomo no Sato” in Achimura
That is all for now. Please look forward to the next employee introduction!