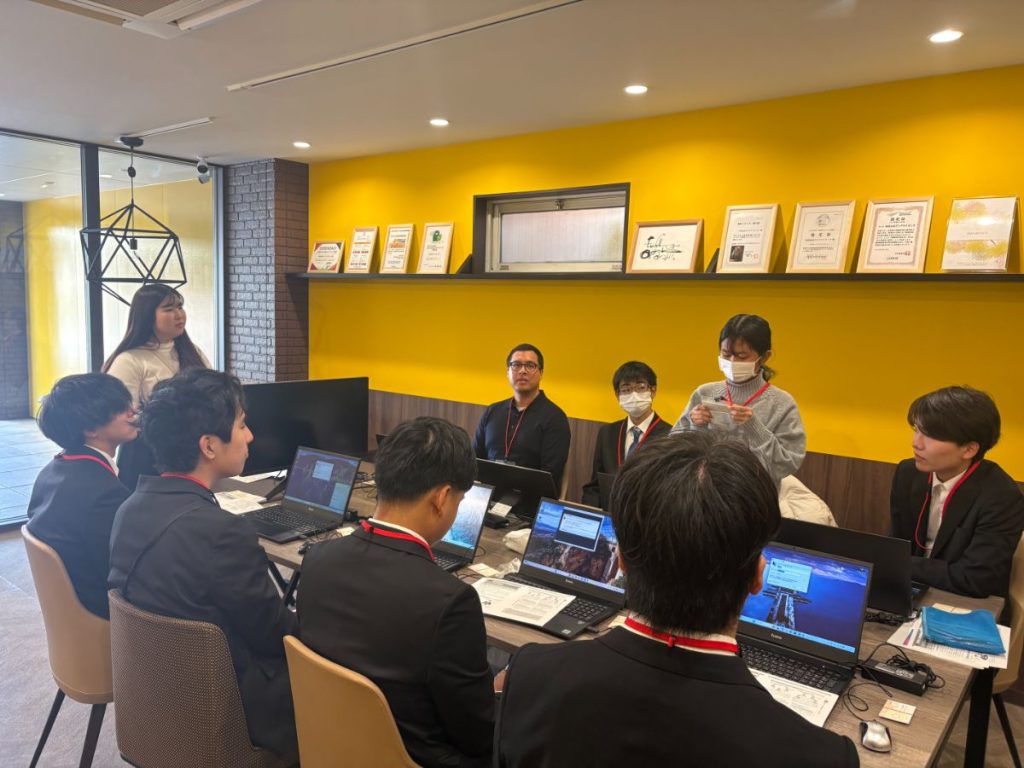
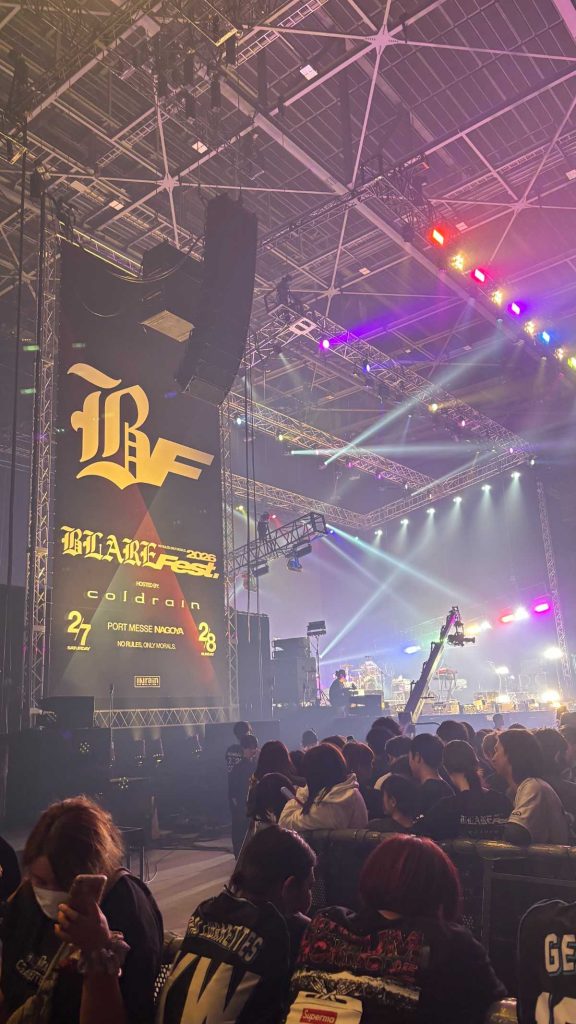
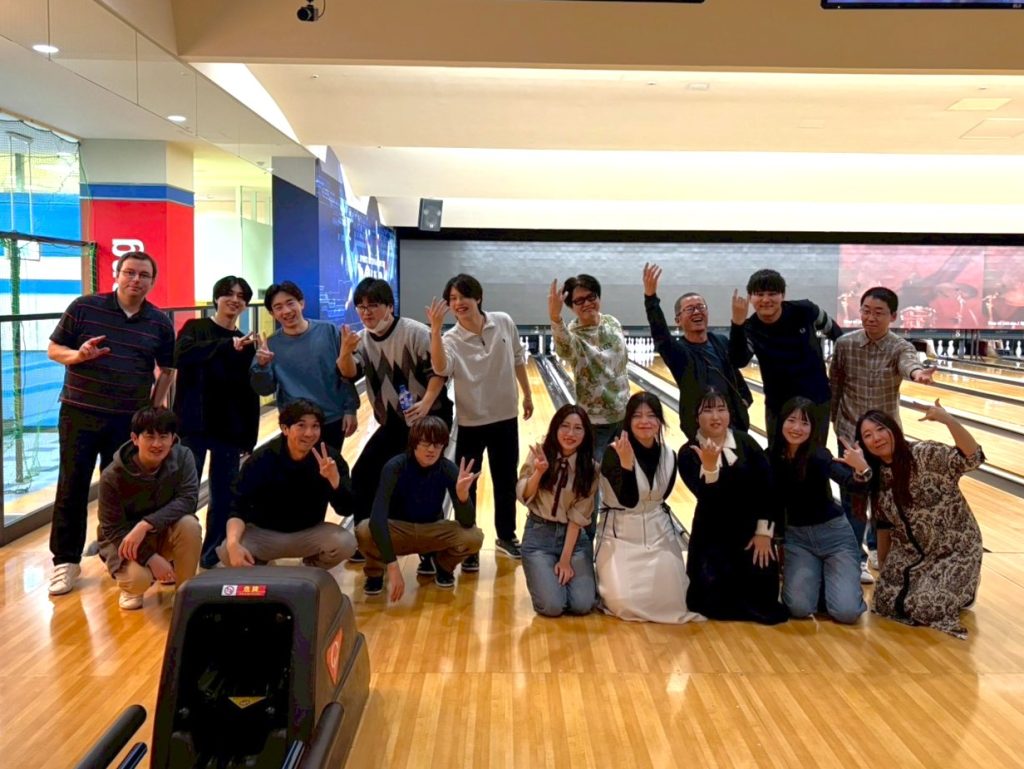
Eight people participated in our internship program in February. In Testimonial ②, we’d like to introduce the Japanese students!
Japanese students(Male)
I am a vocational school student scheduled to graduate in 2027. I decided to participate after attending an information session at my school, where I was drawn to your company’s “global yet relaxed corporate culture,” and I am pleased to be taking part in this winter internship.
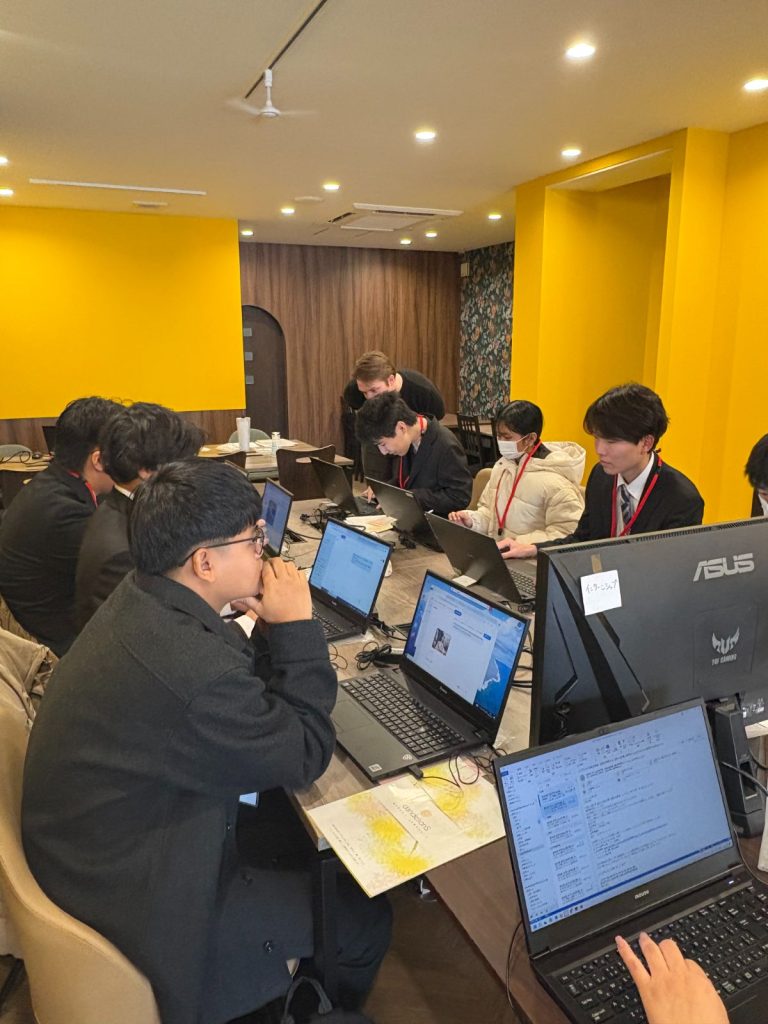
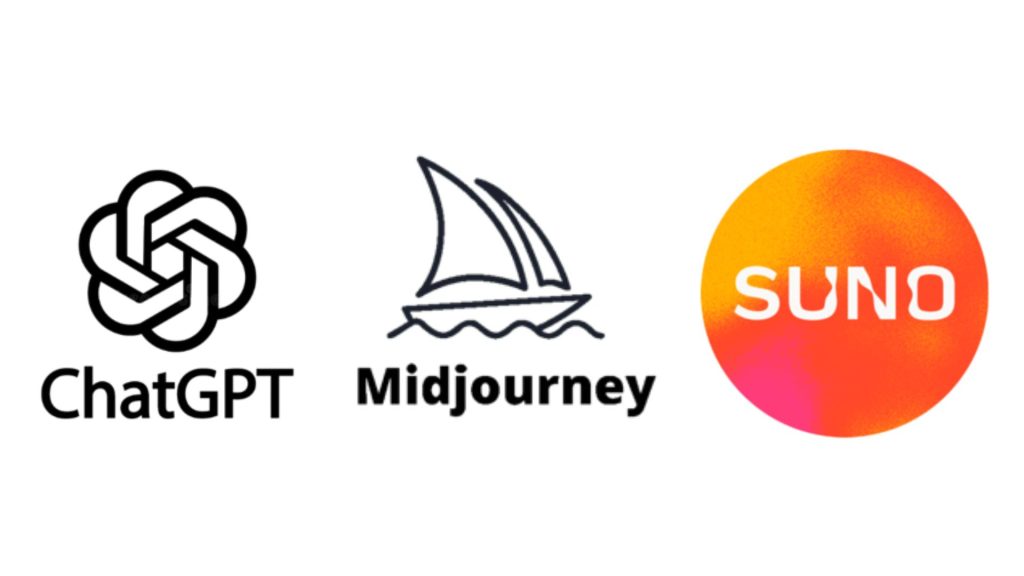
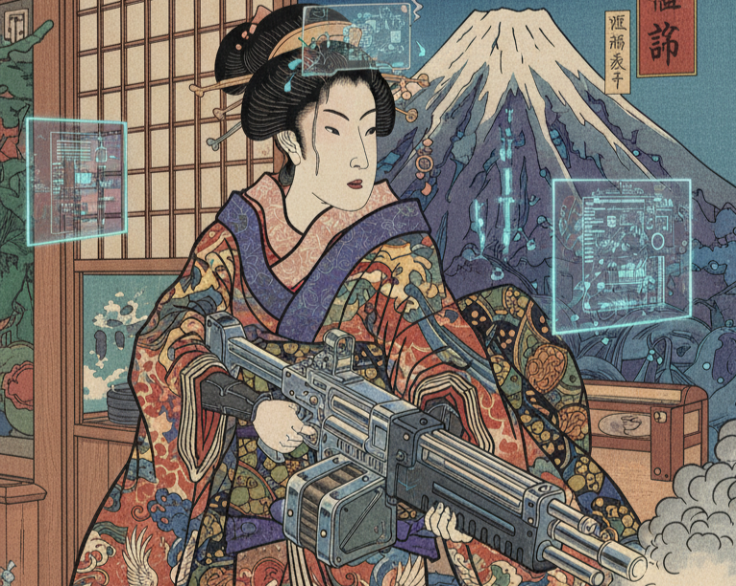
On the first day, we used generative AI to create images based on the theme “Ukiyo-e × Modern.” We experimented with different prompts to get as close as possible to our ideal image. We were able to produce a piece we were satisfied with, and the positive feedback we received from our colleagues gave us a great boost of confidence.
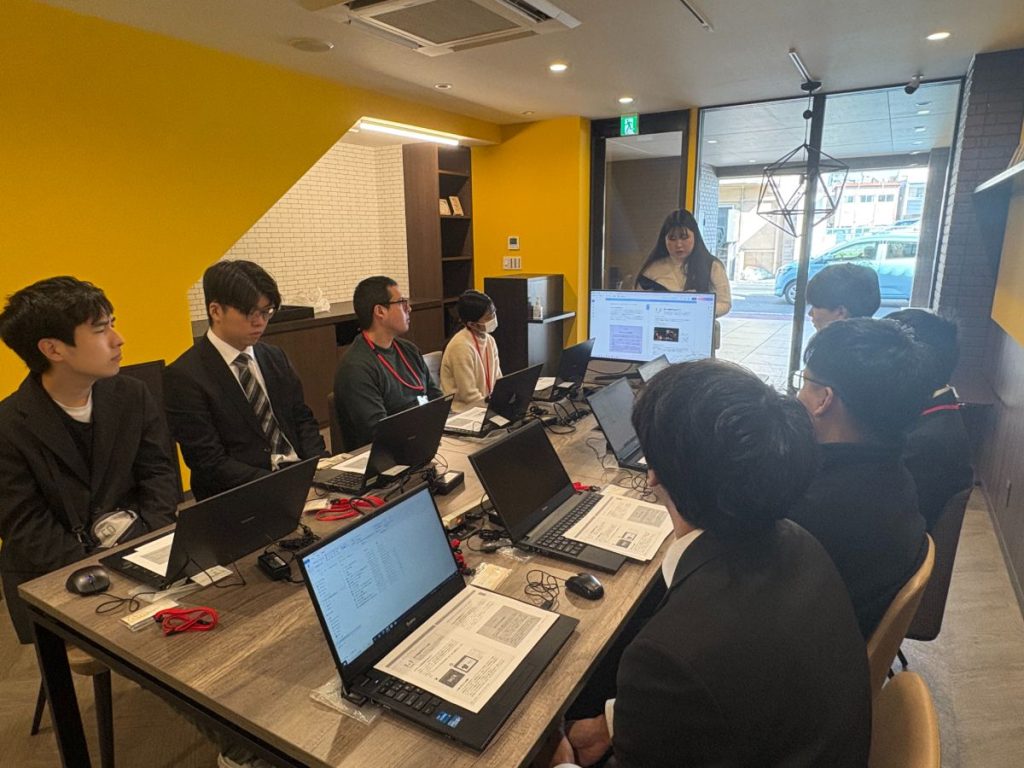
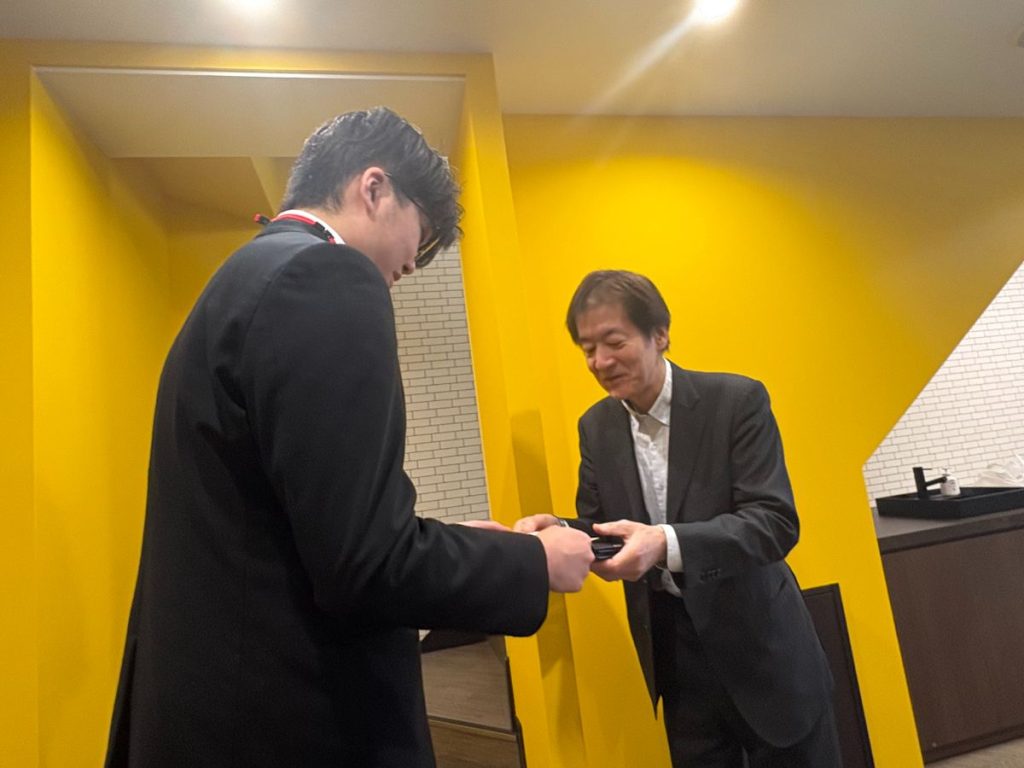
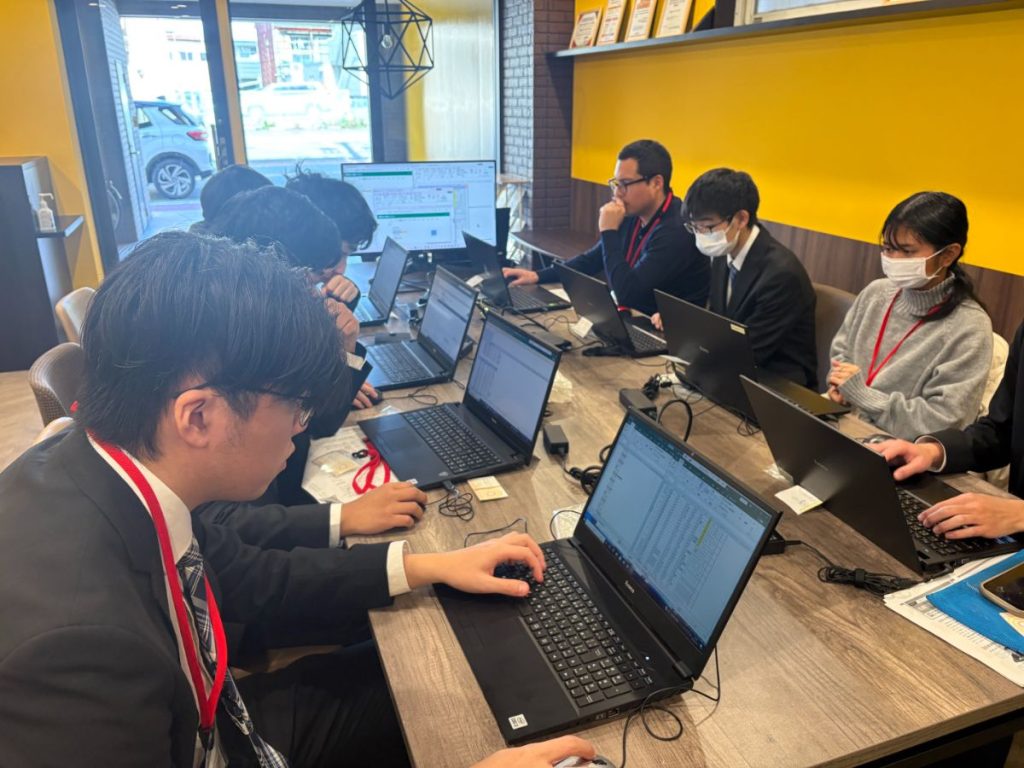
On the morning of the second day, we practiced exchanging business cards and received practical advice from employees in sales roles. In the afternoon, we experienced the system testing process. We learned that even simple tasks carry the heavy responsibility of “upholding the company’s trust.” Drawing on what we learned in class, we were able to complete the task without any mistakes by paying close attention to every detail.
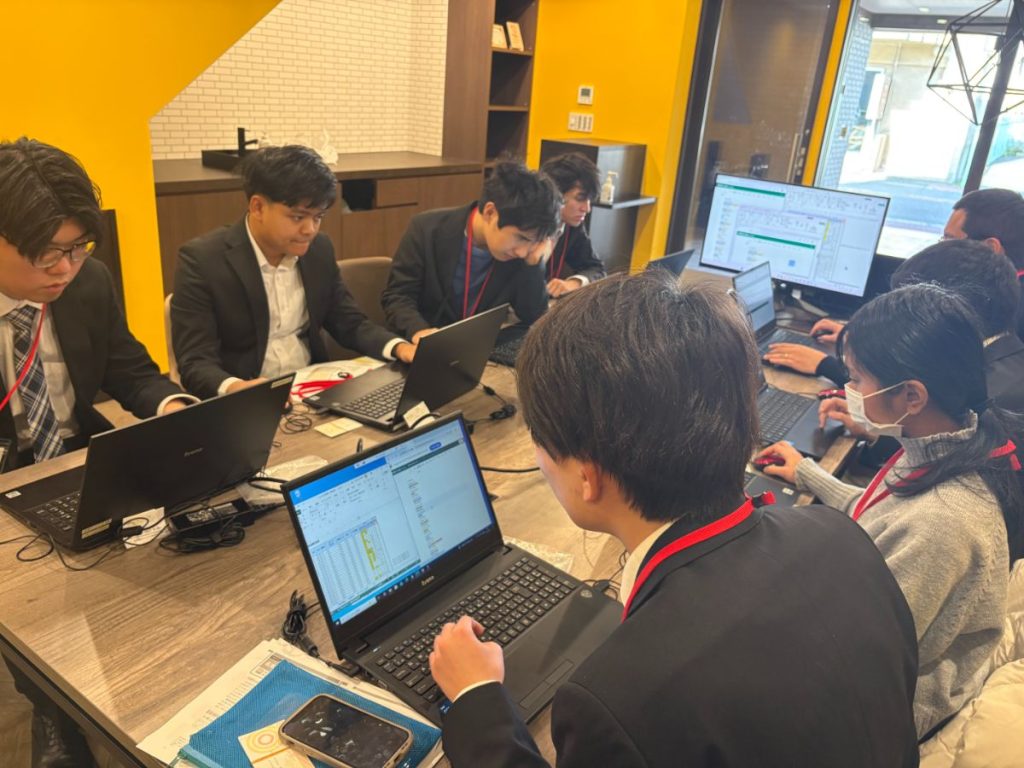
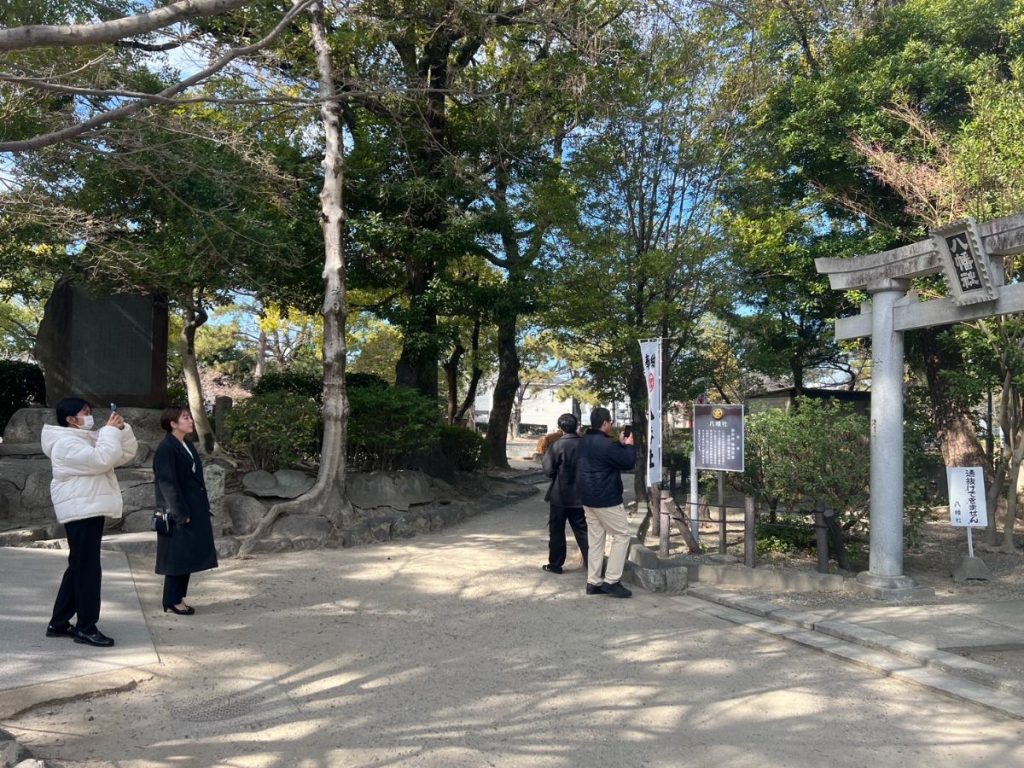
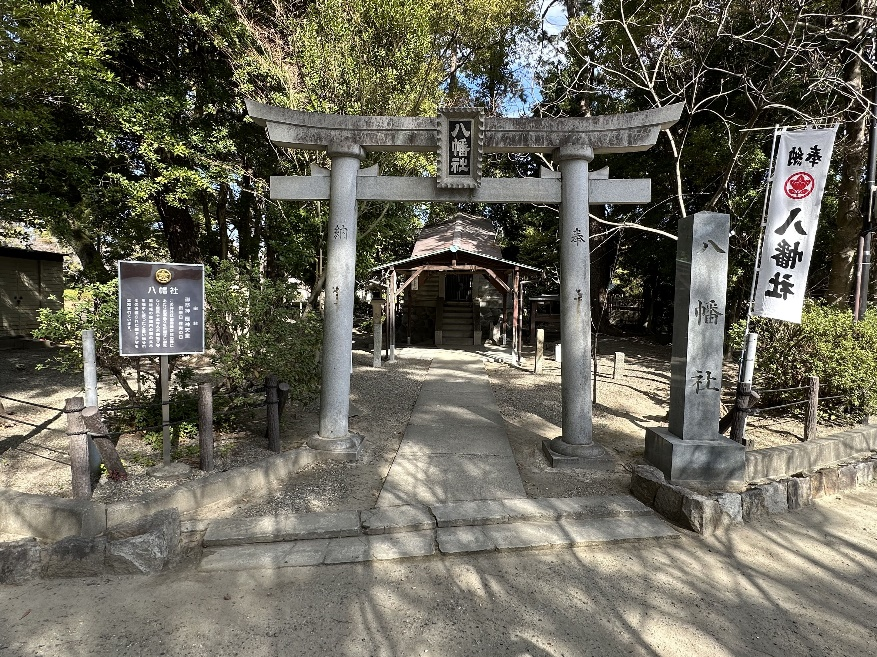
On the third day, we created a website introducing the history of Toyokuni Shrine. We organized information gathered through AI and online research in chronological order and built the site using WordPress. The intuitive interface allowed us to experiment with how to present the content, making it a valuable experience that gave us a real sense of the joy of sharing information.
Now that my internship has come to an end, I can say it was an intensive five days that covered everything from the latest technologies to the fundamentals of business. I intend to use this experience as a foundation as I move forward with my student life and career development.
Japanese students(Male)
I participated in an internship in February 2026.
I’d like to share what I actually did during this internship and my thoughts on the experience.
On the first day, we worked on AI-powered image generation and self-analysis using mind maps. For the image generation, we created images in groups based on the theme of “harmony,” sharing our ideas along the way. Despite the limited time, our discussions led to results we were very satisfied with.
We also experienced mind mapping, a technique that allows us to explore our experiences and thoughts through association. It was a valuable opportunity to reflect on who we are now and who we hope to become in the future.
On the second day, we exchanged business cards and conducted test runs.
During the business card exchange, we were taught the basic etiquette we need to follow.
It was a good opportunity to realize that the rules are stricter than I had imagined and that there is a lot to keep in mind.
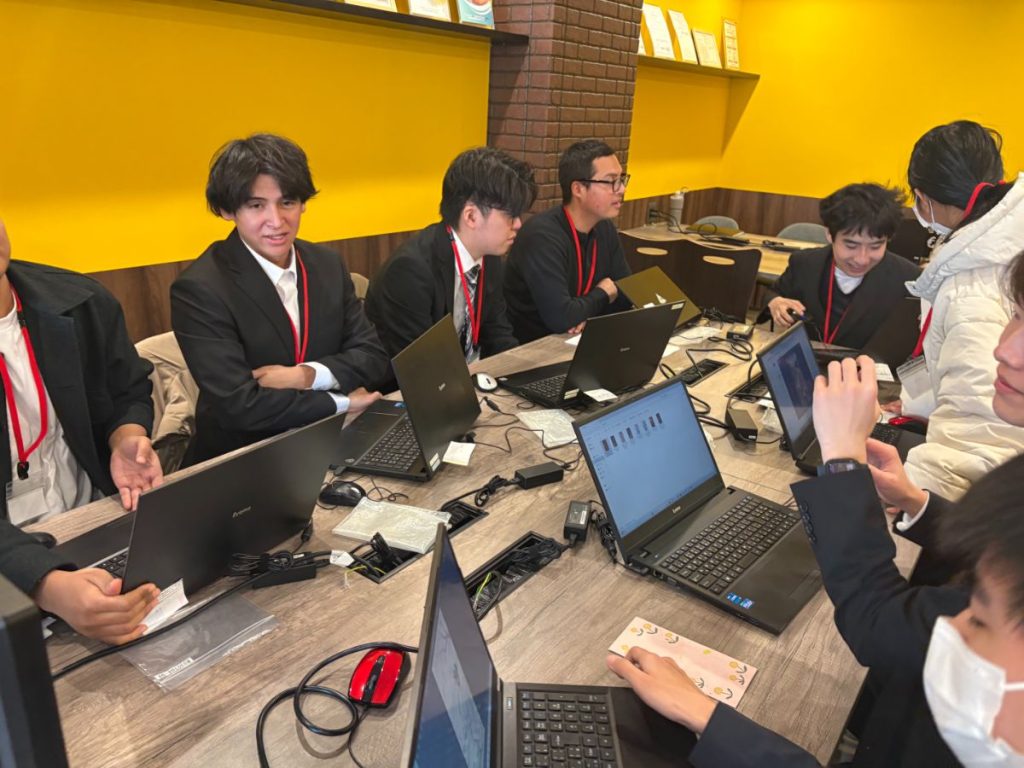
For the tests, we verified that the system we built was functioning as intended. We had to check for issues across different devices and versions, and I felt that this was both an important and challenging task.
On the third day, we worked on creating web pages and preparing the necessary materials.
We split into two groups and used a platform called WordPress to build the sites.
I think that by dividing up the tasks, we were able to make steady progress without any major setbacks.
During this internship, I learned many things that I couldn’t have learned in school. I hope to draw on these lessons in the future, both in school and in my career.