In this engineer blog, I introduce the topics I study and work on in my daily learning.
Today’s Topic: Sending Emails in OutSystems
In OutSystems, you can send emails from screens or batch processes by using your own mail server.
In this post, I’ll walk through how to configure the environment and how to create a test screen.
Preparation: What You Need to Have Ready in Advance
OutSystems alone cannot send emails.
You need to prepare an email server in advance and make note of the following information:
#1.SMTP server
#2.SMTP port number
#3.Username (email address)
#4.Password
Depending on the type of mail server, there may also be options such as ‘restrictions on sending from overseas.’
If such a setting exists, be sure to turn it off.
Otherwise, you may encounter errors like ‘Sender address rejected: Incorrect country code US,’ which can prevent email delivery even when your configuration is correct.
Step 1: Environment Setup
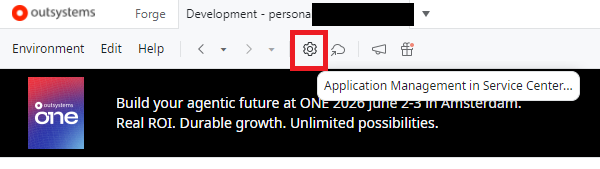
First, enter the mail server information that OutSystems will use from Service Center. In Service Studio, click the gear icon shown below to access Service Center.
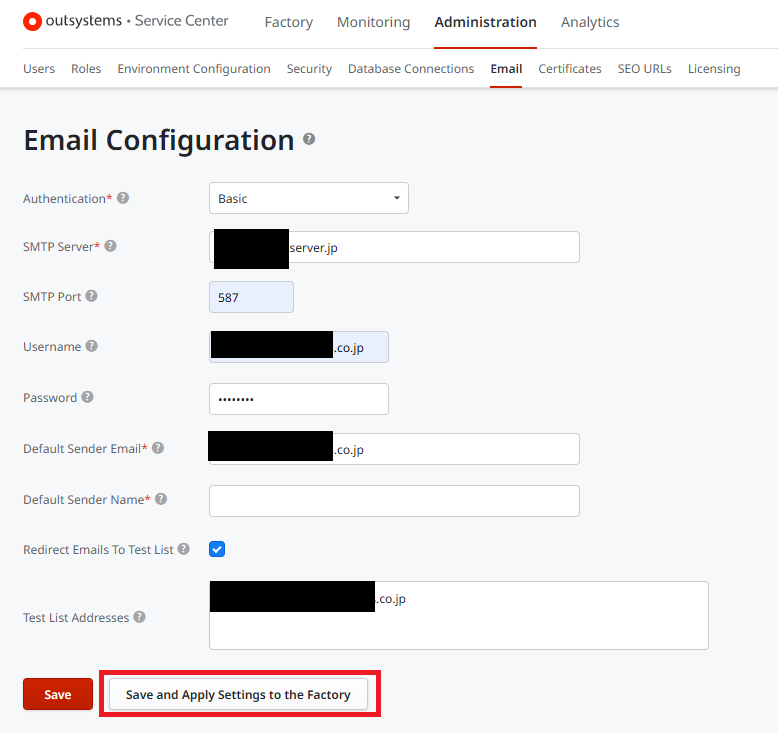
After logging in, open the email server settings by selecting Administration > Email
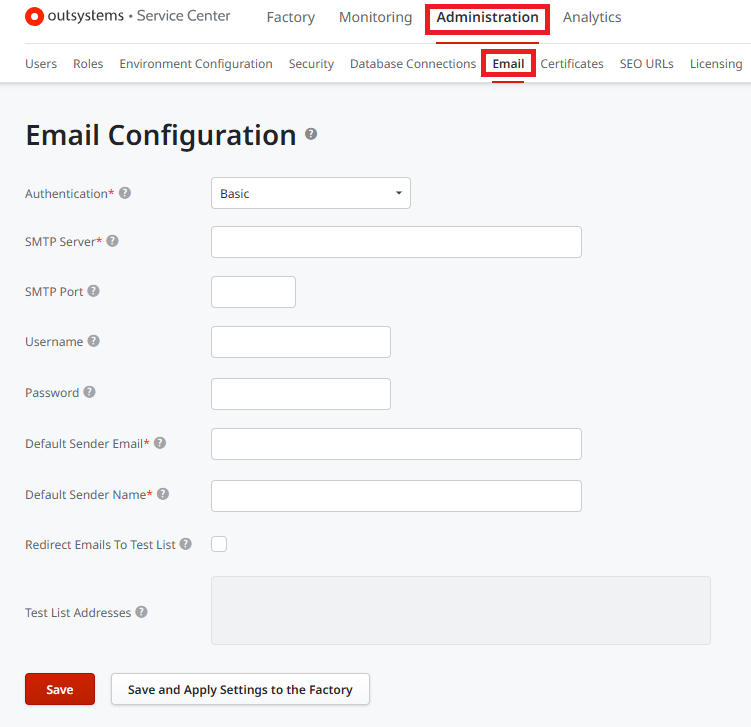
Enter the following information as shown below:
・SMTP Server: Preparation #1
・SMTP Port: Preparation #2
・Username: Preparation #3
・Password: Preparation #4
・Default Sender Email: Preparation #3
・Redirect Emails To Test List: Optional
*This option redirects emails to the Test List Addresses even if the logic specifies a different recipient.
Enable this for testing purposes.
・Test List Addresses: Optional
*Specify the email address to which messages will be redirected.
After entering all the information, click the ‘Save and Apply Settings to the Factory’ button to apply the configuration.
*Note: Simply clicking ‘Save’ does not activate the email settings.
Also, the Password field will appear blank after saving, but as long as the configuration is correct, emails will still be sent without any issues.

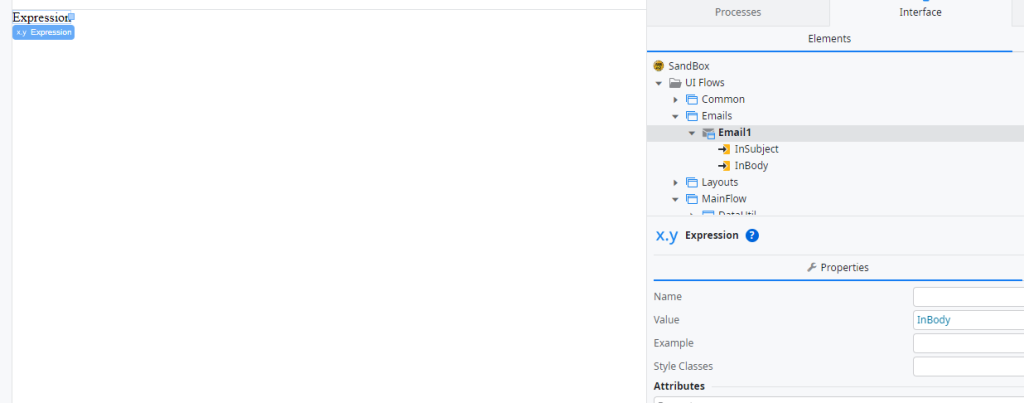
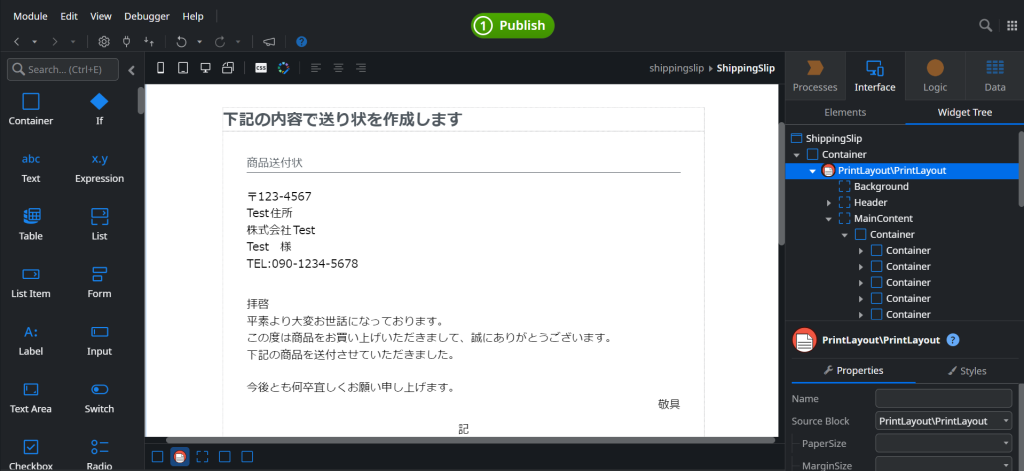
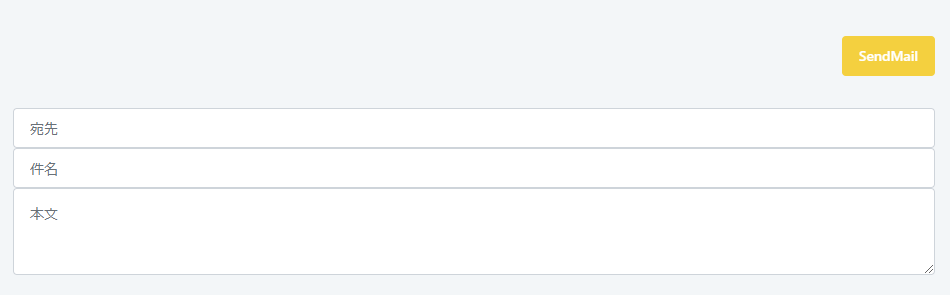
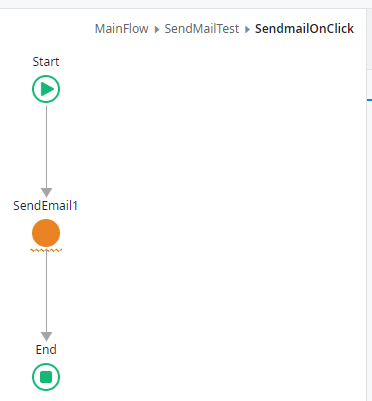
Step 2: Creating the Logic
This time, we will create a simple test screen and the logic for sending emails, as shown below.


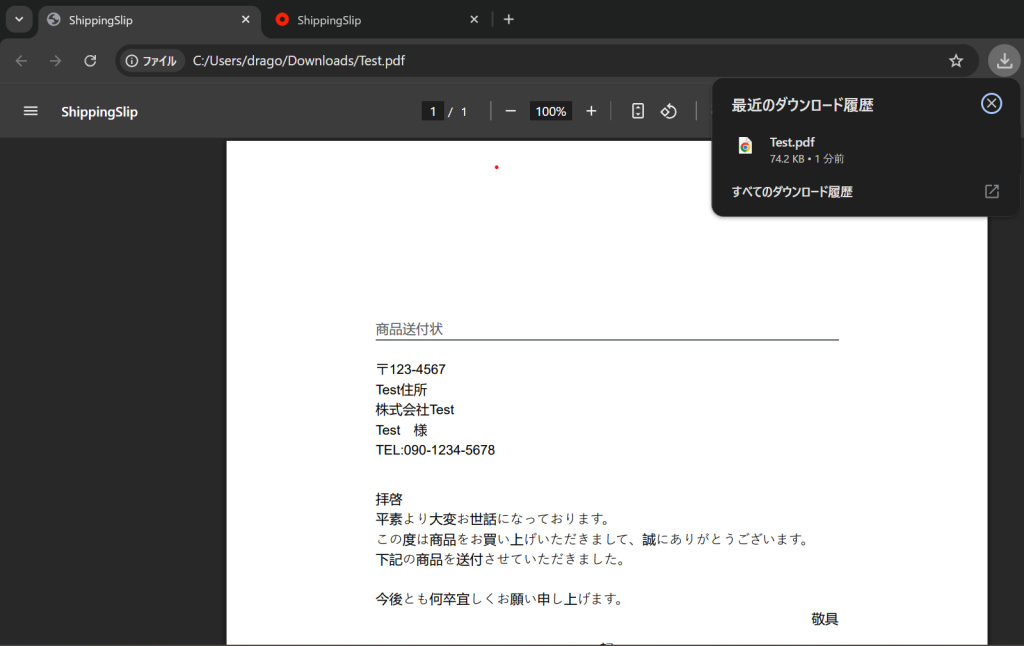
Testing the Functionality
Once the 1‑Click Publish completes successfully, open the screen and try running it.
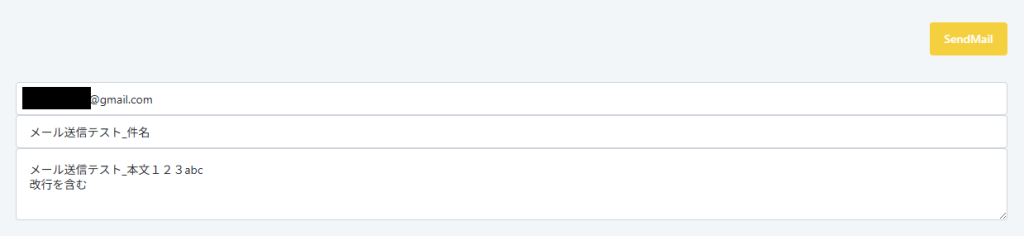
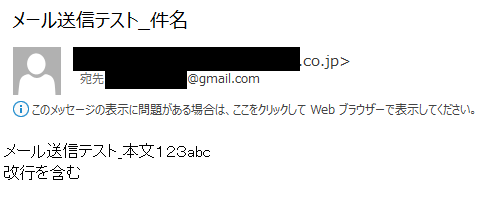
The top section shows the value of the Default Sender Email.
You can also see that the recipient field contains the address entered on the screen (which is different from the one specified in Test List Addresses), confirming that the redirect feature is working as expected.

From Monitoring > Email, you can check the subject, sender/recipient email addresses, email size, and status.
In particular, the status may show Sent (success), Pending (waiting), or Error (failed). When an error occurs, you can click the Detail link to view the error information, which helps identify the cause.
Conclusion
With the above steps, you are now able to send emails from OutSystems.
However, one important point to keep in mind is that the actual email‑sending mechanism ultimately depends on the mail server.
Be sure to review the mail server settings carefully to ensure they meet your requirements—for example, limits on the number of emails that can be sent per hour, or restrictions on sending or receiving emails from specific addresses.
Stay tuned for the next developer blog…