Eight people participated in our internship program in February. In Testimonial ①, we’d like to introduce our international students!
Myanmar international students(Women)
I am an international student studying web development in Japan. My school teacher introduced me to Dandelions Inc., and I participated in their 2026 internship program. My goals for the internship were to experience the actual work of professionals and to communicate effectively with both Japanese and international colleagues. The internship lasted five days, from February 16 to February 20.
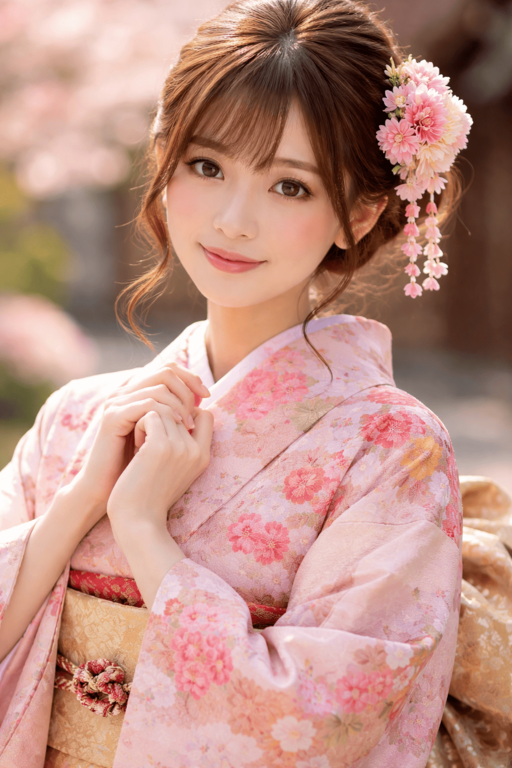
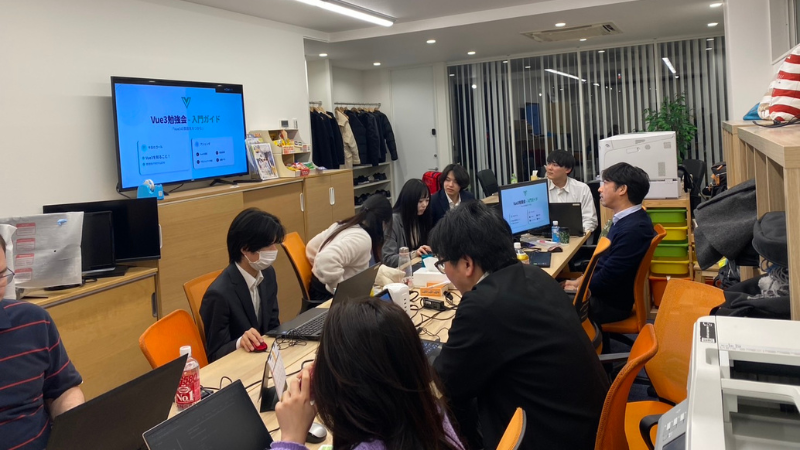
On the morning of the first day, we all gave brief self-introductions. Then, we used AI to generate images. We also had group discussions, which were a lot of fun. In the afternoon, we learned how to use mind maps to structure our self-promotion. It was a great experience.
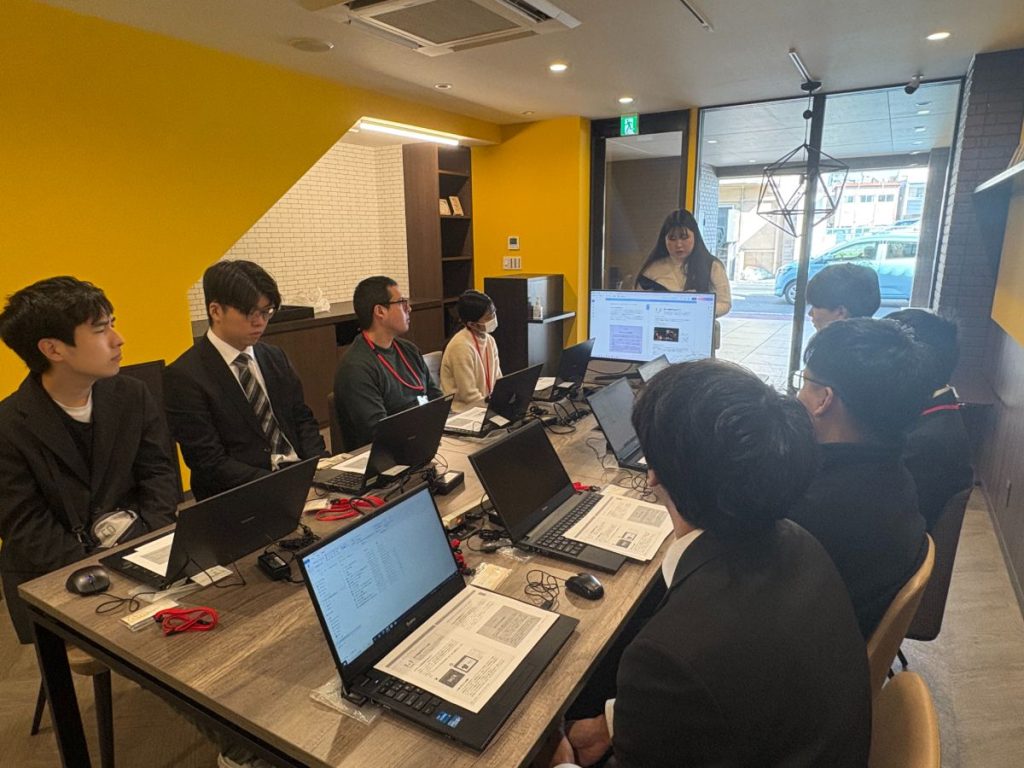
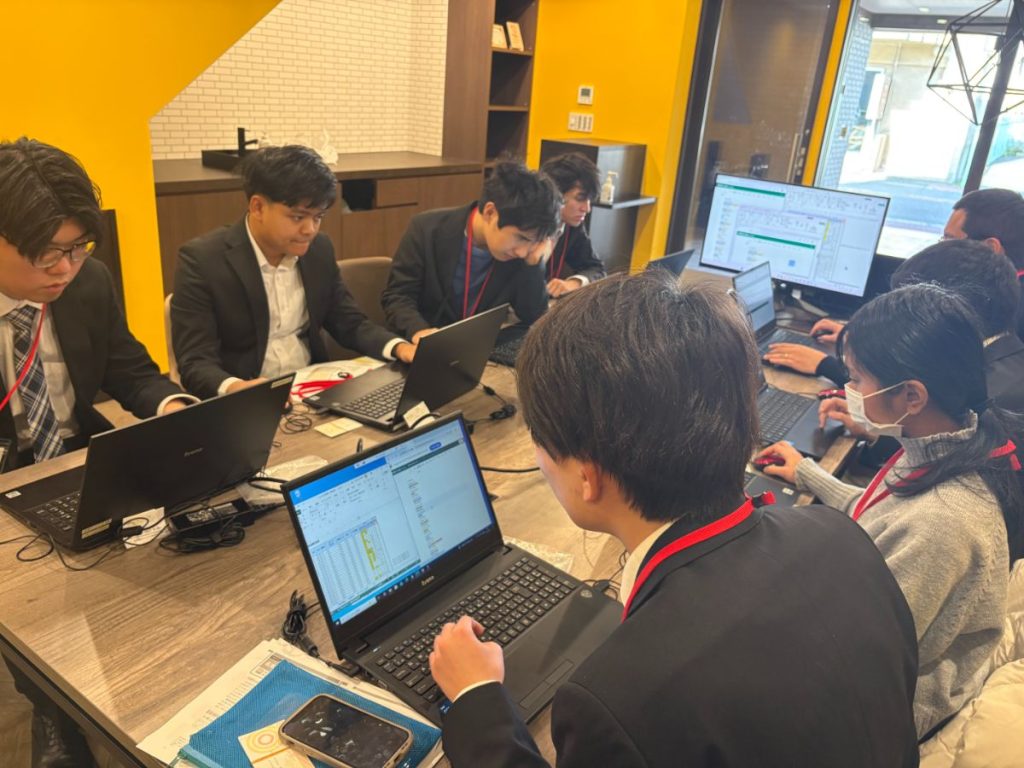
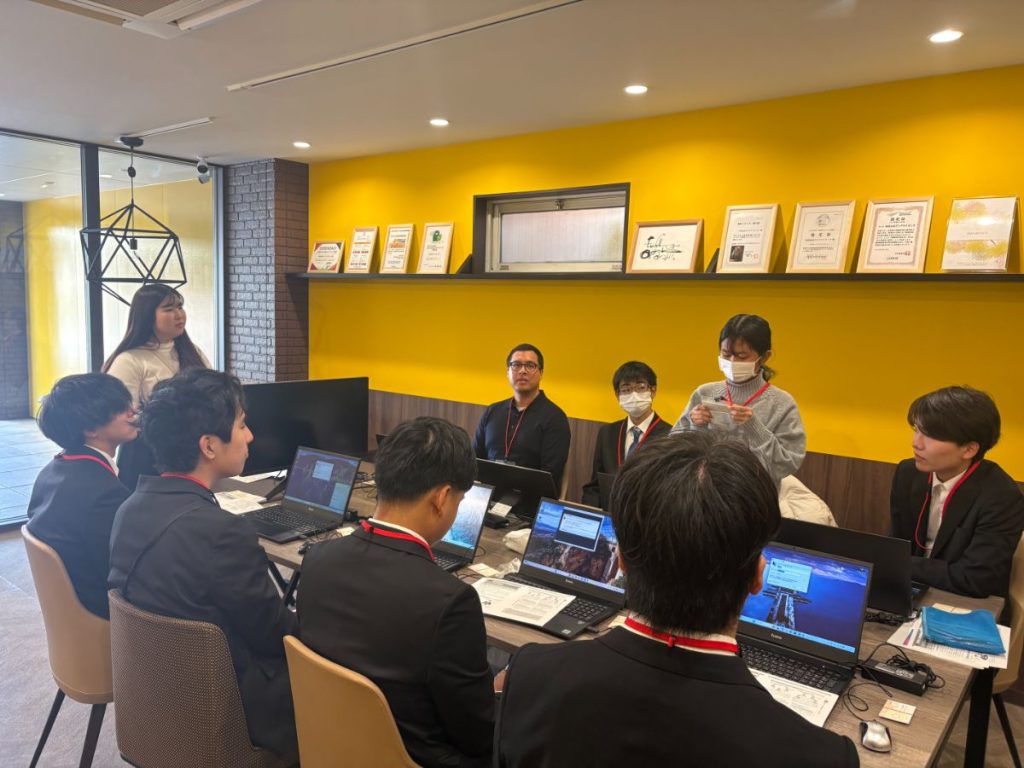
On the second day, a company employee taught us the proper etiquette and procedures for exchanging business cards. We actually exchanged business cards, which was a great opportunity to learn about Japanese business culture. We listened to an explanation of system testing and conducted some actual tests. It was interesting to assign roles for the presentation and divide up the tasks among us.
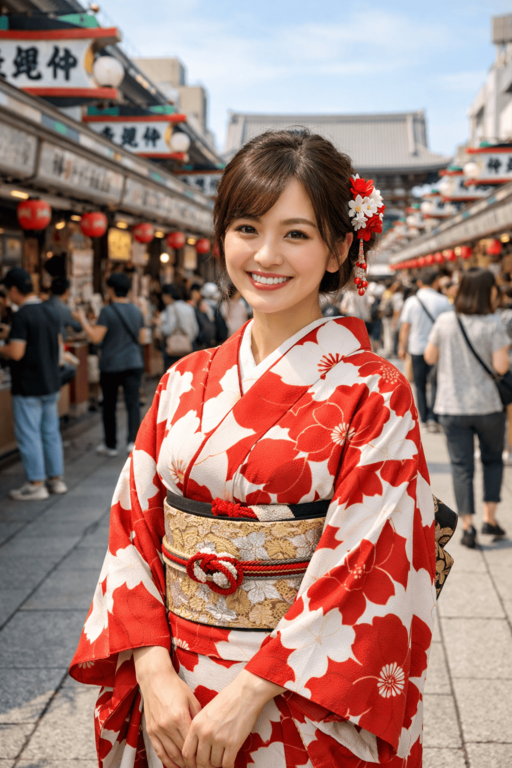
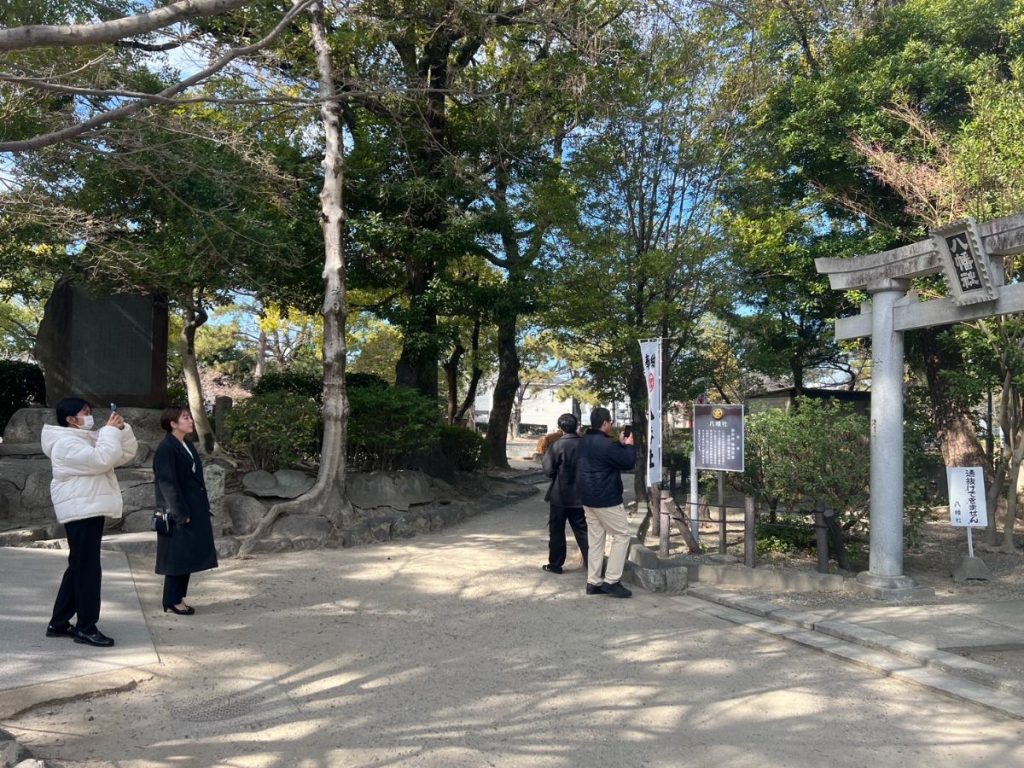
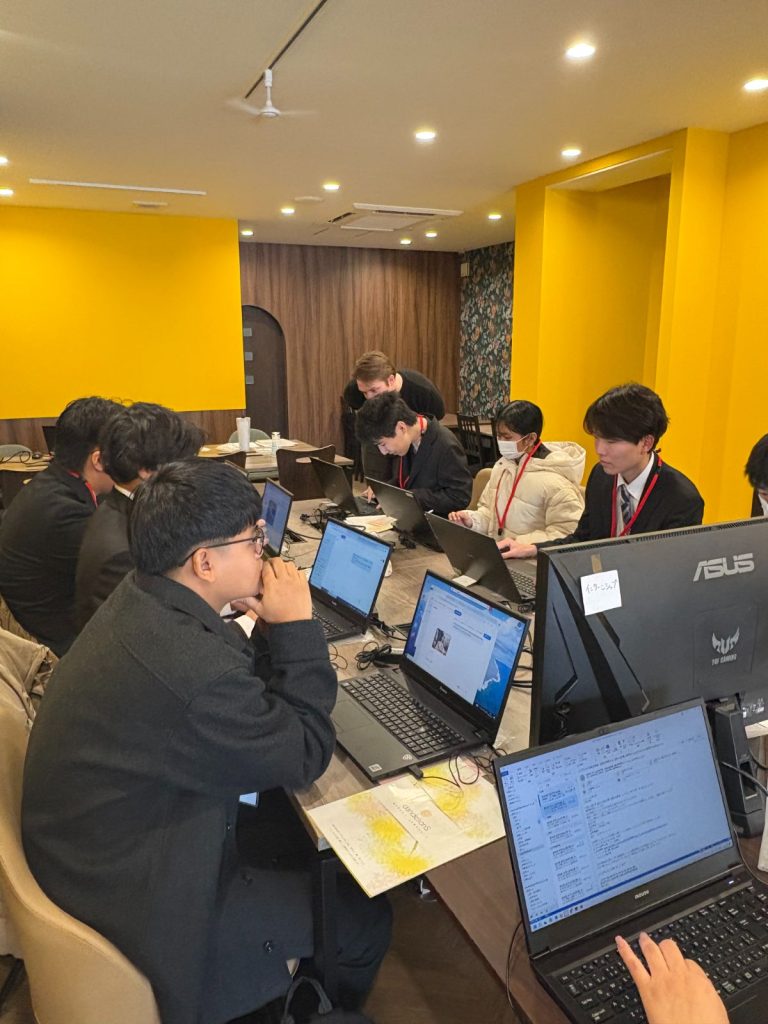
On the morning of the third day, we went to Toyokuni Shrine to take photos for the website. We split into groups and had fun summarizing what each of us had researched. In the afternoon, we received a tutorial on how to use WordPress, and then we all worked together to upload the information and photos we had compiled to the site.
I learned so much and got to know everyone well—I’m really glad I took part in this internship.
Myanmar international students(Male)
I joined this Dandelions internship through a referral from one of my teachers. I felt it was a valuable opportunity to gain hands-on experience in web development in a real-world setting, so I was eager to take on the challenge.
On the first day, following a company presentation and self-introductions, we held a group discussion on creating prompts for generating photos using AI. We considered what kind of language to use to generate photos that closely match the desired image, and learned the importance of providing specific, easy-to-understand instructions rather than abstract expressions. We also realized that even with the same theme, different perspectives and ideas can lead to completely different results, and truly appreciated the importance of exchanging opinions within the team.

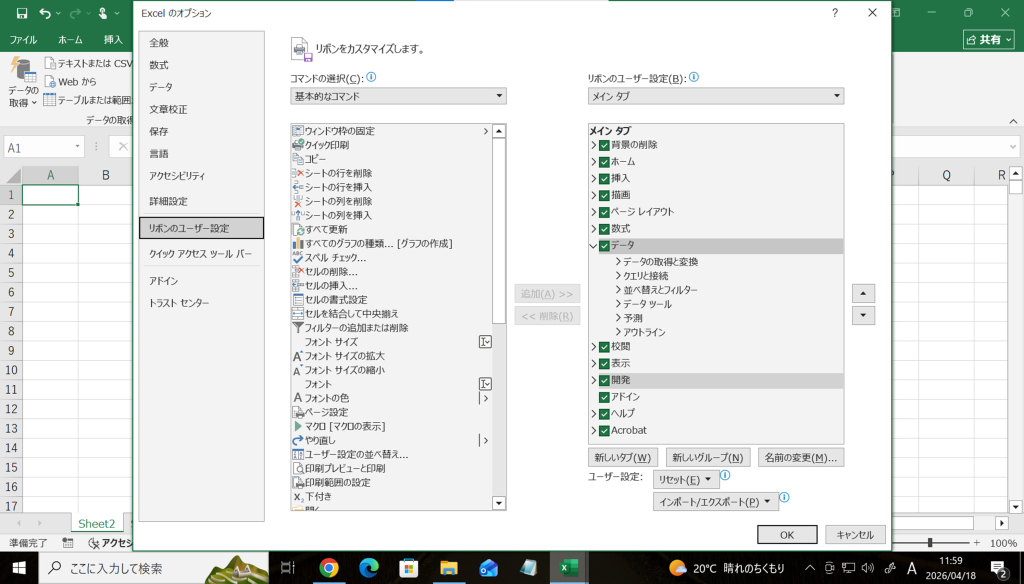
On the second day, we conducted a browser testing session, using Windows, Mac, Android, and iOS to verify differences in display and behavior across various browsers. Since I usually only test in a single environment, I was surprised to see how layout and behavior differed depending on the device and browser. Through the process of verifying minor discrepancies and bugs one by one, I gained a deep understanding of the importance of user-centric testing and quality control.
On the third day, we took photos at Toyokuni Shrine and used that footage to create a website using WordPress. By conducting market research, defining our target audience, and creating a site structure before beginning production, we learned the importance of planning skills as well as design. Although the program was short, we experienced the entire process from planning to production and presentation, which allowed us to clearly identify our challenges and areas for growth. I hope to apply what I learned in this program to my future creative projects and career goals.