
I introduce the learning topics I’m working on daily in my engineer blog. Recently, I personally created a Discord bot and successfully ran it for free, 24/7, so I’d like to share that experience with you this time.
What’s Discord?
Before diving into the main topic, let me give a brief overview of Discord. Discord is a communication service developed in the United States that supports text, voice, and video interactions. I mainly use it as a call app while working.
Here are the main features of Discord (only those relevant to the main topic have been extracted)
◆ Server
A server is a feature similar to group chats, allowing multiple users to interact through text chats and voice communication. Servers are categorized into Open Servers (which can be made publicly available through application, searchable within Discord, or announced on bulletin sites for recruiting members) and Private Servers (accessible only by invitation unless applied for).
◆ Text
Channel This is a group chat feature within a server where members can communicate with each other through text.
◆ Voice
Channel This is a group call feature within a server, allowing members in the channel to communicate and share their screens.
◆ BOT
By introducing a BOT, you can enhance the functionality of your server. Inviting publicly available BOTs allows you to add useful features like music playback, text-to-speech, timers, and schedule management. You can also invite and operate your own custom-made BOT.
From Creating to Operating a BOT
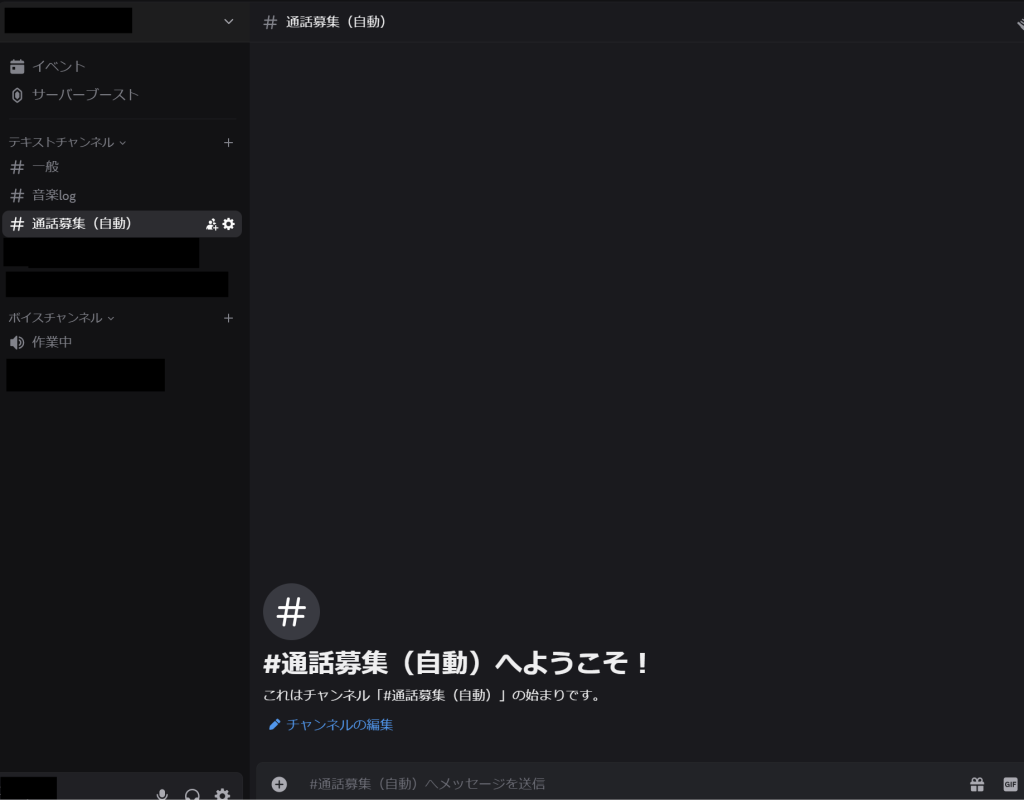
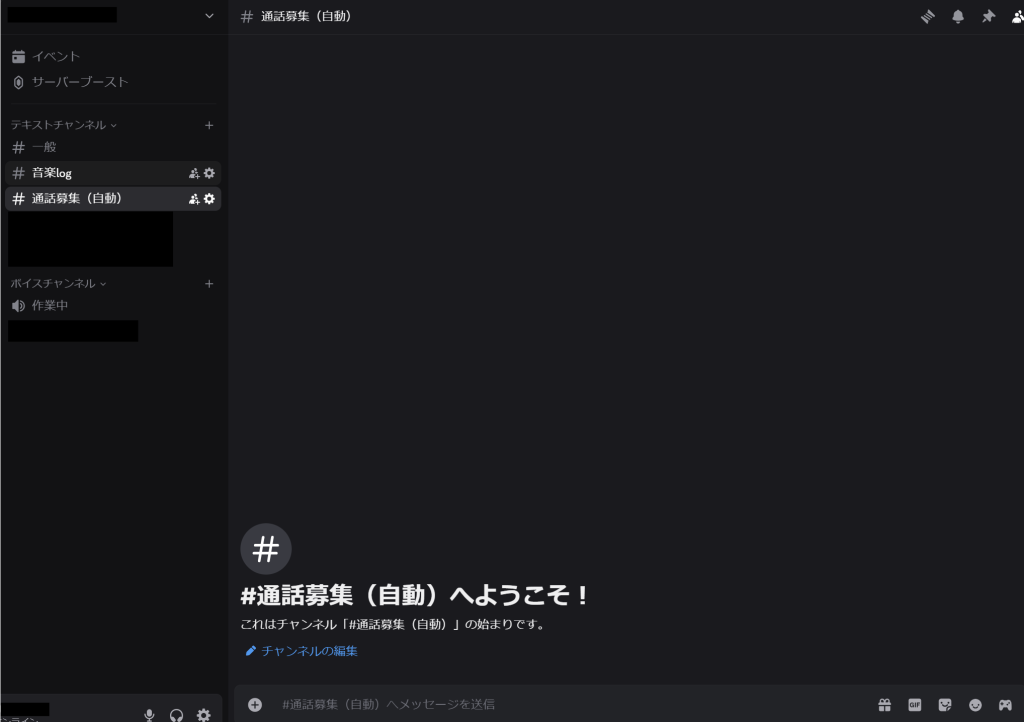
The BOT I created this time is a ‘Voice Channel Entry Notification BOT’ for private servers.
◆ Inspiration
In Discord, when someone enters a voice channel, there is no built-in feature to notify other server members. As a result, someone might be waiting without realizing they’re working alone. That’s when I thought, ‘Wouldn’t it be useful to have a BOT that sends notifications for channel entries?’ And so, I decided to create one.
◆ Implementation Details
①Determine the BOT’s features and coding
Create a main.js file in JavaScript to align with sites that allow free 24/7 BOT operation.
Features included:
- When the number of users in the ‘Working’ voice channel changes from 0 to 1, automatically send a recruitment message to the ‘Call Recruitment (Auto)’ text channel.
- If the number drops from 1 to 0, delete the recruitment messages previously sent to ‘Call Recruitment (Auto)’ entirely.
- From 1 to 2 or more users, no recruitment messages are sent to ‘Call Recruitment (Auto)’.
Below is part of the actual coding.

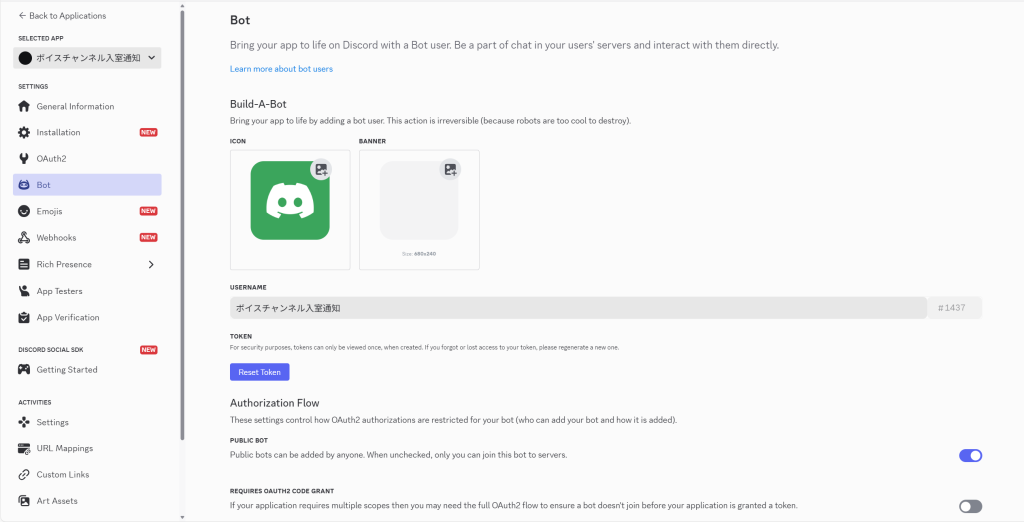
② Create a BOT Account on Discord Developer Portal
Access the Discord Developer Portal, create a BOT account from ‘New Application,’ and obtain the token.
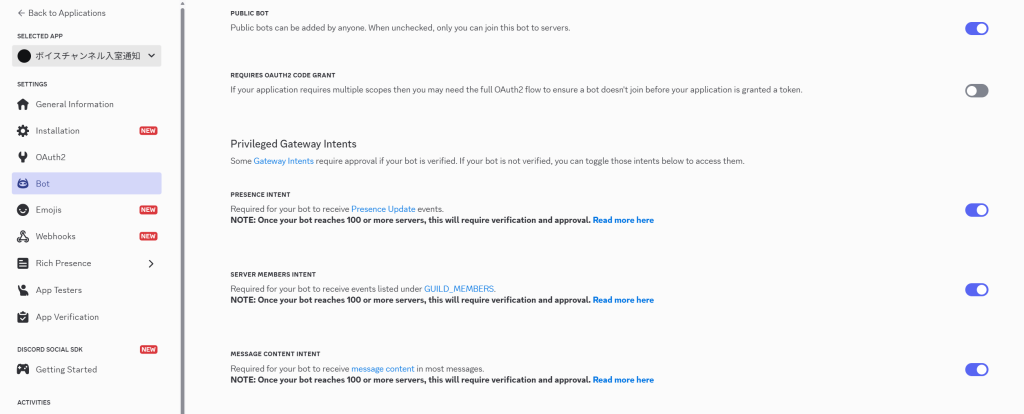
Enable the following in the BOT’s permission settings.
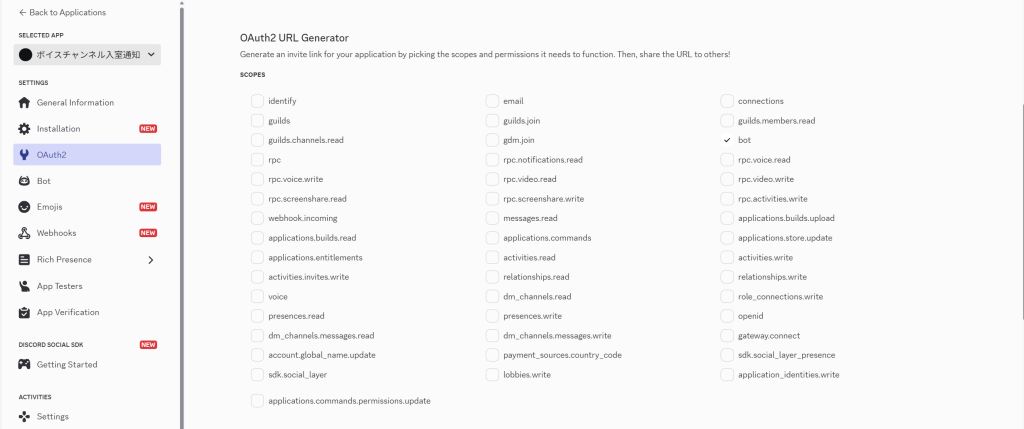
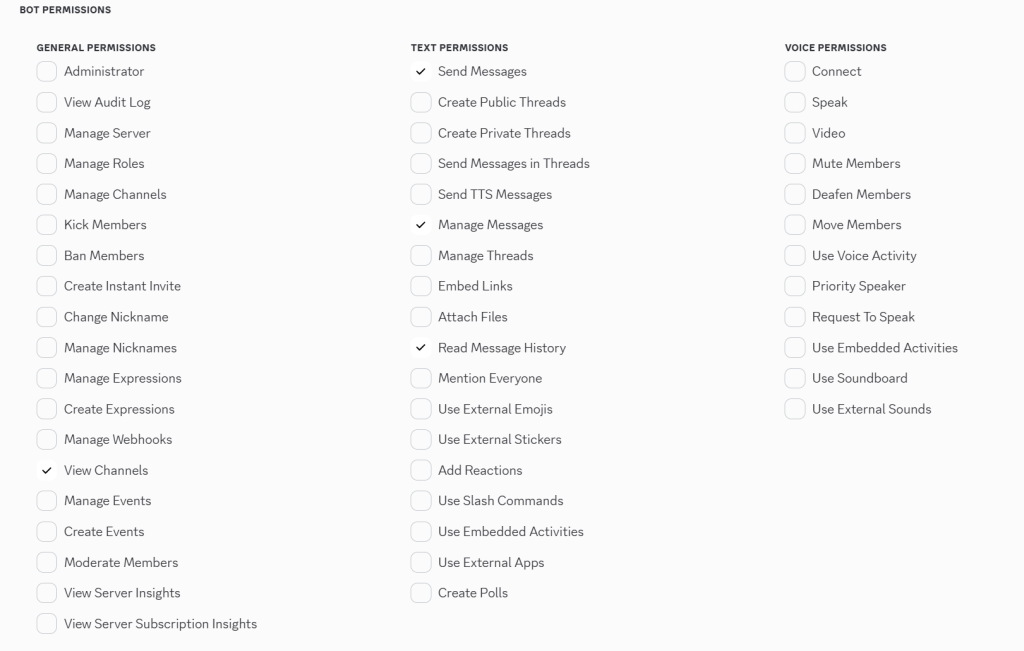
After configuring the BOT’s permissions, invite the BOT to your server using the generated URL.
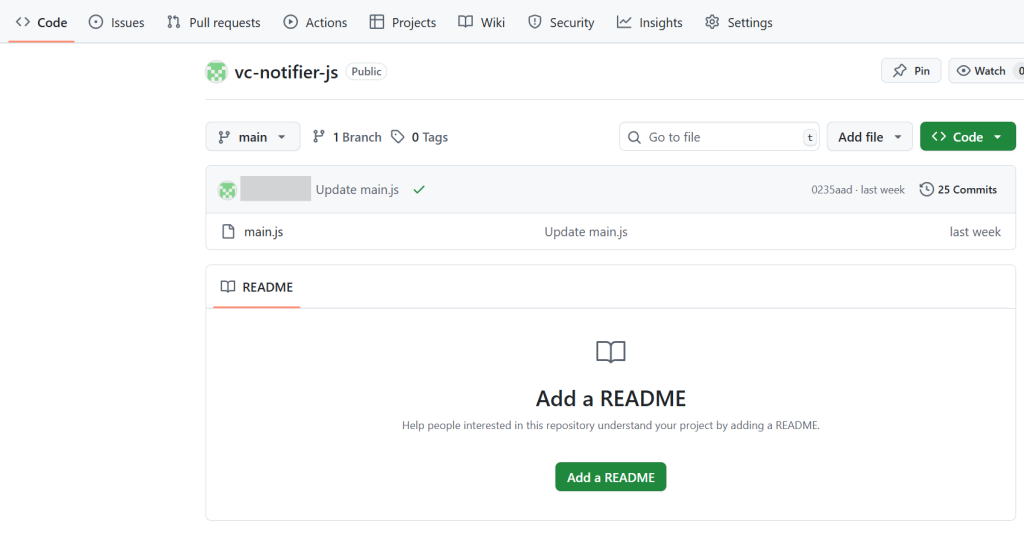
③ Create a Repository on GitHub and Upload the Source Code
I used Git, which I’ve previously introduced on my engineer blog and discussed during an internal workshop.
Create a repository on GitHub and upload the source code.
④ Link Deno.deploy with GitHub and Log In
Create a project in Deno.deploy and import the repository created on GitHub.
Set the token obtained in step ② as an environment variable.
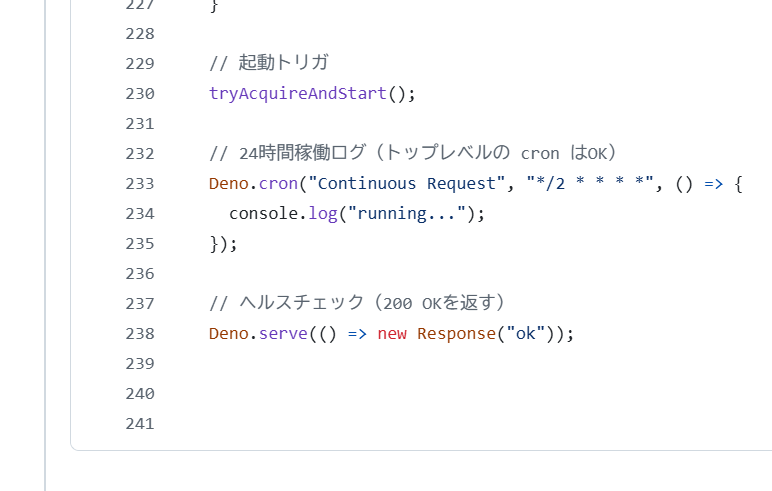
⑤ Add Deno.cron at the End of the Source Code to Enable 24/7 Operation
To ensure the BOT doesn’t stop, add a periodic process (Cron job) at the end of the source code that performs light operations every 2 minutes on Deno.deploy..
This allows the BOT to operate 24/7.
⑥ Test on the Discord Server
Enter the voice channel and check if it operates as expected.
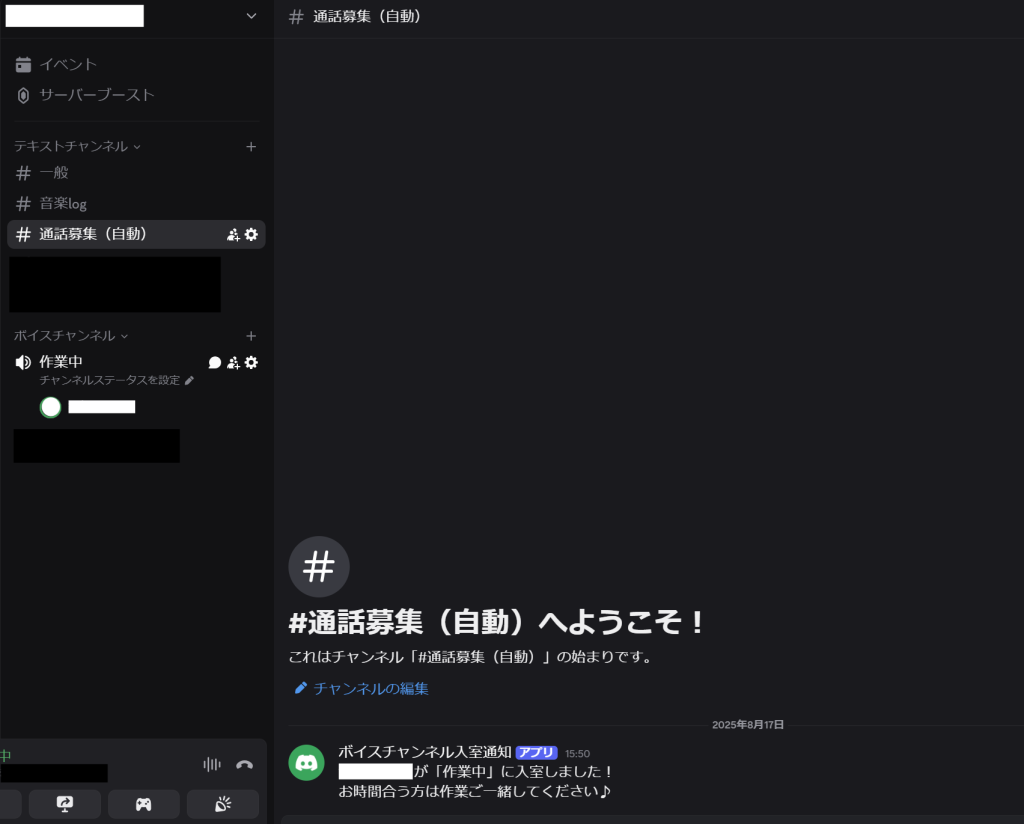
It has been confirmed to be working as expected, so it will be completed once the BOT is checked to ensure it is not offline the next morning.
That wraps up the discussion on creating a Discord BOT and achieving free 24-hour operation.
Stay tuned for the next technical blog