In-House Study Session: About Git

We held an in-house study session on Friday, April 11th this year, so we’d like to share a summary.The theme was “About Git.” This blog post is written by Xig from Team 0.

In this study session, we started by explaining what Git is in the first place,
and then actually used Git to experience what it can do.

The session followed the structure below:

  • What is Git?
  • Explanation of Git tools and web services
  • Setting up Git
  • Basic concepts of Git (terminology and what it can do)
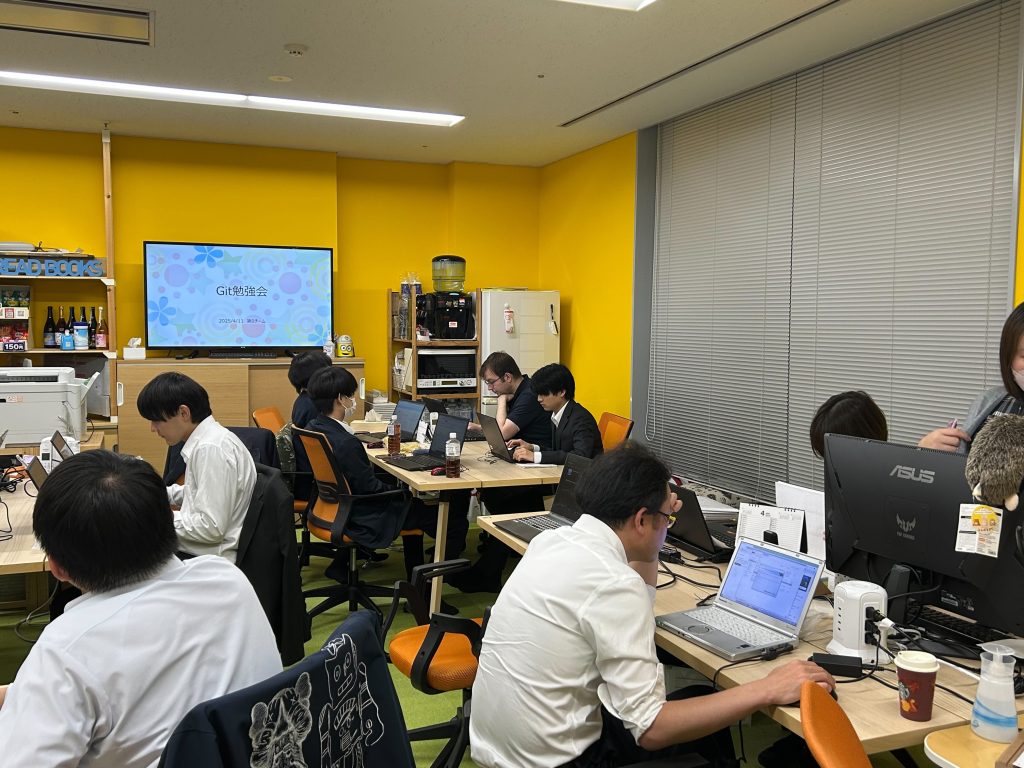
Inside the Session

What is Git?
Since there were participants unfamiliar with Git or who hadn’t used it in a while,
we started from the very basics: “What is Git anyway?”
Personally, I’ve had some minimal experience with version control systems like SVN and Git,
but nowadays it feels like most projects around me manage their assets with Git.
How about you?

Explanation of Git Tools and Web Services
Here, we briefly introduced some tools and web services related to Git.
As for Git tools, those bundled with development environments like Eclipse are probably the most well-known.

[Web Services]

  • GitHub ★ Used during this session
  • AWS CodeCommit
  • Gitea

[Git Tools]

  • TortoiseGit ★ Used during this session
  • SourceTree
  • Development tools like Eclipse

Setting Up Git
In this session, to get hands-on with Git,
we used GitHub as the web service and TortoiseGit as a visual Git tool.
Just between us, when signing up for a GitHub account, email verification was required.
I tried doing it the day before the session,
but it took three hours for the verification email to arrive, so I was panicking a bit inside!

Basic Concepts of Git
We experienced a full range of Git operations, including:
“Cloning,” “Committing,” “Checking Differences,” “Viewing Logs,”
“Undoing Changes,” “Pulling,” “Pushing,” “Conflict Resolution,”
“Creating Branches,” and “Sending Pull Requests.”

One thing we noticed during the session was that the term “master branch”
is no longer commonly used.
It seems the term “main branch” has become the standard,
as “master” is now considered a potentially discriminatory term. That was a good learning moment.

Summary
In this session, we studied Git.
Personally, I hope this helped everyone understand even a little
the importance of asset management.
Whether you were revisiting Git after a long time or trying it for the first time—
you’ve now got the basics of Git down… right?

Stay tuned for our next study session article!

社内勉強会:Gitについて

今年の4月11日(金)に社内勉強会を行いましたので紹介します。
テーマは「Gitについて」です。ブログ記事担当はチーム0のxigです。

今回の勉強会では、Gitについてそもそも何?という説明を行い、
実際にGitを触って、どんなことができるか体験を行いました。

勉強会は以下の流れで実施しました。
・Gitとは何か
・Gitのツール、WEBサービス説明
・Gitの導入
・Gitの基礎説明(用語やどんなことができるか)

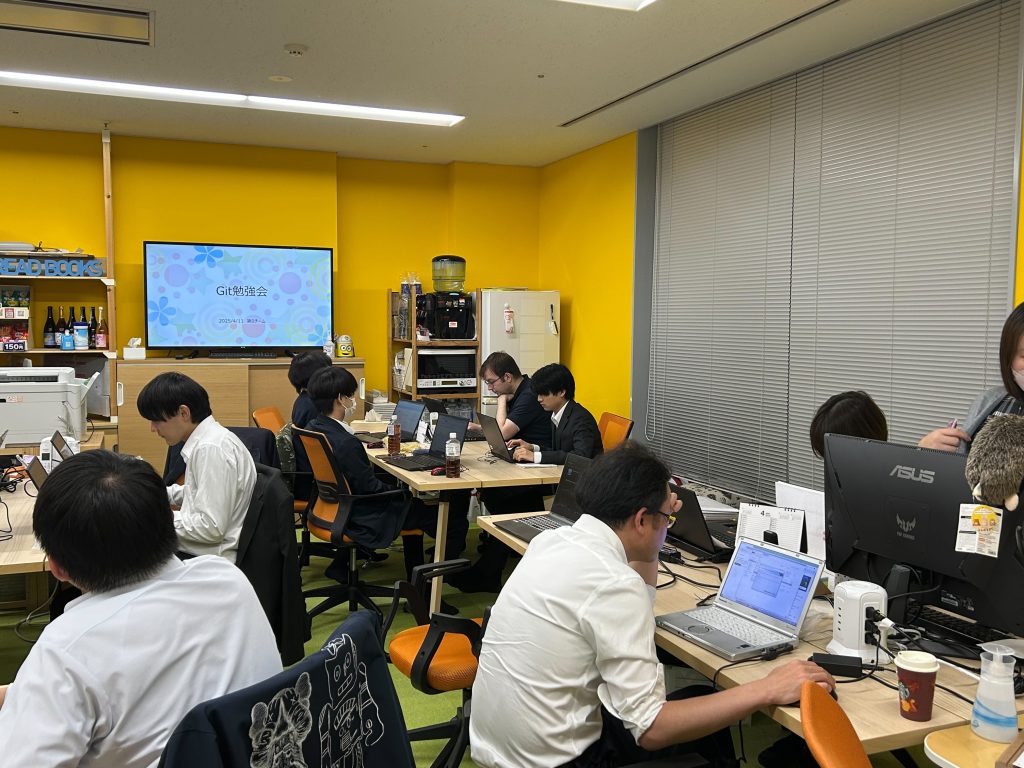
勉強会の様子

Gitとは何か

 勉強会では、Gitに馴染みの無い方、久しく触ってない方が居たので、
Gitとはそもそも何ぞ?
というところから始めました。私はバージョン管理システムとしてSVN、Gitを申し訳程度に触ったことがありますが、最近の身の回りだとGitで資産を管理しているプロジェクトが多い気がしますね。皆様はいかがでしょうか。

Gitのツール、WEBサービス説明

 ここでは、GitのツールとWEBサービスとして以下のようなサービスがあるとさらっと説明を行いました。Gitのツールとしては、Eclipseなどの開発ツールに付属されているものが割と有名どころかと思います。
【WEBサービス】
・GitHub ★当勉強会で使用
・AWS Code Commit
・Gitea
【Gitのツール】
・Tortoise Git ★当勉強会で使用
・SourceTree
・Eclipseなどの開発ツール

Gitの導入

 今回の勉強会では、Gitを触るべく、WEBサービスとして「GitHub」、Gitを視覚的に操作するツールとして「Tortoise Git」を導入しました。
ここだけの話、GitHubのアカウント登録の際に、メールで本人認証する必要があり、
私は勉強会の前日に実施したのですが、認証メールが飛んでくるのに3時間かかったので、内心凄く焦っていました。

Gitの基礎説明

 ここでは、Gitの一連の操作として、「クローン」「コミット」「差分確認」「ログの確認方法」「変更の取り消し」「プル」「プッシュ」「コンフリクト」「ブランチの作成」「プルリクエスト送信」を体験しました。

体験する中での気づきなのですが、最近は「マスターブランチ」という言葉は使用せず、
「メインブランチ」という言葉が使用されるようになったみたいですね。どうやら「マスター」という言葉が差別用語に当たるとのこと。ためになりましたね。

まとめ

 今回の勉強会ではGitについて学習しました。
これを通して、資産管理の大切さを少しでも感じ取って頂けたら良いかなと私個人は思っています。
久しぶりに触った人も、未経験だった人も
これでGitの基本操作はバッチリデスネ・・・

それでは、次回の勉強会の記事をお楽しみに!

In-house Study Session: “Basics of Security”

We held an in-house study session, and I’d like to introduce it. The theme was “Basics of Security.” The session was led by Chicken Kiwi from Team 0.

During this study session, we learned about the risks involved when a security incident occurs and the basic measures that can be taken during daily work to prevent such incidents.

The session followed this flow:

The necessity of security
・Potential issues
・The five key principles of information security
・Security measures implemented by Dandelions
・Information security quiz
・Session Overview

The Necessity of Security

Here, we studied the necessity of security measures and the social, legal, and moral impacts on the company in case an incident occurs. We explored how security is crucial for maintaining the integrity and reputation of the company.

Potential Issues

In this part, we learned about possible security risks from actual case studies. We discussed not only the impact on the company from attacks but also the legal responsibilities of the company and management when security measures are insufficient, as well as how it can affect relationships between companies.

The Five Key Principles of Information Security

From the security guidelines published by IPA (Information-technology Promotion Agency), we learned about the key security measures individuals should take. We primarily reviewed the following points with examples and solutions:

Keep your OS and software up to date.
Use antivirus software.
Strengthen your passwords.
Review sharing settings.
Be aware of threats and attack methods.


Summary

This time, we studied the importance of security and basic countermeasures. The study session was based on the security guidelines published by IPA. IPA provides various resources on information security, so if you’re interested, please visit their website.

IPA Guidelines for Information Security for SMEs: https://www.ipa.go.jp/security/guide/sme/about.html

Stay tuned for the next article!

社内勉強会「セキュリティの基本」

今回の社内勉強会を行いましたので紹介します。テーマは「セキュリティの基本」となります。担当はチーム0のチキンキウイです。

今回の勉強会では、セキュリティインシデントが発生した場合、どんなリスクがるのかや、
普段勤務する上で、どのような対策ができるのかの基本について学びました。

勉強会は以下の流で行いました
・セキュリティの必要性
・発生し得る問題について
・情報セキュリティ5か条
・ダンデライオンズで行っているセキュリティ対策について
・情報セキュリティクイズ

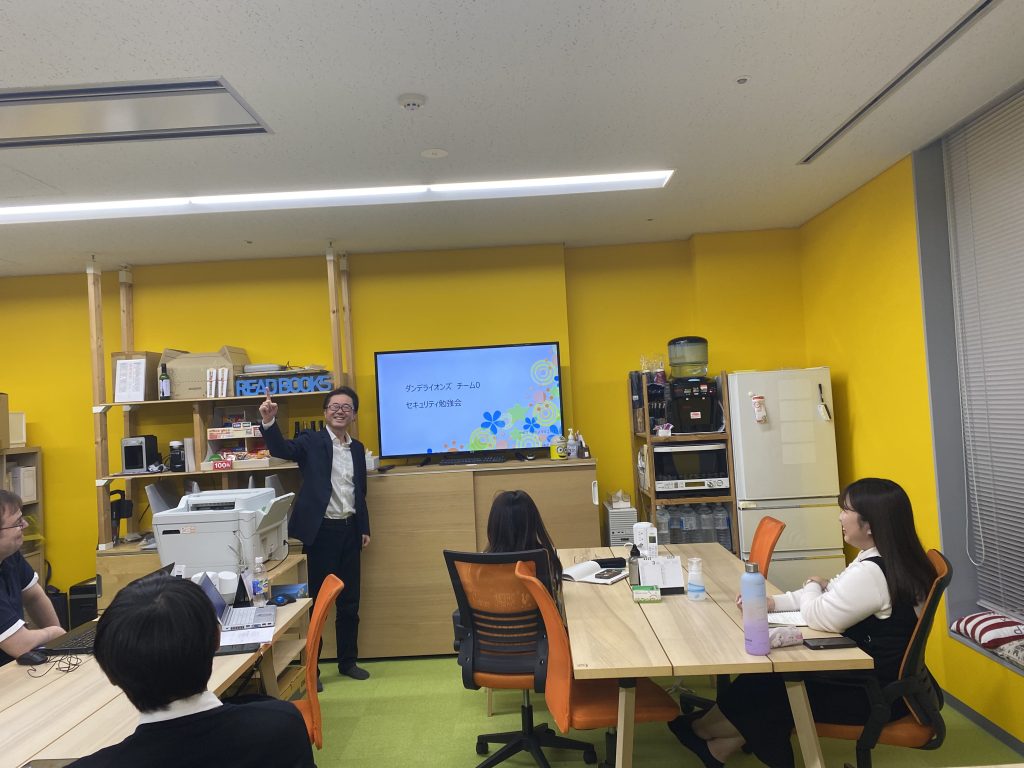
勉強会の様子

セキュリティの必要性

ここでは、セキュリティ対策や、インシデントが発生した場合に、会社に発生する
社会的な影響や、法律、道義的な影響について学びセキュリティの必要性について勉強を行いました。

発生し得る問題について

ここのでは起こりうるセキュリティリスクについて、実際の事例から学びました。
会社攻撃により会社が受ける影響だけでなく、セキュリティ対策不備があった場合に会社や、経営者に問われる法的責任、会社間の関係性の変化についても学びました。

情報セキュリティ5か条

IPAが紹介しているセキュリティ5箇条から、個人きを付けるべきセキュリティ対策について学びました。主に以下のことについて事例や、対策について確認しました。

1.OSやソフトウェアは常に最新の状態にしよう
2.ウイルス対策ソフトを導入しよう
3.パスワードを強化しよう
4.共有設定を見直そう
5.脅威や攻撃の手口を知ろう

まとめ

今回はセキュリティの重要性や、基本的な対策方法について勉強しました。
勉強会を行うにあったってIPAで公開されているセキュリティ対策ガイドラインを参考としています。
IPAでは情報セキュリティについて様々な情報を発信していますので興味あがある方はwebページをのぞいてみてください。

IPA 中小企業の情報セキュリティ対策ガイドライン
https://www.ipa.go.jp/security/guide/sme/about.html

次回の記事もお楽しみに。

Internal Training Session: Low-Code Development Experience Using Outsystems Part 2

Hello! I’m Ogi, responsible for this edition of our study session blog. I’m excited to share the highlights of our recent internal training session, “Low-Code Development Experience Using Outsystems Part 2”!

Check out the highlights from our previous study session here!

Building on our last session, the goal of this study meeting was to deepen our understanding of low-code development and Outsystems by gaining hands-on experience with Outsystems development. This time, we had many new members join us, making the session even more vibrant and engaging.

Here’s how the study session unfolded:

  1. Recap of the Previous Session
  2. Watching Educational Videos – Focus on UI Development
  3. Hands-On Development with Outsystems
  4. Summary and Q&A

Watching Educational Videos – Focus on UI Development

We kicked off the session by watching official educational videos provided by Outsystems. This time, the videos focused on UI development, where we learned the basics of screen widgets, variables, and client-side logic.

If you’re interested, you can watch the videos here (an Outsystems account is required).

Hands-On Development with Outsystems

After watching the videos, each participant used their own Outsystems environment to start developing. During this hands-on session, we primarily focused on:

  • Adding Widgets and Logic to Screen
  • Utilizing Aggregates ( Learn more about Aggregates here.)
  • Displaying Data on Screen

We experienced firsthand the unique advantages of developing with Outsystems, such as the simplicity of adding widgets through drag-and-drop and the visual manipulation capabilities provided by Aggregates for data retrieval and sorting.

Throughout the development process, we followed the instructor’s explanations and worked on our own projects, enhancing our practical skills.

While listening to the instructor’s explanations, we proceeded with development in our own environments.

Summary

In this study session, we tackled more hands-on content compared to the previous one, successfully conveying the benefits of low-code development and Outsystems. The development experience segment fostered active discussions and Q&A among the participants, further deepening our understanding.

We plan to continue hosting study sessions focused on Outsystems development in the future. Stay tuned for our next article!

社内勉強会:Outsystemsを用いたローコード開発体験 part2

今回の勉強会記事を担当します、第2ユニットのオギです。
今回は社内勉強会「Outsystemsを用いたローコード開発体験 part2」が開催されましたので、その様子をご紹介します!

前回の勉強会の様子はこちら

前回に引き続き、今回の勉強会も「Outsystemsでの開発を体験することで、ローコード開発やOutsystemsへの理解をより深めていくこと」を目的としています。
今回からの参加となるメンバーも多数いて、さらに活気ある勉強会となりました。

勉強会の流れは以下のとおりです。
⓪前回の勉強会のおさらい
①学習動画視聴 -UI開発について-
②Outsystemsでの開発体験
③まとめ、質疑応答

学習動画視聴 -UI開発について-

まずはOutsystemsが公式で提供している学習動画を視聴しました。
今回はUI開発についての動画を通して、画面のウィジェットや変数、クライアントのロジックについての基礎知識を学んでいきます。

こちらのリンクから視聴することができる(Outsystemsのアカウント取得が必要になります)ので、ご興味がある方は見てみてください!

Outsystemsでの開発体験

動画を視聴した後は、各々が構築したOutSystemsの環境を用いて実際に開発を進めました。

今回実施したのは主に以下のとおりです。
・画面へのウィジェット、ロジックの追加
・Aggregateの活用 (Aggregateについてはこちら)
・画面へのデータ表示

画面にウィジェットをドラッグ&ドロップで簡単に追加できたり、Aggregateを用いることでデータの取得やその条件、ソートなどを視覚的に操作できたりといったOutsystemsでの開発ならではの利点を体験しました。

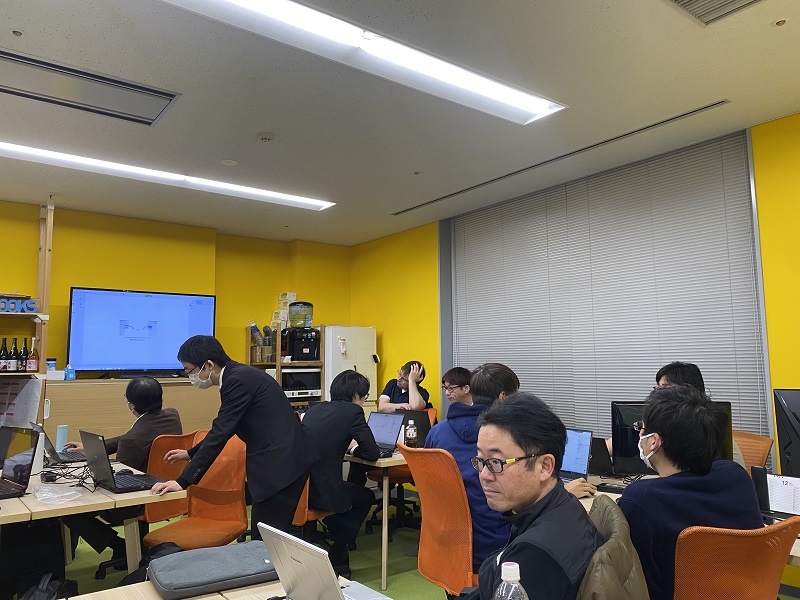
講師の説明を聞きながら自分の環境で開発を進めていきます。

まとめ

今回の勉強会では前回よりもさらに実践的な内容を取り上げ、ローコード開発やOutsystemsの良さを伝えられた会になったかと思います。
開発体験のパートでは、近くのメンバーとの話し合いや質疑応答が盛んにおこなわれ、理解も一層深められたのではないでしょうか。

今後もOutsystemsの開発をテーマとした勉強会を開催予定です!
次回の記事もお楽しみに。

Internal Study Session: About Monaca

I’m “xig” from Unit 0, and I’ll be writing this study session article.

The theme of this in-house study session is “Monaca.”

It’s a familiar topic in Unit 0, but we held the study session with the aim of allowing inexperienced people to actually try it out and deepen their understanding. I was the one teaching, but the number of people who participated was greater than we initially expected, so I was a little nervous.

The study session went as follows:

①Outline of Monaca

②Introduction to the environment

③Hands on actually trying out Monaca

Overview of Monaca

In the 0th unit, we used Monaca’s cloud IDE (browser-based development environment),
so we focused on that and explained what Monaca is and what it can do.

I’ve found the following three points to be useful when actually using it,
and I hope that the participants were able to understand them.

〇 Easy to get started with an internet connection

〇 Easy to check operation (on a browser or smartphone)

〇 Easy to publish to the store

Environment introduction

After I gave them an overview, I had them create an account to start using Monaca.
I also showed them an actual screen and explained what items are available.
I personally didn’t feel any resistance to it because the UI is similar to the integrated development environment I normally use, but what did you all think?

Let’sTry

After the explanation, we did some coding exercises using Monaca’s sample programs. Monaca has pre-made templates, so this time we used the Todo app template, changed the background color, and added functions to add and delete database functions to actually create an app.

Summary

In this study session, we actually used Monaca to experience developing a simple app.

– I want to write a simple sample program, but setting up the environment is a hassle…
– I want to quickly develop an app for iOS or Android…
– I hope that when you feel like this, you will remember the exercises from today and put them to good use.

So, please look forward to the article from the next study session!

In-house study session: “The strongest encryption that can be used by ordinary people”

The theme of this in-house study session is “encryption.” The person in charge is Emu from the 3rd unit.
The 3rd unit is mainly responsible for infrastructure and security.

In recent years, we have heard of damage caused by cyber attacks in various forms, both for individuals and businesses.
If a company were to suffer damage, it could lead to a loss of trust from customers and a large amount of compensation, and in the worst case scenario, the survival of the company could be greatly affected.
Therefore, one way to protect important information and prevent leaks is to encrypt data and communication content.

There are many different types of encryption, and I learned how to encrypt disk files as one of them.

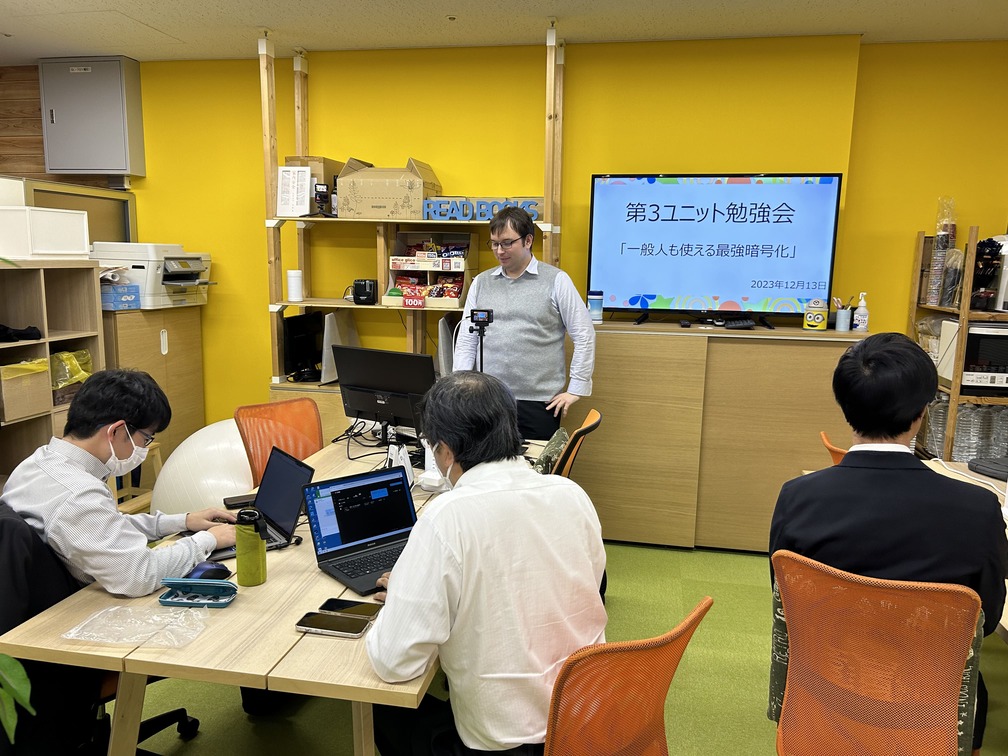
Study session title
What is encryption?
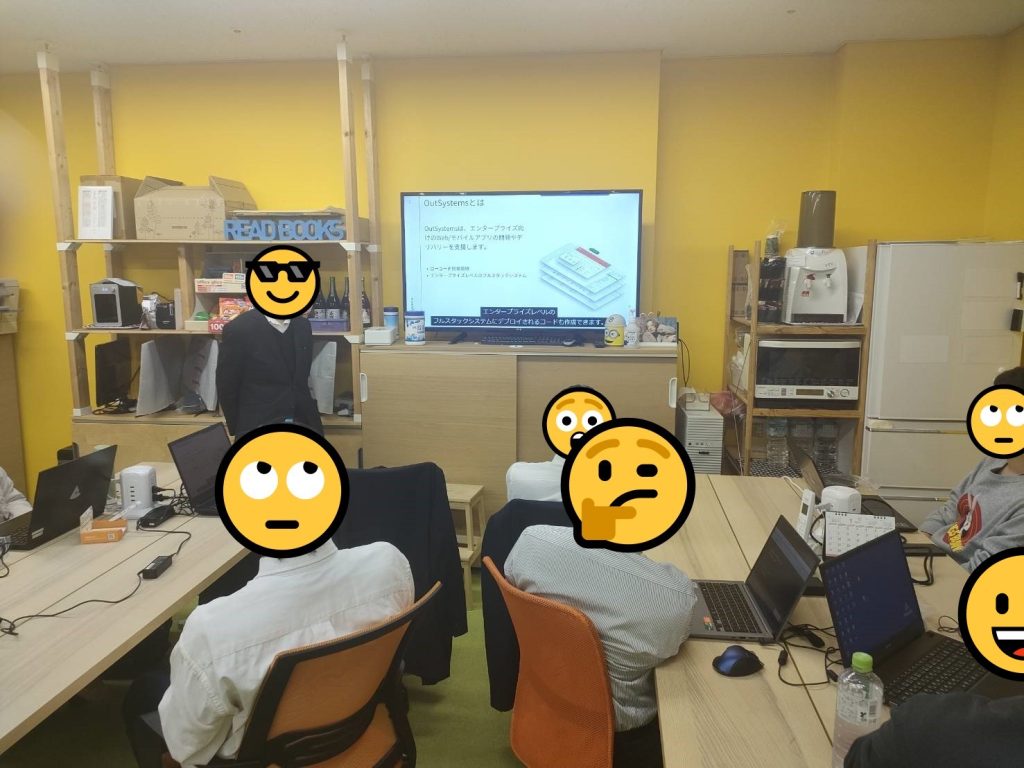
Study session scene

I studied VeraCrypt as an encryption software.
Encrypted virtual drive creation software.
“VeraCrypt” is software that allows you to create a “secret encrypted drive.”

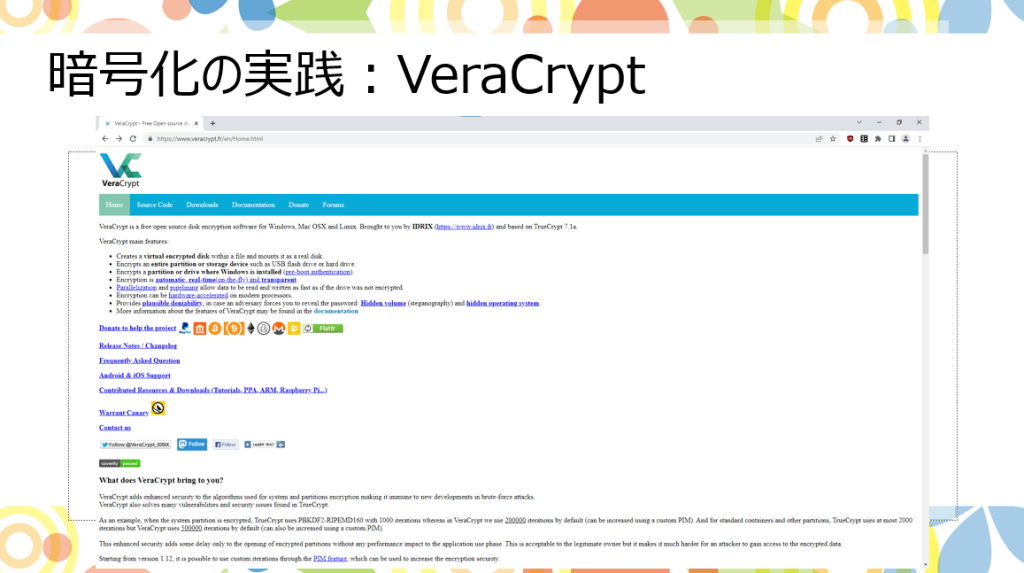
VeraCrypt site
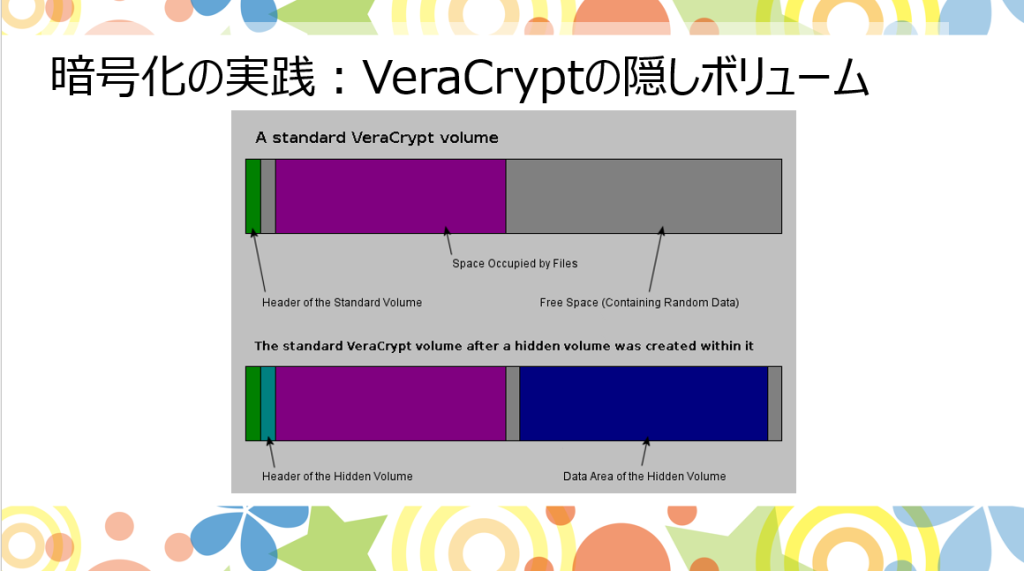
VeraCrypt encrypted hidden volume

I felt that the software I used this time was easy and safe to use when I had the opportunity to carry data around on a PC or external memory.

There are many other cases of encryption, so I would like to continue learning about them.

社内勉強会 「一般人でも使える最強暗号化」

今回の社内勉強会のテーマは、「暗号化」です。担当は第3ユニットのえむです。
第3ユニットは、インフラ、セキュリティをメインに担当しています。

近年、個人・企業問わず、様々な形でサイバー攻撃による被害を聞くことがあります。
万が一企業が被害に遭うと、顧客からの信頼の損失や多額の損害賠償などにつながる可能性があり、最悪の場合企業の存続を大きく左右してしまいます。
そこで大切な情報を守り、漏洩を防ぐ一つの方法としてデータや通信内容の「暗号化」が必要となります。

暗号化とひと口に言っても様々な種類があるため、その中の一つとしてディスク・ファイルの暗号方法を学びました。

勉強会タイトル
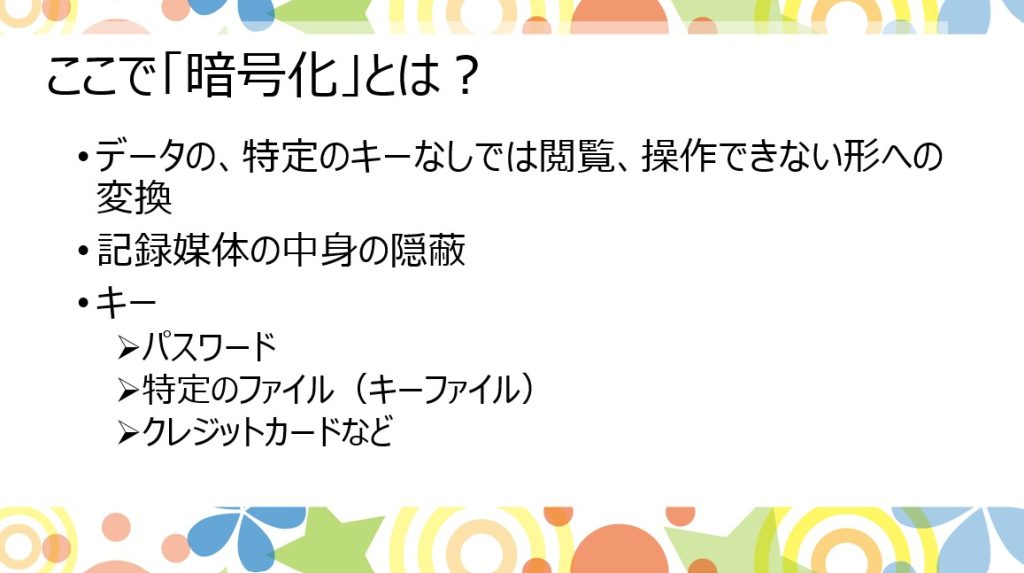
暗号化とは?
勉強会風景

暗号化ソフトとして、VeraCryptを勉強しました。
暗号化仮想ドライブ作成ソフトです。
VeraCrypt」は、“ 暗号化された秘密のドライブ ” を作成することができるソフトです。

VeraCryptサイト
VeraCrypt暗号化された隠しボリューム

今回使用したソフトは、PCや外付けのメモリなどでデータを持ち運ぶ機会がある時に簡単で安全に使用できると感じました。

暗号化は、その他にも様々なケースがあるので、今後も学んでいきたいですね。

社内勉強会:Outsystemsを用いたローコード開発体験

今回の社内勉強会のテーマは「Outsystemsを用いたローコード開発体験」となります。
担当は第2ユニットのTTとなります。

これまで技術者ブログでも頻繁に取り上げてきたOutsystemsですが、未経験者にも実際に触ってもらい、より理解を深めてもらうことを目的とし勉強会を行いました。
また、今回はOutsystemsによる開発を経験したことのあるメンバーも参加しており、関心度の高さを伺うことができました。

今回の勉強会の流れは以下の通りでした。

①動画視聴による基礎学習

②開発用アカウント取得

③スキャフォールディング機能を用いた高速開発体験

①動画視聴による基礎学習

まず、これまでの振り返りとして、Outsystems公式が提供している学習動画を視聴しました(リンクはこちら)。
上記学習動画はトレーニングコースの一環となっており、各セクションの終わりには復習用の問題が用意されていますので理解度を確認できるつくりとなっています。

勉強会の様子。興味深げな様子で学習動画に聞き入っていました。

②開発用アカウント取得

その後、実際に手元で開発を進めるため、参加者ごとにアカウントの作成を行いました(リンクはこちら)。
アカウントを作成することでクラウド領域上にワークスペースが作成されるため、開発ツールであるServiceStudioをインストールすることで個人単位での開発が可能となります。

③スキャフォールディング機能を用いた高速開発体験

環境構築が整った後は、開発の実演を行いました。

ここでは、Outsysmtesが持つスキャフォールディング機能を用いた開発を体験してもらいました(リンクはこちら)。

本機能は、予め作成しておいたエンティティ(テーブル)の定義を基に、テンプレート化された一覧/詳細画面を自動で作成してくれるというOutsystemsの開発補助機能です。
本機能の存在により、Outsystemsは一般的なマスタ/ディティール画面を、スクラッチ開発と比べて非常に高速で作成することが可能となっています。
実際にWebアプリケーションのスクラッチ開発を行ったことのあるメンバーの一人は「手組みなら2~3日程度は必要とするところを、これだけの単純操作でできるとは想像以上だった」と感心しきりな様子でした。

まとめ

今回の勉強会では、主にOutsystemsによる開発を経験したことのないメンバーをターゲットにしていたため、学習内容も基礎的なものが中心でした。
今後は学習内容を徐々にステップアップさせていき、「スキャフォールディング機能を用いない、Outsystemsでの画面開発」「データの一括取込/出力機能」「オープンソースライブラリ”Forge”の活用」など、より実践的な内容について学習を進めていく予定です。

それでは、次回の勉強会の記事をお楽しみに。